
LATEST RECIPES


LET'S GET COOKING!
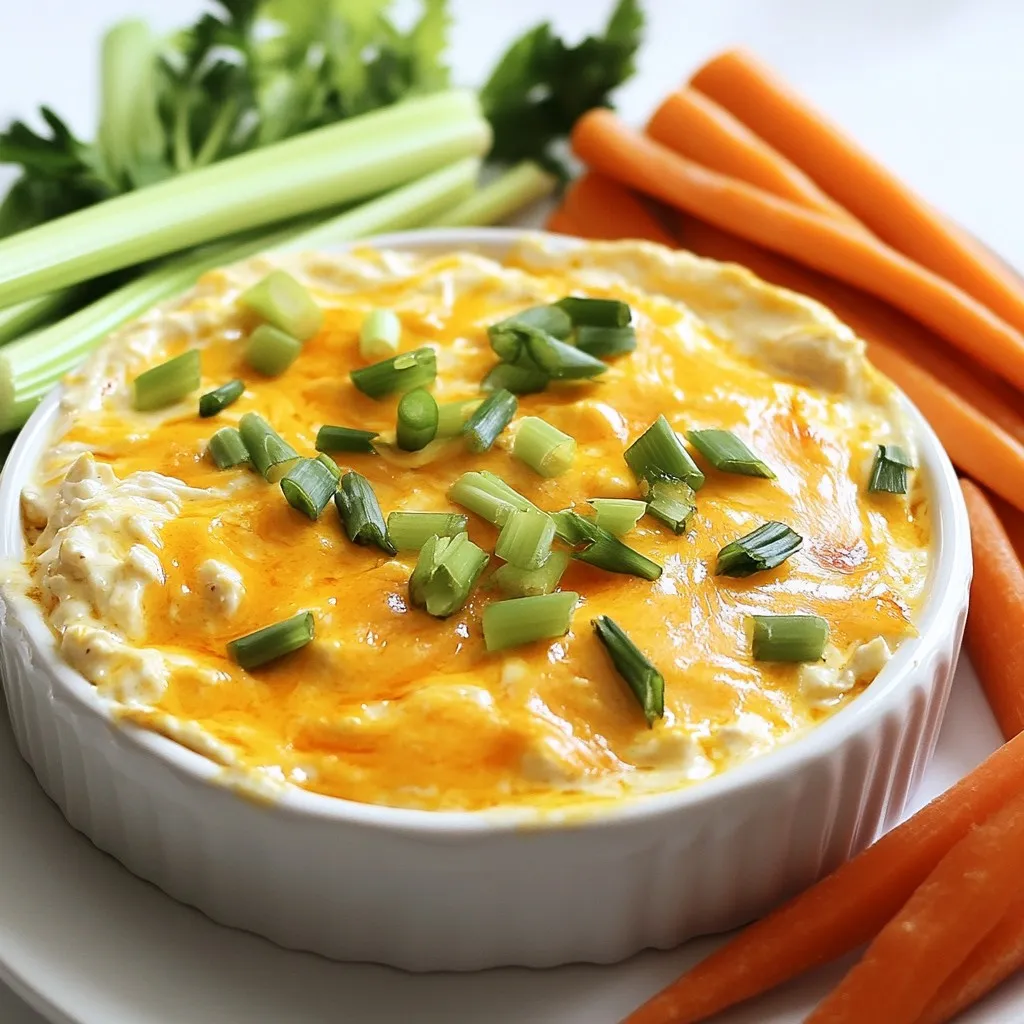
Healthy Buffalo Chicken Dip Flavorful and Nutritious
Are you ready to enjoy a healthy twist on a classic favorite? My Healthy Buffalo Chicken Dip is packed with bold flavors and nutritious ingredients...
Read Full Recipe →