


LATEST RECIPES


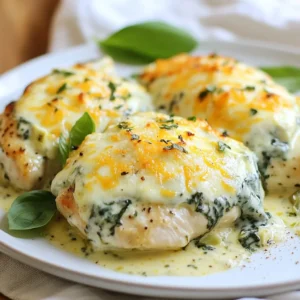

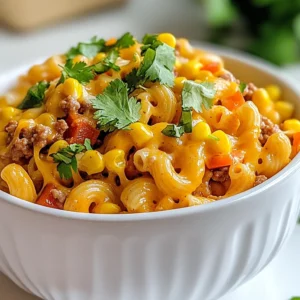

LET'S GET COOKING!
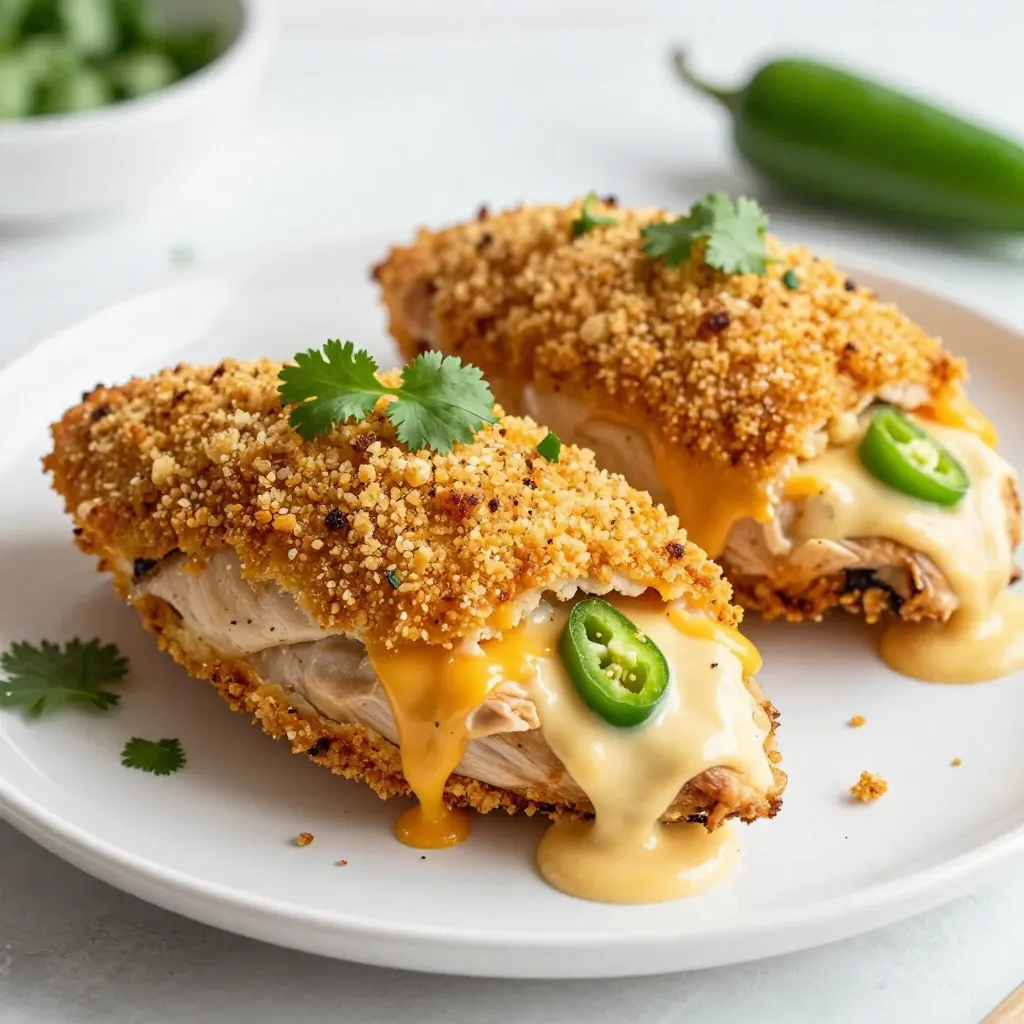
Jalapeño Popper Stuffed Chicken Tasty and Simple Meal
Are you ready to spice up dinner? Jalapeño Popper Stuffed Chicken combines tender chicken with creamy jalapeño goodness. This tasty and simple meal is perfect...
Read Full Recipe →