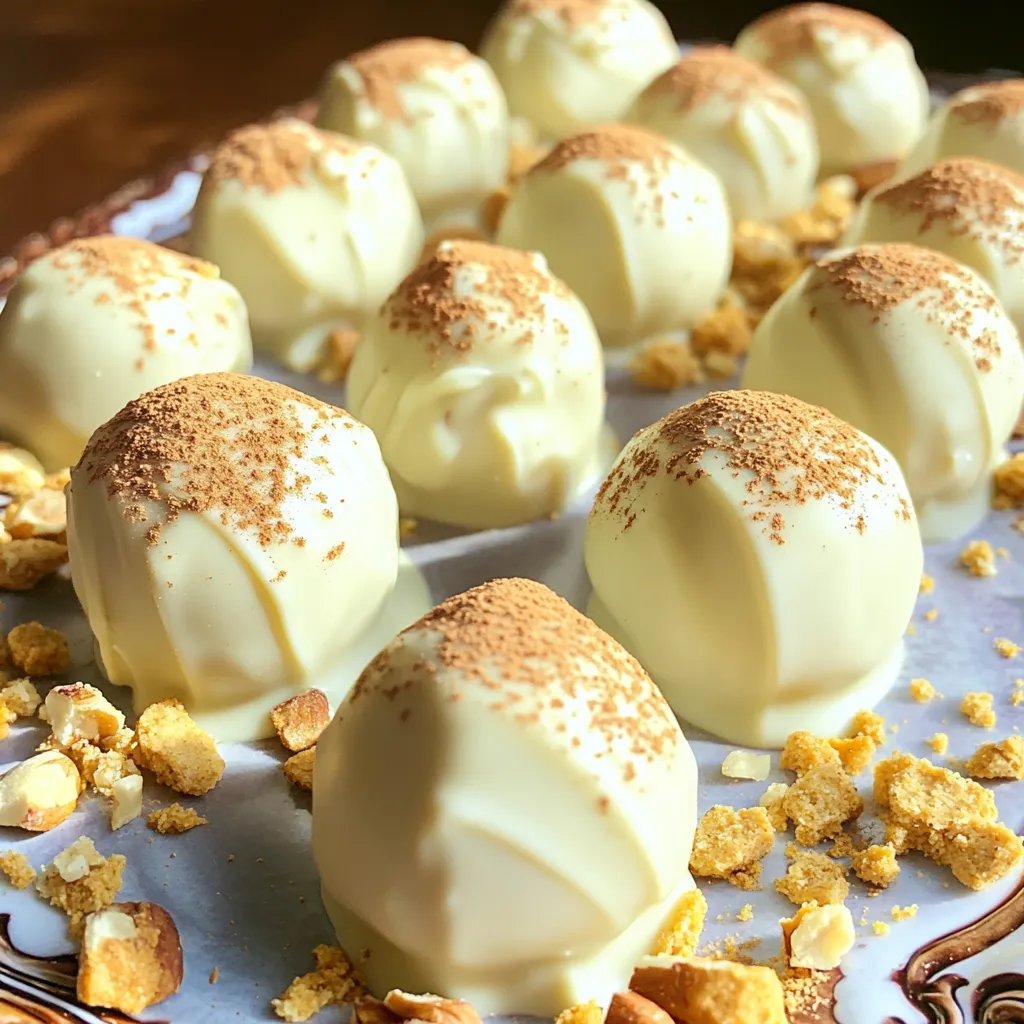
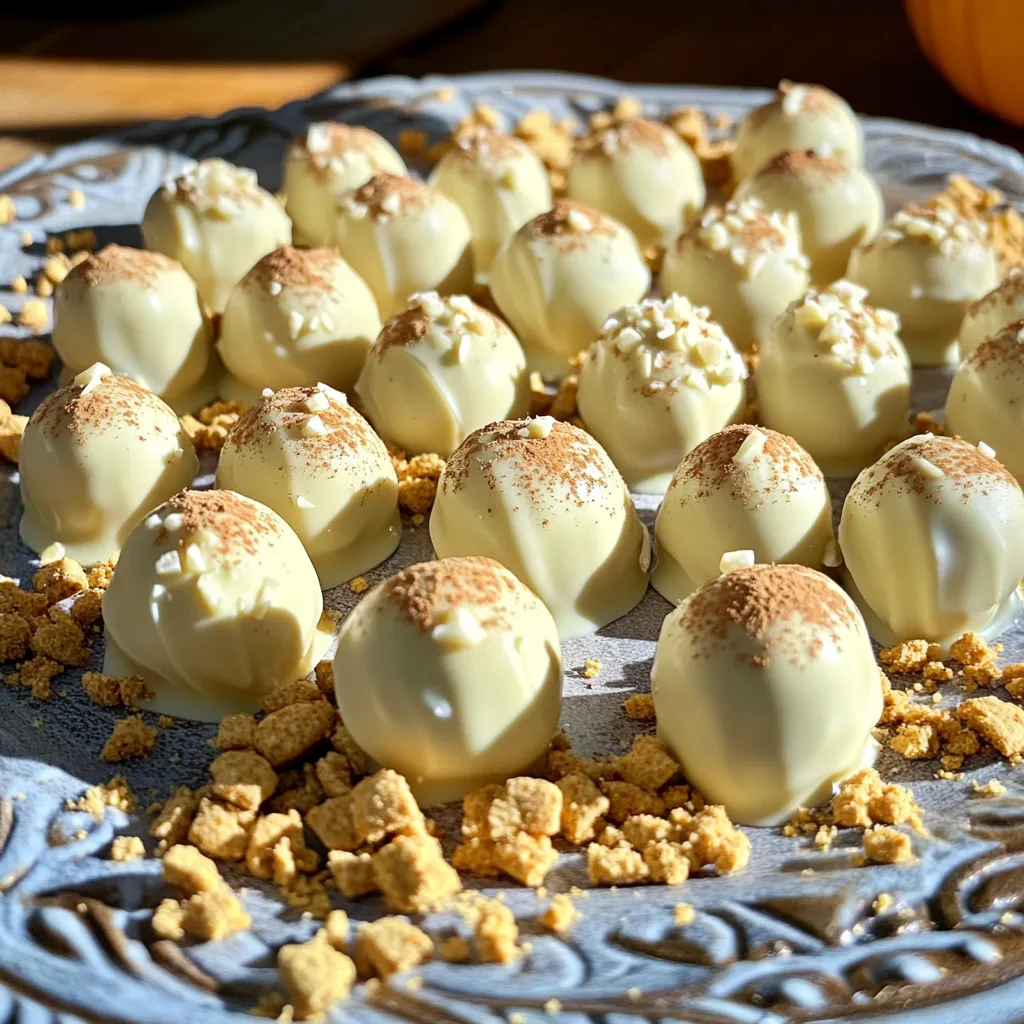
Get ready to indulge in a sweet treat this fall! My No-Bake White Chocolate Pumpkin Truffles are easy to make and bursting with flavor. With just a few simple ingredients and no oven required, you can whip up these delicious bites in no time. Whether you’re hosting a party or just treating yourself, these truffles are sure to impress. Let’s dive into the recipe and create something delightful together!
Ingredients
List of Ingredients
– 1 cup pumpkin puree
– 1 cup crushed graham crackers
– 1/2 cup powdered sugar
– 1 teaspoon pumpkin pie spice
– 8 ounces white chocolate, melted (plus extra for drizzling)
– 1/2 cup cream cheese, softened
– 1/4 teaspoon vanilla extract
– Chopped nuts or shredded coconut for rolling (optional)
These ingredients create a sweet and creamy treat that bursts with pumpkin flavor. The pumpkin puree gives a rich taste, while the graham crackers add a nice crunch. The powdered sugar balances the flavors, and the pumpkin pie spice brings warmth to each bite.
Optional Ingredients for Variation
– Dark chocolate for coating
– Cinnamon or nutmeg for extra spice
– Maple syrup for added sweetness
– Mini chocolate chips for texture
These optional ingredients let you customize your truffles. Dark chocolate offers a different taste, while spices can enhance the pumpkin flavor. Maple syrup adds a unique sweetness, and mini chocolate chips give a fun crunch.
Common Substitutes
– Substitute sweet potato puree for pumpkin puree.
– Use digestive biscuits if you don’t have graham crackers.
– Replace powdered sugar with coconut sugar for a healthier option.
– Use Greek yogurt in place of cream cheese for a lighter version.
These substitutes work well if you need to adjust the recipe. Sweet potato has a similar texture to pumpkin. Digestive biscuits can stand in for graham crackers, too. Coconut sugar provides a different but great sweetness, and Greek yogurt keeps the truffles creamy.
Step-by-Step Instructions
Preparation of the Mixture
Start by gathering your ingredients. You need pumpkin puree, crushed graham crackers, powdered sugar, pumpkin pie spice, softened cream cheese, and vanilla extract. In a medium bowl, mix the pumpkin puree and crushed graham crackers. Add the powdered sugar and pumpkin pie spice next. Then, add the softened cream cheese and the vanilla extract. Use a hand mixer or spatula to blend everything well. Mix until the mixture is smooth and creamy.
Chilling the Mixture
Once your mixture is ready, cover the bowl with plastic wrap. Place it in the refrigerator for about 30 minutes. This step is key because it helps the mixture firm up. A firmer texture makes it easier to shape the truffles later. While you wait, you can clean up your workspace and prepare for the next steps.
Rolling and Coating the Truffles
After chilling, it’s time to scoop out the mixture. Use a small cookie scoop or your hands to take small portions. Roll each portion into a ball, about 1 inch wide. Place the truffles on a baking sheet lined with parchment paper.
Next, melt some white chocolate in a bowl. Dip each truffle into the melted chocolate using a fork. Make sure to coat each ball fully. Let any extra chocolate drip off before placing the truffles back on the parchment-lined sheet.
Drizzling and Adding Texture
For a fun touch, drizzle more melted white chocolate over each truffle. You can also roll them in chopped nuts or shredded coconut if you like. This adds a nice texture and extra flavor. Finally, place the tray back in the refrigerator. Let the truffles set for at least 30 minutes, until the chocolate hardens completely. Enjoy your sweet treat!
Tips & Tricks
Achieving the Perfect Consistency
To get the right texture for your truffles, mix well. Use a hand mixer or spatula. Combine pumpkin puree, crushed graham crackers, and cream cheese. Add powdered sugar and pumpkin pie spice. This mix should be smooth and thick. If it feels too loose, add more crushed graham crackers. Chill the mixture for 30 minutes to help it firm up.
Best Practices for Melting White Chocolate
Melting white chocolate can be tricky. Always use low heat to avoid burning. A double boiler works best for this. Fill a pot with a bit of water and place a bowl on top. Heat gently until the chocolate melts. Stir often to keep it smooth. If you use a microwave, heat in short bursts. Stop every 20 seconds to stir. This prevents hot spots that can burn the chocolate.
Serving and Presentation Suggestions
Presentation makes a big impact. Arrange your truffles on a nice platter. Use a decorative box for gifting. Sprinkle some pumpkin pie spice or cocoa powder around them for flair. Drizzle extra melted white chocolate on top for a lovely touch. If you rolled them in nuts or coconut, show that off too. These little details make your dessert shine!
Variations
Flavor Enhancements (spices, extracts)
You can spice up your truffles easily. Try adding a pinch of nutmeg or cinnamon for warmth. A dash of ginger adds a nice kick, too. For more depth, consider using flavored extracts. Almond or orange extract can bring a new twist to your truffles. Just remember, a little goes a long way, so start with a small amount.
Alternative Coatings (chocolate types, toppings)
While white chocolate is great, you can switch it up. Use dark chocolate for a richer taste. Milk chocolate offers a sweet, creamy flavor that many enjoy. If you want texture, roll the truffles in chopped nuts or shredded coconut. These add crunch and extra flavor. You can also sprinkle cocoa powder or crushed graham crackers for a fun finish.
Vegan or Gluten-Free Options
Making these truffles vegan is easy. Replace cream cheese with a vegan cream cheese or nut butter. For the chocolate, choose a dairy-free variety. Ensure your graham crackers are gluten-free to keep the recipe safe for those with gluten issues. Always check the labels to confirm they fit your needs. This way, everyone can enjoy these tasty treats!
Storage Info
Best Practices for Storing Truffles
To keep your no-bake white chocolate pumpkin truffles fresh, store them in an airtight container. Line the container with parchment paper to avoid sticking. Place a layer of truffles, then cover them with another piece of parchment. This way, they won’t squish together. Keep the container in the fridge.
How Long Do They Last?
These truffles will stay fresh for about one week in the fridge. I recommend checking for any changes in smell or texture before enjoying. If they look good and smell sweet, they should be safe to eat.
Freezing Instructions
If you want to keep the truffles longer, freeze them. First, let the truffles set completely in the fridge for about 30 minutes. Then, place them on a baking sheet in a single layer. Freeze until solid, about one hour. After that, transfer them to an airtight freezer bag. They can last up to three months in the freezer. When you’re ready to enjoy, let them thaw in the fridge overnight.
FAQs
Can I use dark chocolate instead of white chocolate?
Yes, you can use dark chocolate instead of white chocolate. Dark chocolate gives a rich taste. It also adds a nice contrast to the sweet pumpkin flavor. Just melt it the same way as white chocolate. Make sure to coat the truffles fully. This swap can create a new twist on the truffles.
Is it possible to make these truffles ahead of time?
Yes, you can make these truffles ahead of time. They store well in the fridge. You can prepare them up to a week in advance. Just keep them in an airtight container. This way, they stay fresh and tasty. Chilling them before serving enhances their flavors too.
What can I substitute for cream cheese?
If you need a substitute for cream cheese, try using Greek yogurt. It has a similar texture and tangy taste. You can also use mascarpone cheese for a creamier option. Silken tofu works well for a dairy-free choice. Each option gives a slightly different flavor, but they all work nicely.
In this article, I explored how to make delicious truffles. We covered key ingredients and optional variations, plus tips for a perfect texture. You learned step-by-step instructions for mixing, chilling, and coating. I also shared storage tips to keep your truffles fresh.
Now, you can easily create your own tasty treats! Enjoy experimenting with flavors and coatings. Dive in and treat yourself and others to these delightful snacks. Happy truffle-making!