Craving a sweet treat that’s simple and delicious? You’re in the right place! This No-Bake Strawberry Cheesecake is easy to make and perfect for any occasion. With creamy layers, fresh strawberries, and a crunchy crust, it’s a delight that requires no oven. Let’s dive into the ingredients and steps to make this delightful dessert you’ll love serving to friends and family!
Why I Love This Recipe
- Simple Preparation: This no-bake cheesecake is incredibly easy to make, requiring minimal effort and time, perfect for both novice and experienced bakers.
- Fresh Ingredients: The use of fresh strawberries adds a burst of flavor and vibrant color, making this dessert not only tasty but visually appealing.
- Light and Creamy Texture: The combination of whipped cream and cream cheese creates a light, airy texture that melts in your mouth, making it a delightful treat.
- Versatile Serving Options: This cheesecake can be customized with different fruits or toppings, making it a flexible dessert choice for any occasion.
Ingredients
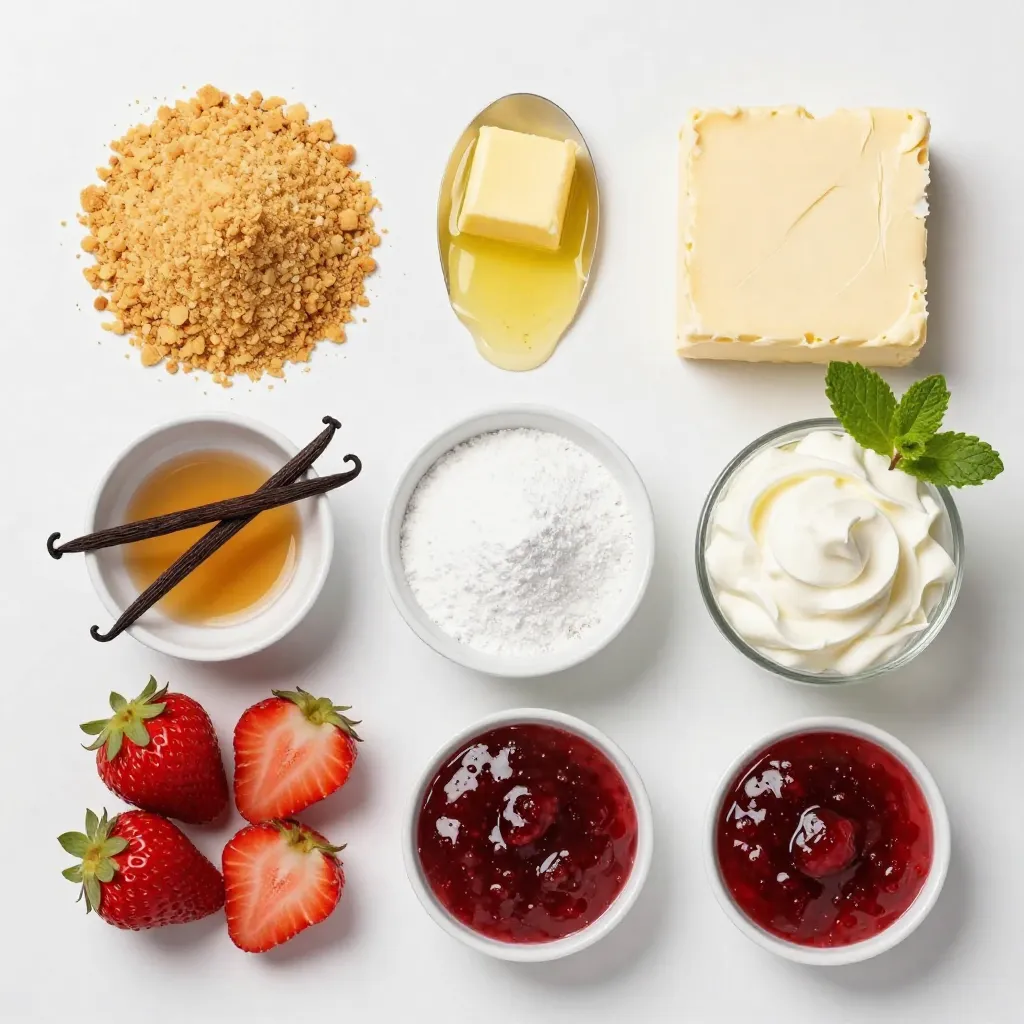
To make a no-bake strawberry cheesecake, you need a few simple ingredients. Here’s the list:
– 1 ½ cups digestive biscuit crumbs
– 6 tablespoons unsalted butter, melted
– 16 oz cream cheese, softened at room temperature
– 1 cup powdered sugar, sifted
– 2 teaspoons pure vanilla extract
– 1 cup heavy cream, chilled
– 2 cups fresh strawberries, hulled and sliced
– ¼ cup strawberry jam
– Fresh mint leaves for garnish (optional)
These ingredients create a rich and creamy cheesecake. The digestive biscuit crumbs give the crust a nice crunch. Unsalted butter helps hold it all together. Cream cheese adds a smooth texture. Powdered sugar sweetens the filling perfectly. Vanilla extract enhances the flavor. Chilled heavy cream makes the filling light and fluffy. Fresh strawberries add a burst of fruity goodness. Strawberry jam gives a sweet glaze on top. Finally, mint leaves add a touch of color and freshness.
With these ingredients, you can whip up a delightful dessert that everyone will love. Each bite is a perfect mix of sweet and creamy. Enjoy this treat during a warm day or at a special gathering!
Step-by-Step Instructions
Prepare the Crust
To start, grab a medium mixing bowl. Add 1 ½ cups of digestive biscuit crumbs and 6 tablespoons of melted unsalted butter. Mix them well until the mixture feels like wet sand. It should hold together when you squeeze it in your hand. Next, take a 9-inch springform pan. Press the crumb mixture firmly into the bottom of the pan. Use the back of a measuring cup or your fingers to pack it down tightly. This step makes sure your crust is stable. While you work on the filling, place the crust in the fridge to firm up.
Make the Cheesecake Filling
Now, you’ll need a large mixing bowl. Add 16 oz of softened cream cheese to it. Using an electric mixer, beat the cream cheese on medium speed until it’s creamy and smooth. Slowly add 1 cup of sifted powdered sugar and 2 teaspoons of pure vanilla extract. Keep mixing until everything is well combined and you don’t see any lumps.
Combine and Layer Mixtures
In a clean bowl, whip 1 cup of chilled heavy cream with a mixer or whisk. You want to whip it until soft peaks form, which takes about 2-3 minutes. Be careful not to over-whip it. Next, take the whipped cream and gently fold it into the cream cheese mixture using a rubber spatula. Mix until it’s well blended but still light and airy. Now, fold in 2 cups of hulled and sliced fresh strawberries, but save a few for later.
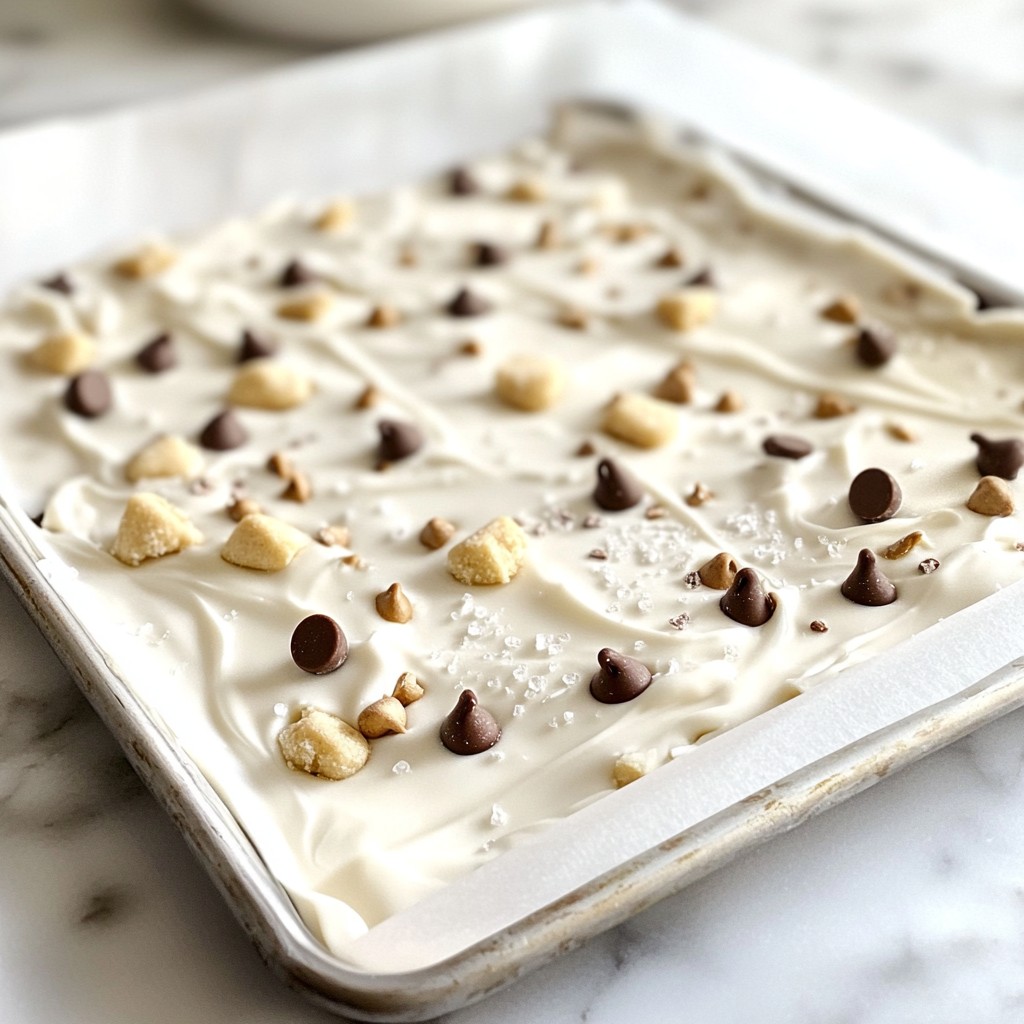
Chill the Cheesecake
After combining, pour the cheesecake mixture into your prepared crust. Smooth the top with a spatula to make it nice and even. Cover the springform pan tightly with plastic wrap. Place it in the fridge to chill for at least 4 hours. If you can wait overnight, that’s even better for the best setting.
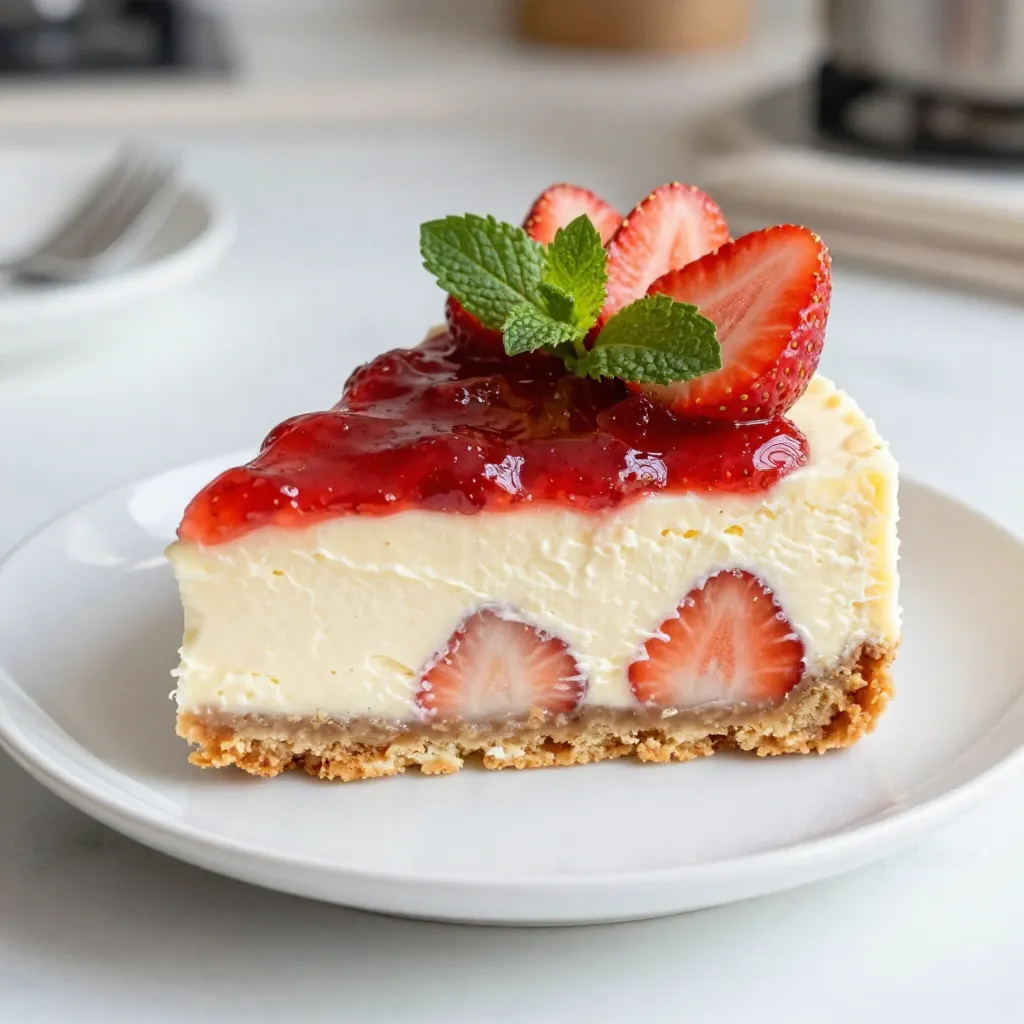
Final Touches & Serve
Once the cheesecake has set, it’s time for the final touches. Gently heat ¼ cup of strawberry jam in a small saucepan over low heat until it’s pourable. Drizzle the warmed jam over the cheesecake. Arrange the reserved strawberry slices on top for a beautiful finish. Now, carefully unlock and remove the sides of the springform pan. Slice the cheesecake into wedges and serve it chilled. If you want, add fresh mint leaves as a lovely garnish. Enjoy your delicious treat!
Tips & Tricks
Best Practices for a Creamy Texture
To get a creamy texture in your cheesecake, start with room temperature cream cheese. Cold cream cheese can give lumps. Use a mixer on medium speed to blend the cream cheese until smooth. Gradually add the powdered sugar and vanilla extract. This step helps combine everything well for a silky filling. Don’t rush this part; it makes all the difference in your cheesecake’s texture.
How to Properly Whip Cream
Whipping cream is easy if you follow a few steps. Always use chilled heavy cream for the best results. Use a clean bowl and whisk or mixer. Start at a low speed and gradually increase it. Watch closely; stop when you see soft peaks. Soft peaks mean it’s ready. Avoid over-whipping, as this can turn the cream into butter.
Suggestions for Perfectly Layering Strawberries
When layering strawberries, slice them evenly for a neat look. Reserve some for the top to make your cheesecake pretty. Gently fold sliced strawberries into the filling; this keeps them whole and maintains their shape. When you pour the filling into the crust, smooth the top with a spatula. This helps the layers stay distinct and gives a lovely presentation when you slice it.
Pro Tips
- Use Room Temperature Cream Cheese: Ensure your cream cheese is softened at room temperature for a smoother texture and easier mixing. This helps achieve a lump-free filling.
- Chill the Ingredients: Chill your mixing bowls and beaters before whipping the cream. This will help the cream whip up faster and maintain its volume.
- Don’t Overmix: When combining the whipped cream with the cream cheese mixture, be gentle. Overmixing can deflate the whipped cream, resulting in a denser cheesecake.
- Let It Set Overnight: For the best texture and flavor, allow the cheesecake to chill overnight. This gives the flavors time to meld and ensures a firmer set.
Variations
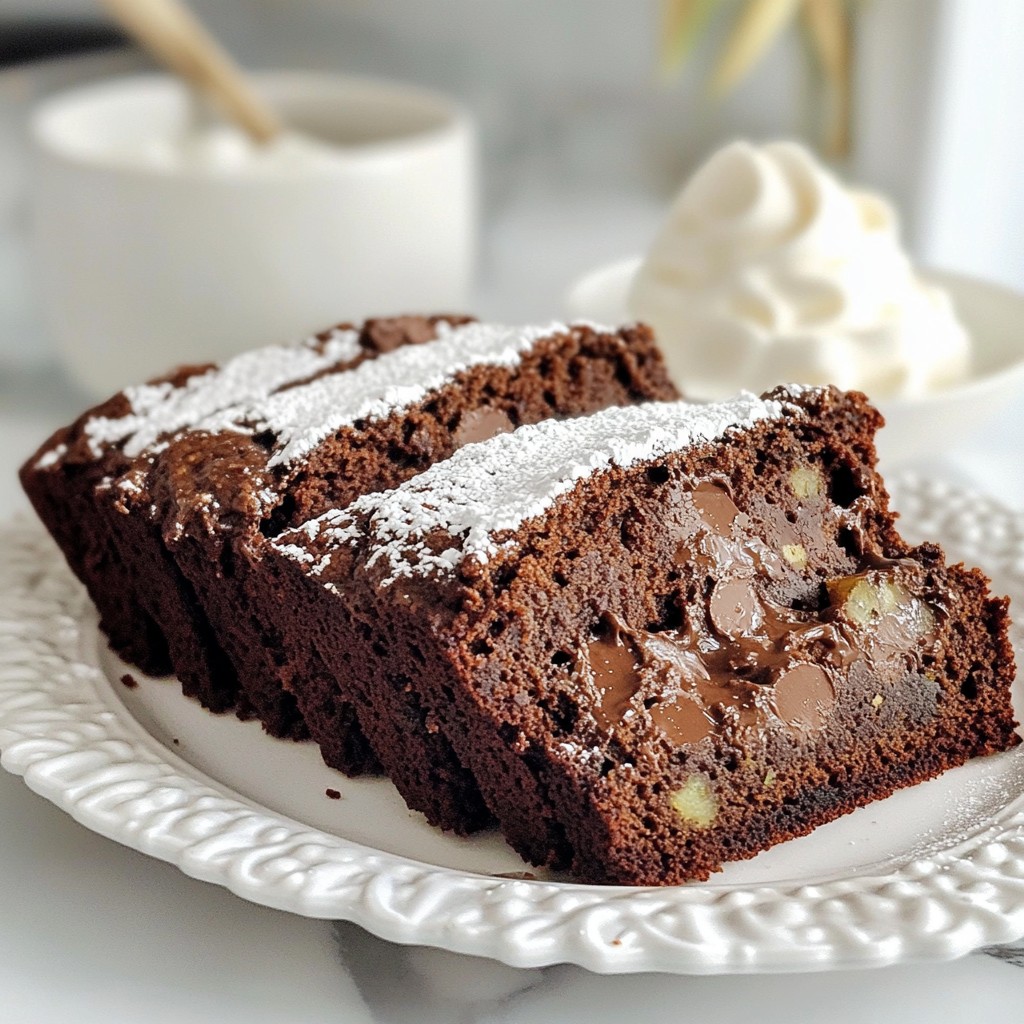
Chocolate No-Bake Strawberry Cheesecake
You can add chocolate for a twist. To make a chocolate version, mix cocoa powder into the cream cheese filling. Use about 1/2 cup of unsweetened cocoa powder. This step adds rich, chocolatey notes to your cheesecake. You can also use chocolate cookie crumbs for the crust. Simply replace the digestive biscuits with chocolate cookies. This combination creates a decadent dessert.
Gluten-Free Options
Want a gluten-free cheesecake? You can easily swap the digestive biscuits. Use gluten-free cookies or almond flour. If using almond flour, mix it with melted butter to form a crust. This keeps the cheesecake tasty and safe for those avoiding gluten. Just make sure all other ingredients are also gluten-free.
Alternative Fruit Toppings
You can change up the fruit topping to fit your taste. Try blueberries, raspberries, or peaches for a fun twist. Simply replace the strawberries with your fruit of choice. You can also mix fruits for a colorful look. For a tropical feel, add mango slices. This flexibility makes the cheesecake shine with seasonal fruits.
Storage Info
How to Store Leftovers
To keep your no-bake strawberry cheesecake fresh, cover it tightly. Use plastic wrap or foil. Store it in the fridge for up to three days. Make sure to keep it in the springform pan or a sealed container. This way, it stays moist and tasty.
Freezing Instructions
If you want to save some for later, freezing works well. Slice the cheesecake into wedges. Wrap each slice in plastic wrap and then in foil. This keeps them safe from freezer burn. You can freeze the cheesecake for up to two months. When you’re ready to eat, just thaw it in the fridge overnight.
Best Practices for Reheating
You do not need to reheat no-bake cheesecake. It is best enjoyed cold. If you want a softer texture, let it sit at room temperature for about 10-15 minutes before serving. This makes the cheesecake creamy and easy to slice. Enjoy it chilled for the best flavor!
FAQs
Can I use frozen strawberries?
Yes, you can use frozen strawberries. Just thaw them first. Drain any excess liquid to avoid a soggy cheesecake. Fresh strawberries taste best, but frozen works in a pinch.
How long does the cheesecake need to chill?
The cheesecake needs at least 4 hours to chill. I recommend chilling it overnight for the best results. This time helps it set properly and enhances the flavors.
What can I substitute for heavy cream?
You can use coconut cream or whipped coconut milk as a substitute. These options work well for a similar texture. Make sure to chill them before whipping for the best results.
Is it possible to make this cheesecake dairy-free?
Yes, you can make it dairy-free. Use dairy-free cream cheese and coconut cream instead of heavy cream. This way, you can enjoy the cheesecake without dairy.
Can I make this recipe in advance?
Absolutely! This cheesecake is perfect for making ahead. It stores well in the fridge for up to 3 days. Just cover it tightly to keep it fresh and tasty.
This blog post covered the key steps to make a no-bake strawberry cheesecake. We discussed the ingredients, from cream cheese to fresh strawberries. You learned how to prepare the crust, mix the filling, and layer everything. Tips helped ensure a creamy texture, and we explored fun variations.
I hope you feel ready to create this delicious dessert. Enjoy making it your own, and share it with friend
<!-- /wp:post-conte