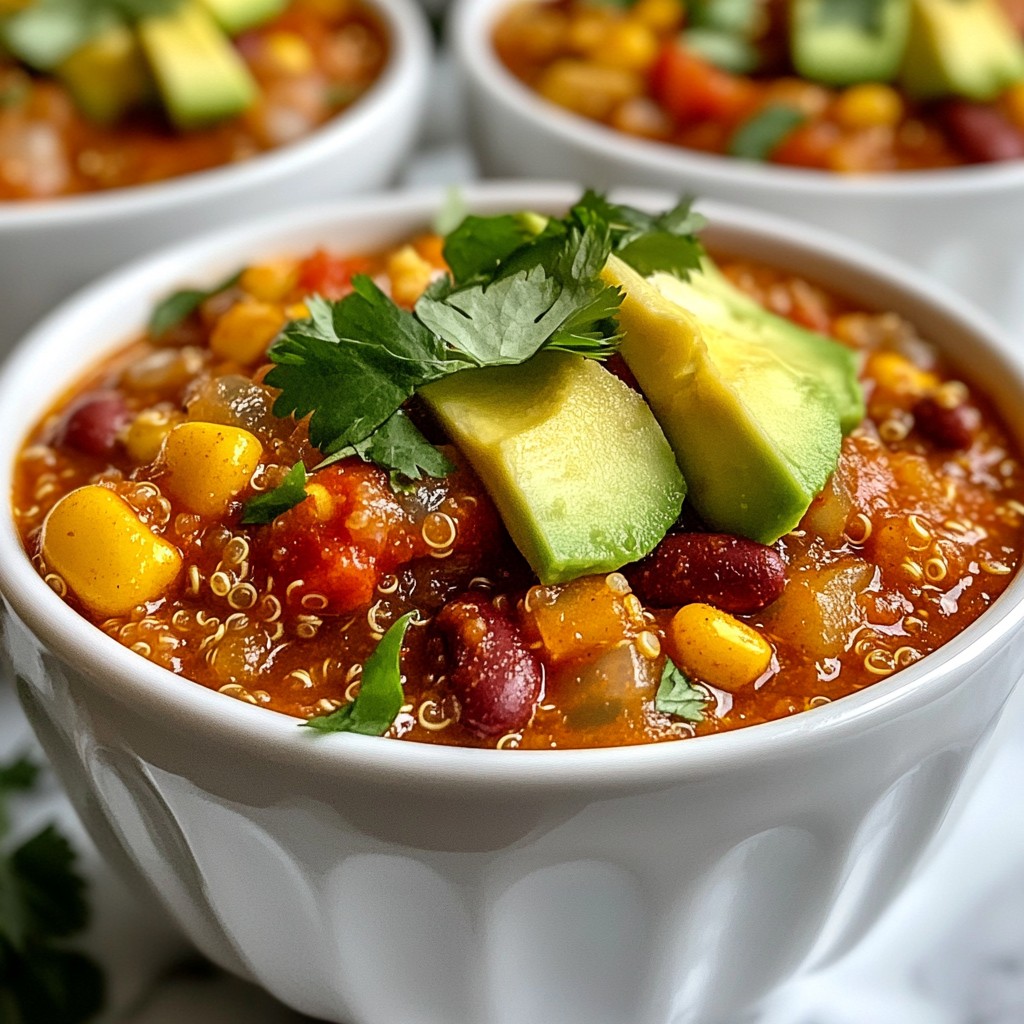
Welcome to your new favorite recipe: Instant Pot Quinoa Chili! This hearty meal is packed with flavor and nutrition, making it perfect for any day. I’ll guide you through the easy steps to create a comforting dish that warms your soul. Whether you’re a busy parent or a meal prep pro, this chili is quick to make and satisfying to eat. Let’s dive in and get cooking!
Why I Love This Recipe
- Quick and Easy: This recipe comes together in just 35 minutes, making it perfect for busy weeknights.
- Nutritious and Filling: Packed with protein from quinoa and beans, this chili is both healthy and satisfying.
- Versatile Ingredients: Feel free to swap in your favorite beans or veggies based on what's in your pantry!
- Deliciously Flavorful: The blend of spices and fresh toppings elevate this chili to a whole new level.
Ingredients
Complete Ingredient List
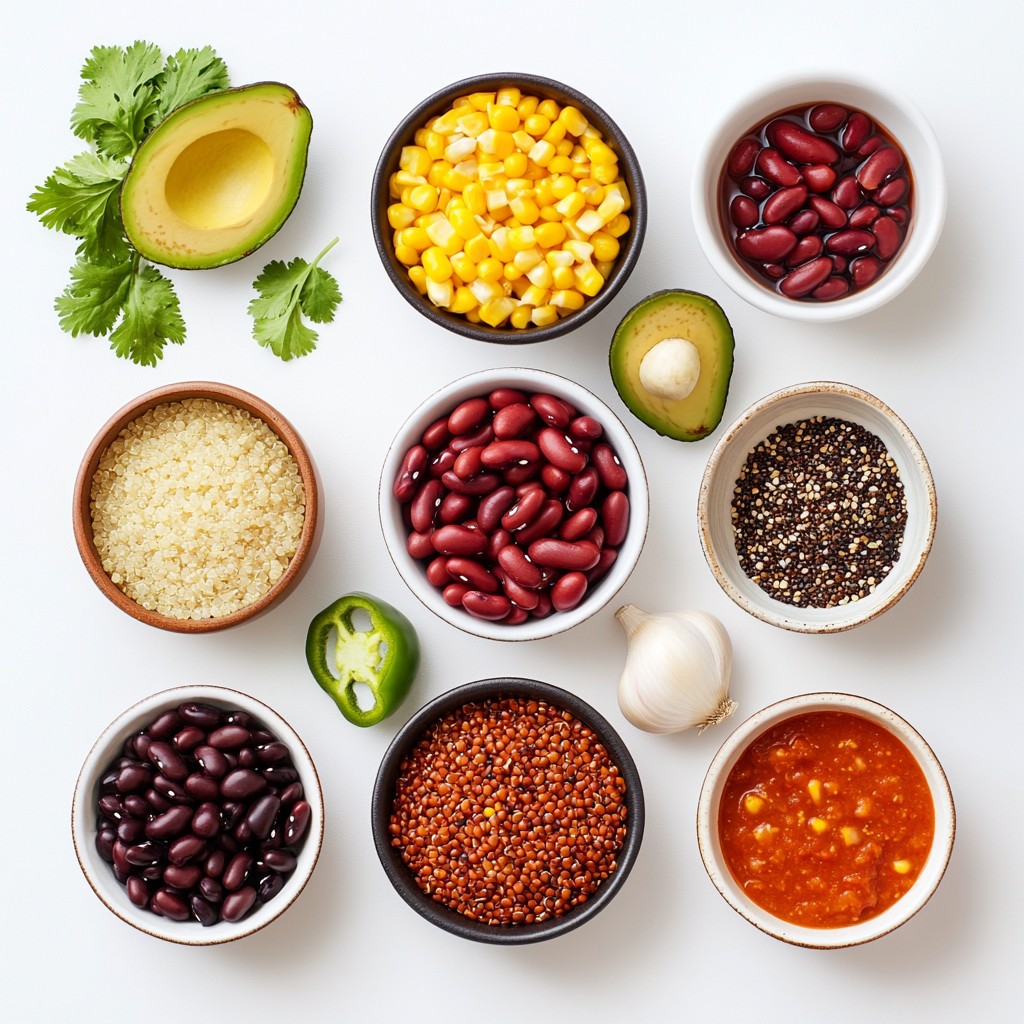
To make this Instant Pot quinoa chili, gather the following items:
- 1 cup quinoa, thoroughly rinsed and drained
- 1 can (15 oz) black beans, drained and rinsed
- 1 can (15 oz) kidney beans, drained and rinsed
- 1 can (15 oz) sweet corn, drained
- 1 can (28 oz) crushed tomatoes
- 1 medium onion, finely diced
- 2 cloves garlic, minced
- 1 bell pepper (any color), diced into bite-sized pieces
- 2 tablespoons chili powder
- 1 teaspoon ground cumin
- 1 teaspoon smoked paprika
- 1/2 teaspoon cayenne pepper (optional, for spiciness)
- 2 cups vegetable broth
- Salt and black pepper, to taste
- Fresh cilantro, chopped, for garnish
- Ripe avocado, sliced, for serving
Substitutions and Alternatives
You can switch some ingredients to meet your needs:
- Use green or pinto beans instead of black or kidney beans.
- Swap quinoa with farro or brown rice for different textures.
- Use vegetable stock or water if you lack broth.
- Replace fresh cilantro with parsley or omit it if you prefer.
- Add a different pepper, like jalapeño, for extra heat.
Nutritional Information
This quinoa chili is not only tasty but also healthy. Here’s a quick look at its benefits:
- High in protein due to quinoa and beans.
- Packed with fiber from beans and vegetables.
- Low in fat, making it heart-friendly.
- Rich in vitamins and minerals from the bell pepper and tomatoes.
Each serving offers a balanced meal that keeps you full. Enjoy this hearty chili that’s good for your body and soul!
Step-by-Step Instructions
Preparation Overview
Before we start, gather all your ingredients. This makes cooking easier and more fun. You will need:
- 1 cup quinoa, thoroughly rinsed and drained
- 1 can (15 oz) black beans, drained and rinsed
- 1 can (15 oz) kidney beans, drained and rinsed
- 1 can (15 oz) sweet corn, drained
- 1 can (28 oz) crushed tomatoes
- 1 medium onion, finely diced
- 2 cloves garlic, minced
- 1 bell pepper (any color), diced into bite-sized pieces
- 2 tablespoons chili powder
- 1 teaspoon ground cumin
- 1 teaspoon smoked paprika
- 1/2 teaspoon cayenne pepper (optional, for spiciness)
- 2 cups vegetable broth
- Salt and black pepper, to taste
- Fresh cilantro, chopped, for garnish
- Ripe avocado, sliced, for serving
Make sure your Instant Pot is clean and ready to use.
Detailed Cooking Instructions
1. Sauté the Vegetables: First, set your Instant Pot to 'Sauté' mode. Add a small amount of olive oil. When hot, toss in the diced onion, minced garlic, and diced bell pepper. Cook for 3-4 minutes until they are tender and smell great.
2. Incorporate the Spices: Next, add the chili powder, ground cumin, smoked paprika, and optional cayenne pepper. Stir well and cook for one more minute. This helps the spices flavor the vegetables.
3. Combine the Ingredients: Now, add the rinsed quinoa, black beans, kidney beans, sweet corn, crushed tomatoes, and vegetable broth. Mix everything together well. Make sure the quinoa is spread out evenly.
4. Seal and Cook: Secure the Instant Pot lid. Check that the valve is set to 'Sealing'. Choose 'Manual' mode and set it to cook on high pressure for 10 minutes.
5. Release Pressure: After cooking, let the pressure release naturally for 10 minutes. Then, carefully perform a quick release to let out any remaining pressure. Open the lid with care.
6. Season and Serve: Stir the chili and taste it. Adjust the seasoning with salt and black pepper as needed.
7. Garnish and Enjoy: Serve the chili hot in bowls. Top each bowl with fresh cilantro and avocado slices.
Instant Pot Settings
The Instant Pot settings are simple. Use 'Sauté' for cooking the vegetables and 'Manual' for pressure cooking. Ensure you set the timer for 10 minutes. This gives you a quick, tasty meal with minimal effort. Enjoy the hearty flavors of this quinoa chili!
Tips & Tricks
Common Mistakes to Avoid
When making Instant Pot quinoa chili, I see a few common mistakes. First, do not skip rinsing the quinoa. Rinsing removes the bitter coating called saponin. Second, adding too much liquid can make your chili too soupy. Stick to the recipe's vegetable broth amount. Lastly, avoid opening the lid during cooking. This can cause uneven cooking and pressure loss.
Enhancing Flavor Profiles
To boost the flavor, try adding different spices. A dash of cinnamon can add warmth. Fresh herbs, like thyme or oregano, can also enhance the taste. If you like heat, add more cayenne or a chopped jalapeño. For a smoky flavor, consider using smoked salt instead of regular salt. Mixing in a splash of lime juice before serving brightens the whole dish.
Best Practices for Perfect Texture
For the best texture, sauté your vegetables well. This step builds a flavorful base. Make sure your beans are drained and rinsed. This keeps the chili from becoming too starchy. After cooking, give it a good stir. Letting it sit for a few minutes helps the flavors meld. If your chili is too thick, add a splash of broth until it reaches your desired consistency.
Pro Tips
- Rinse the Quinoa: Rinsing quinoa before cooking removes its natural coating called saponin, which can give it a bitter taste. Make sure to drain it thoroughly after rinsing for best results.
- Customize the Spice Level: Adjust the amount of cayenne pepper based on your heat preference. Start with less if you're unsure, and add more to taste after cooking.
- Storage Tips: This chili can be stored in the refrigerator for up to 5 days or frozen for up to 3 months. Reheat thoroughly before serving.
- Perfect Pairings: Serve with toppings like shredded cheese, sour cream, or jalapeños for an extra flavor kick. A side of cornbread complements the chili beautifully.
Variations
Adding more Vegetables
You can easily boost the veggie count in your chili. Try adding carrots or zucchini. Chopped spinach or kale can add nutrients and color. You can also toss in some diced sweet potatoes for a sweet twist. Just ensure all veggies are cut into small pieces for even cooking.
Protein Substitutes
If you want more protein, consider using lentils or chickpeas. You can replace beans with ground turkey or beef. For a vegetarian option, try adding tempeh or tofu. Each of these options gives a different taste, so feel free to experiment.
Spice Level Adjustments
Adjusting the spice level is simple. If you like mild chili, skip the cayenne pepper. For more heat, add extra cayenne or diced jalapeños. You can also try different spices like crushed red pepper flakes. Start small and taste as you go to find your perfect heat.
Storage Info
How to Store Leftovers
To keep your Instant Pot quinoa chili fresh, place it in an airtight container. Let it cool first before sealing. Store it in the fridge for up to 4 days. If you plan to eat it later, storing it right is key. This ensures the flavors stay nice and strong.
Reheating Recommendations
When you’re ready to enjoy the chili again, simply reheat it on the stove or in the microwave. On the stove, warm it over medium heat, stirring often. In the microwave, heat it in short bursts, about 1-2 minutes at a time. Make sure to stir in between. This helps it heat evenly. Always check the temperature. The chili should be hot throughout before serving.
Freezing Options
If you want to save some for later, freezing is a great option. Place the cooled chili in freezer-safe containers. Leave some space at the top for expansion. You can also use freezer bags. Squeeze out the air before sealing. The chili will last up to 3 months in the freezer. When you’re ready to eat, thaw it in the fridge overnight. Reheat as mentioned above. Enjoy your hearty meal anytime!
FAQs
What can I substitute for quinoa?
You can use rice or couscous instead of quinoa. Both work well in this chili. Rice takes longer to cook, so adjust the time. Couscous cooks quickly and adds a nice texture. You can also try freekeh or bulgur for a unique twist. Each option gives a different taste and feel to your dish.
How do I make this recipe in a slow cooker?
To make quinoa chili in a slow cooker, start by sautéing the onion, garlic, and bell pepper on the stove. This step boosts flavor. Next, add these to the slow cooker with all other ingredients. Stir to mix well. Cook on low for 6 to 8 hours or on high for 3 to 4 hours. Quinoa will cook perfectly in this time.
Can I use dried beans instead of canned?
Yes, you can use dried beans! Just remember to soak them overnight. This helps them cook faster. After soaking, add them to the pot with 3 cups of broth. Cook the chili for about 25 minutes under high pressure. Make sure to check if the beans are tender before serving.
We covered the main ingredients, step-by-step cooking, and tips for success. You learned about substitutions and nutritional facts. We shared ways to vary the recipe with more veggies or spices. You now know how to store leftovers and reheat them best.
Take this knowledge and make the recipe your own. Enjoy every bite and feel good about what you eat!