Are you ready to bake the softest, fluffiest milk bread ever? In this easy recipe guide, I’ll walk you through every step, from choosing the best ingredients to perfecting your dough. We’ll explore tips for getting that amazing rise and a golden crust. Plus, you can customize it with fun flavors and toppings! Let’s dive in and make some delicious bread that everyone will love.
Why I Love This Recipe
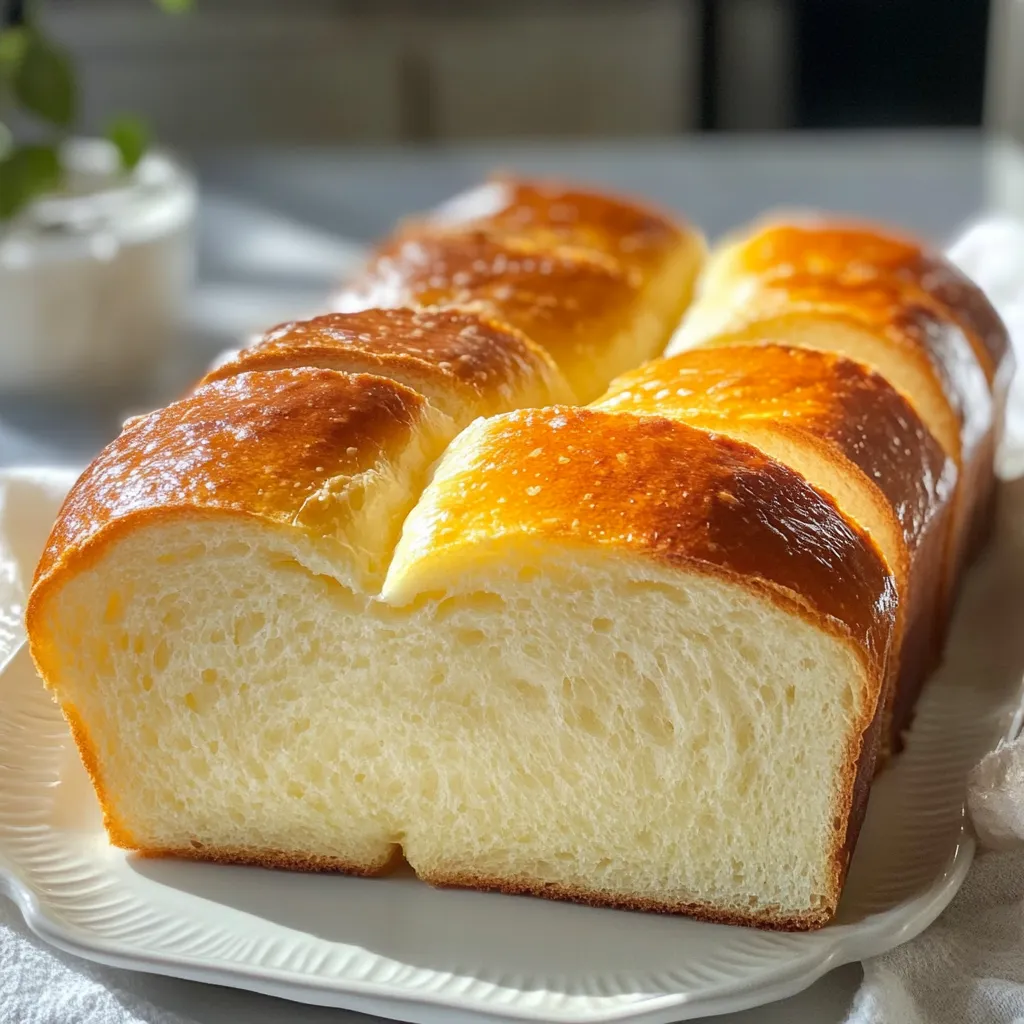
- Incredible Texture: This milk bread turns out extra fluffy and soft, making it perfect for sandwiches, toasts, or simply enjoyed plain.
- Versatile Use: Whether for breakfast or dinner, this bread adapts beautifully to any meal, pairing well with both sweet and savory toppings.
- Simple Ingredients: With just a handful of common ingredients, this recipe is easy to follow and doesn’t require any special tools beyond basic kitchen equipment.
- Impressive Presentation: This gorgeous loaf not only tastes great but also looks stunning when sliced, making it a perfect centerpiece for any gathering.
Ingredients
List of Ingredients
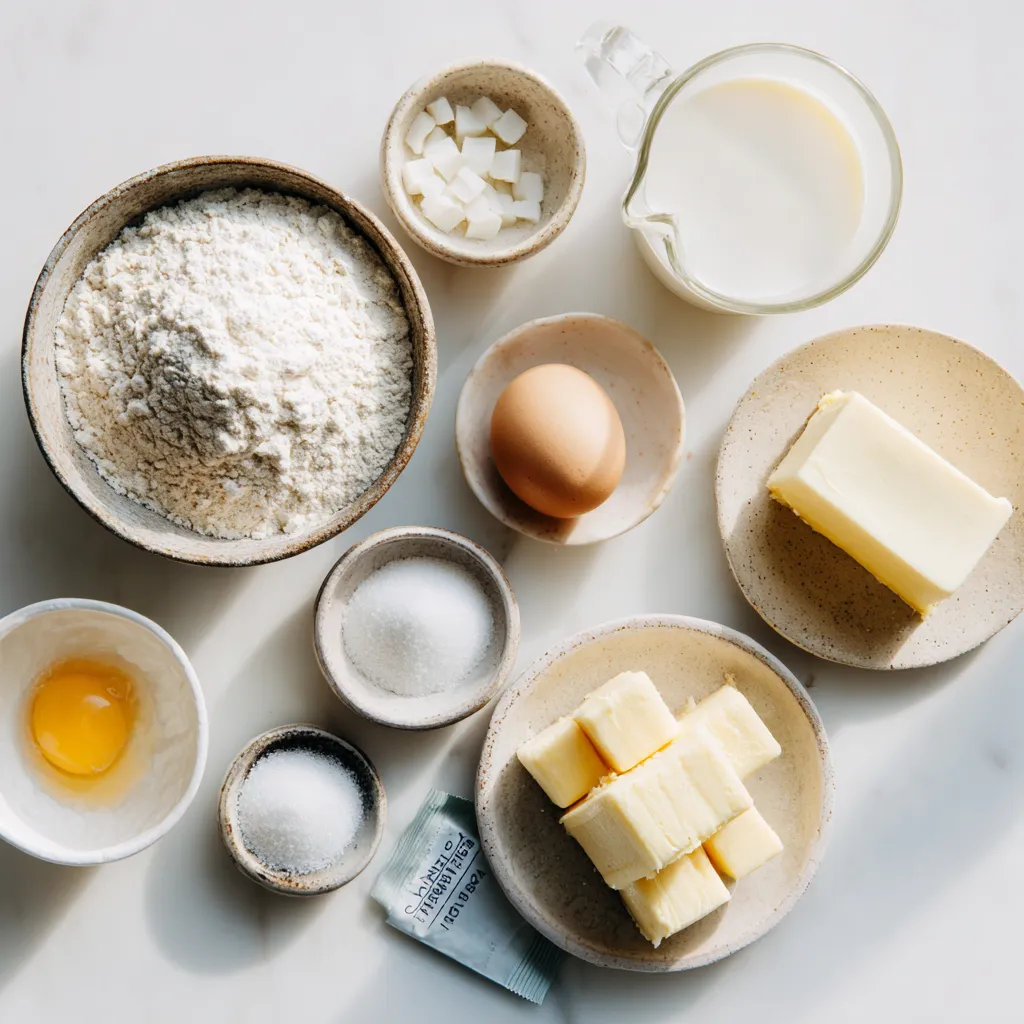
To make Extra Fluffy Milk Bread, gather these simple ingredients:
– 4 cups all-purpose flour
– 1 cup warm milk (about 110°F)
– 1/4 cup granulated sugar
– 1/4 cup unsalted butter, softened
– 1 large egg
– 2 1/4 teaspoons active dry yeast (1 packet)
– 1 teaspoon fine sea salt
– 1/4 cup heavy cream (for brushing)
Ingredient Substitutions
If you need substitutions, here are some ideas:
– You can use almond milk instead of regular milk for a dairy-free option.
– Coconut oil works well in place of unsalted butter.
– If you don’t have active dry yeast, use instant yeast. Just skip the proofing step.
– For gluten-free bread, try a gluten-free flour blend, but the texture may change.
Importance of Quality Ingredients
Using quality ingredients matters. Fresh yeast helps the dough rise well, making it airy. Good flour provides structure and helps the bread hold its shape. High-quality butter enhances flavor and texture. When you use fresh milk, it adds moisture and softness. Always choose the best you can find. The better the ingredients, the better your bread will taste. This is key to achieving that extra fluffiness we love in milk bread.
Step-by-Step Instructions
Preparing the Yeast Mixture
Start by warming 1 cup of milk to about 110°F. This warm milk wakes up the yeast. Add 1/4 cup of sugar and stir until it dissolves. Then, sprinkle 2 1/4 teaspoons of active dry yeast over the milk. Let this sit for about 5 minutes. You will see bubbles form on top. This means your yeast is ready to work.
Combining Dry Ingredients
In a large bowl, pour in 4 cups of all-purpose flour and add 1 teaspoon of fine sea salt. Mix these two together well. This step helps spread the salt evenly. Next, create a well in the center of the flour mix. This well is where you will add the wet ingredients.
Kneading the Dough
Pour the yeast mixture into the well you made. Add 1/4 cup of softened butter and 1 large egg. Use a wooden spoon to mix until a rough dough forms. If you prefer, you can use a stand mixer with a dough hook. Knead the dough for about 10 minutes by hand or 5 to 7 minutes with a mixer. You want the dough to be smooth and elastic. After kneading, place the dough in a greased bowl. Cover it with a towel and let it rise in a warm place for 1 to 2 hours. The dough should double in size.
Once it has risen, gently punch down the dough to release air. Shape it into a rectangle, fold the edges, and roll it into a log. Place this log in a greased loaf pan. Cover it with a towel again and let it rise for 30 to 45 minutes. Preheat your oven to 350°F. Before baking, brush the top with 1/4 cup of heavy cream. Bake for 30 to 35 minutes, until golden brown. Enjoy the smell as it bakes!
Tips & Tricks
Achieving the Perfect Rise
To get that fluffy rise, warmth is key. Yeast loves warm spots. Make sure your dough rises in a cozy area, away from drafts. If your kitchen is cool, try putting the bowl in the oven with just the light on. This keeps the dough warm. Also, don’t rush the rising time. Let it double in size; this may take 1 to 2 hours. The longer the dough rises, the fluffier your bread will be.
Troubleshooting Common Issues
If your bread does not rise, check your yeast. Old yeast may not work well. Always use fresh yeast. If your dough is too sticky, sprinkle in a bit of extra flour when kneading. If it is too dry, add a little water, one teaspoon at a time, until it feels just right. These small changes can make a big difference.
Baking Tips for a Golden Crust
For a nice golden crust, brush the top with heavy cream before baking. This adds color and a rich flavor. Also, bake your bread in a preheated oven at 350°F (175°C). Check the bread around 30 minutes. It is done when it is golden brown and sounds hollow when tapped. If the top gets too dark, cover it with foil during baking. This will help it cook evenly without burning.
Pro Tips
- Use Fresh Yeast: Always check the expiration date on your yeast. Fresh yeast will ensure a better rise and fluffier texture in your bread.
- Knead Thoroughly: Proper kneading develops gluten, which is essential for a chewy texture. Aim for a smooth, elastic dough before the first rise.
- Warm Environment for Rising: Make sure your dough rises in a warm, draft-free area. You can create this by placing it in an oven that’s turned off but has the light on.
- Cool Before Slicing: Let the bread cool completely before slicing. This allows the steam to escape, resulting in a better texture and prevents sogginess.
Variations
Flavor Additions
You can boost the taste of your milk bread with simple flavor additions. Try mixing in herbs like rosemary or thyme for a savory twist. Ground cinnamon or nutmeg can add warmth, perfect for breakfast. You could also fold in chocolate chips or dried fruit for a sweet treat. These flavors make the bread special and fun!
Alternative Toppings
The topping can change the game for your milk bread. Instead of cream, brush the top with melted butter before baking. You can sprinkle seeds like sesame or poppy for crunch. Cheese lovers can add shredded cheese for a savory crust. These toppings can give each loaf a unique touch.
Gluten-Free Adaptation
If you need a gluten-free option, don’t worry! Use a gluten-free all-purpose flour blend. Make sure it contains xanthan gum for the best texture. The liquid ratios may need tweaking, so watch the dough closely. This bread can still be fluffy and delicious, even without gluten!
Storage Info
How to Store Leftover Bread
To keep your extra fluffy milk bread fresh, wrap it tightly in plastic wrap. You can also place it in a zip-top bag. This will help keep it soft and moist. Store the bread at room temperature for up to three days. If you want to keep it longer, freezing is a great option.
Freezing Milk Bread
To freeze your milk bread, first slice it if you want easy portions. Then, wrap each slice in plastic wrap or aluminum foil. Place the wrapped slices in a freezer-safe bag. This way, you can take out only what you need. Milk bread can stay good in the freezer for up to three months. Just remember to label the bag with the date.
Reheating Tips for Freshness
When you are ready to enjoy your stored bread, reheating is key. For the best results, you can use an oven. Preheat your oven to 350°F. Place the bread directly on the rack or on a baking sheet for about 10 to 15 minutes. This warms it up and revives its fluffy texture. If you are in a hurry, you can use the microwave. Heat a slice for about 10 to 15 seconds. Be careful not to overheat, or it will get chewy. Enjoy your bread warm for the best taste!
FAQs
What Makes Milk Bread Extra Fluffy?
Milk bread is extra fluffy due to its unique blend of milk, sugar, and yeast. Warm milk helps activate the yeast, creating bubbles that add air. The sugar feeds the yeast, making it work harder. This process gives the bread its light and airy texture. The kneading also plays a big role. It develops the gluten in the flour, which supports the bread’s structure. The longer you knead, the fluffier your bread will be. Plus, letting it rise twice traps even more air, making it soft and fluffy.
Can I Use Whole Wheat Flour?
Yes, you can use whole wheat flour, but the texture will change. Whole wheat flour has more fiber and absorbs more liquid compared to all-purpose flour. This can make your bread denser. If you decide to use it, mix it with all-purpose flour. A good ratio is half whole wheat and half all-purpose. This keeps some fluffiness while adding more nutrients. You may need to add a bit more liquid to get the right dough texture. Experimenting is key to finding your perfect mix!
How Do I Know When the Bread is Done?
To know if your bread is done, tap the bottom of the loaf. If it sounds hollow, it’s ready. You can also check the color. It should be a rich golden brown. A food thermometer can help too. Insert it into the center; it should read around 190°F. If you see a nice golden crust and hear that hollow sound, your bread is perfect. Trust your instincts and enjoy the warm, fluffy goodness!
This guide covers making delicious milk bread from key ingredients to baking tips. Quality matters, especially for an airy texture. I shared helpful tricks to fix issues and achieve a beautiful crust. You can even try fun flavors or toppings to make it your own. Storing and reheating your bread can keep it fresh longer. Use these tips to bake your best loaf yet! Enjoy the process, and happy bakin
<!-- /wp:post-conte