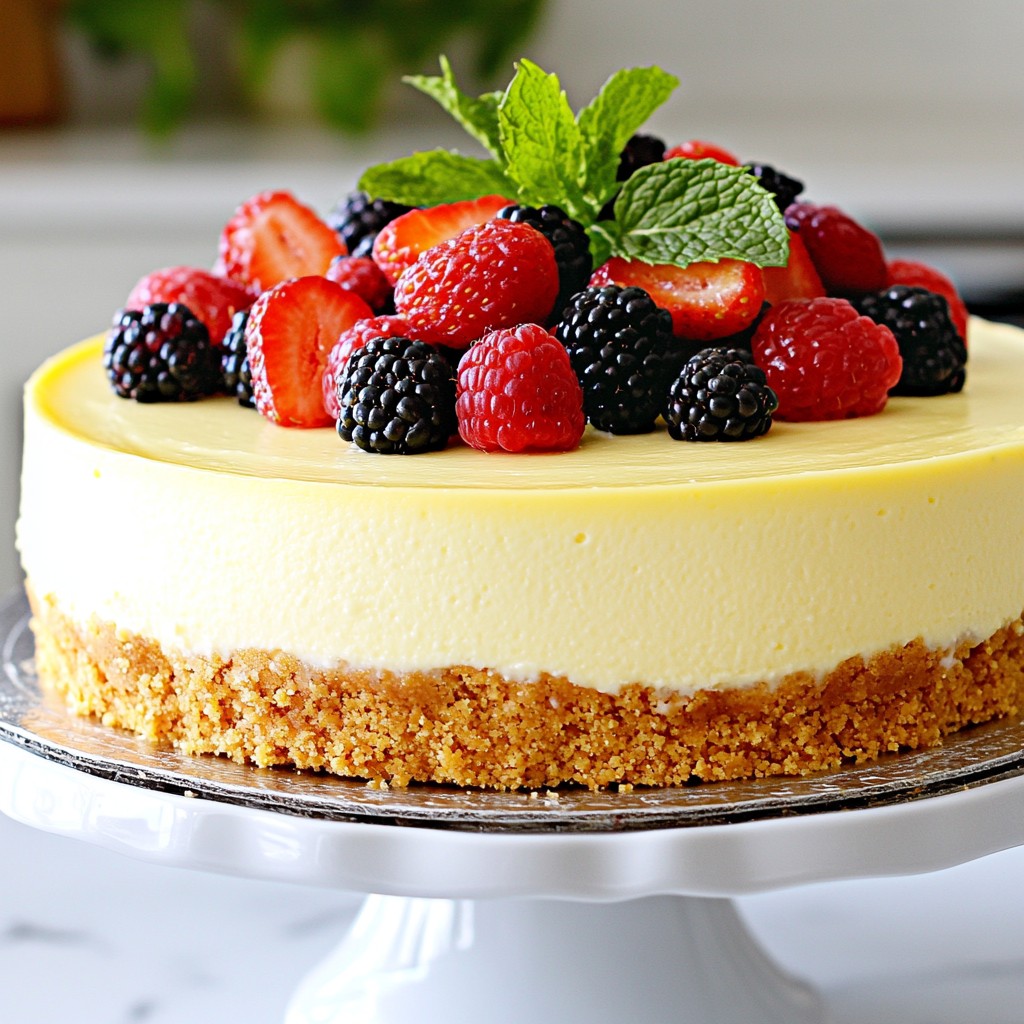
Get ready to indulge in a rich and creamy delight with my Classic Vanilla Bean Cheesecake! This dessert is perfect for any occasion, whether you’re hosting a party or enjoying a quiet night at home. In this post, I’ll guide you through simple steps to create a cheesecake that melts in your mouth. Plus, I’ll share tips, storage ideas, and fun variations to try. Let’s dive into this sweet treat!
Why I Love This Recipe
- Decadent Flavor: This cheesecake is rich and creamy, with the perfect balance of sweetness and the aromatic notes of vanilla bean that elevate it to gourmet status.
- Simple Ingredients: Made with pantry staples, this recipe allows you to create a stunning dessert without needing hard-to-find ingredients.
- Perfect for Any Occasion: Whether it’s a holiday, birthday, or just a casual gathering, this cheesecake is sure to impress your guests and make any event special.
- Make-Ahead Delight: This cheesecake can be made a day in advance, allowing flavors to deepen while saving you time on the day of your celebration.
Ingredients
Essential Ingredients for Classic Vanilla Bean Cheesecake
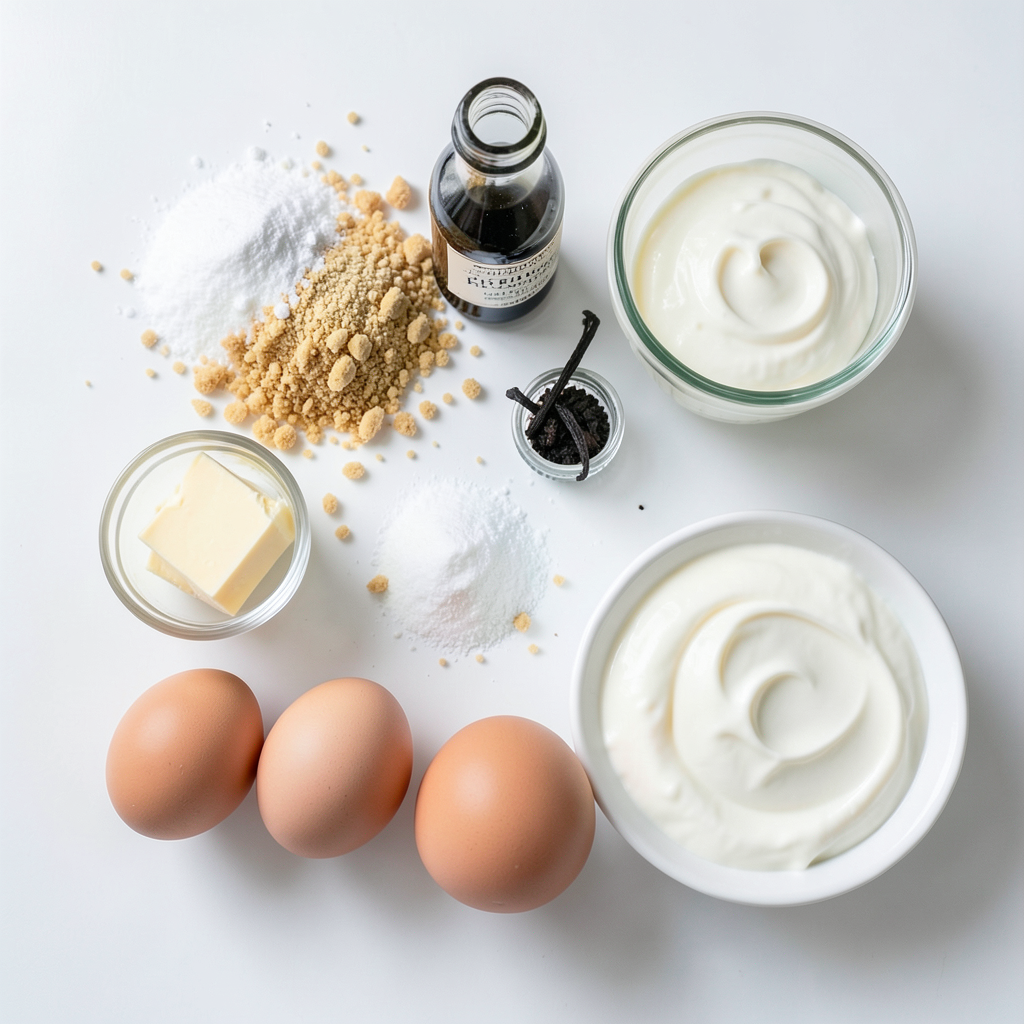
To make a classic vanilla bean cheesecake, you need these key ingredients:
- 1 ½ cups graham cracker crumbs
- ⅓ cup granulated sugar
- ½ cup unsalted butter, melted
- 4 packages (8 oz each) cream cheese, softened
- 1 ¼ cups granulated sugar
- 1 teaspoon pure vanilla extract
- 1 vanilla bean, split with seeds scraped out
- 4 large eggs, at room temperature
- 1 cup sour cream
- ½ cup heavy cream
These ingredients come together to create a rich and creamy dessert. The cream cheese gives the cheesecake its smooth texture. The vanilla bean adds a lovely flavor and specks that make it special.
Optional Toppings and Garnishes
You can make your cheesecake even better with some fun toppings. Here are a few options:
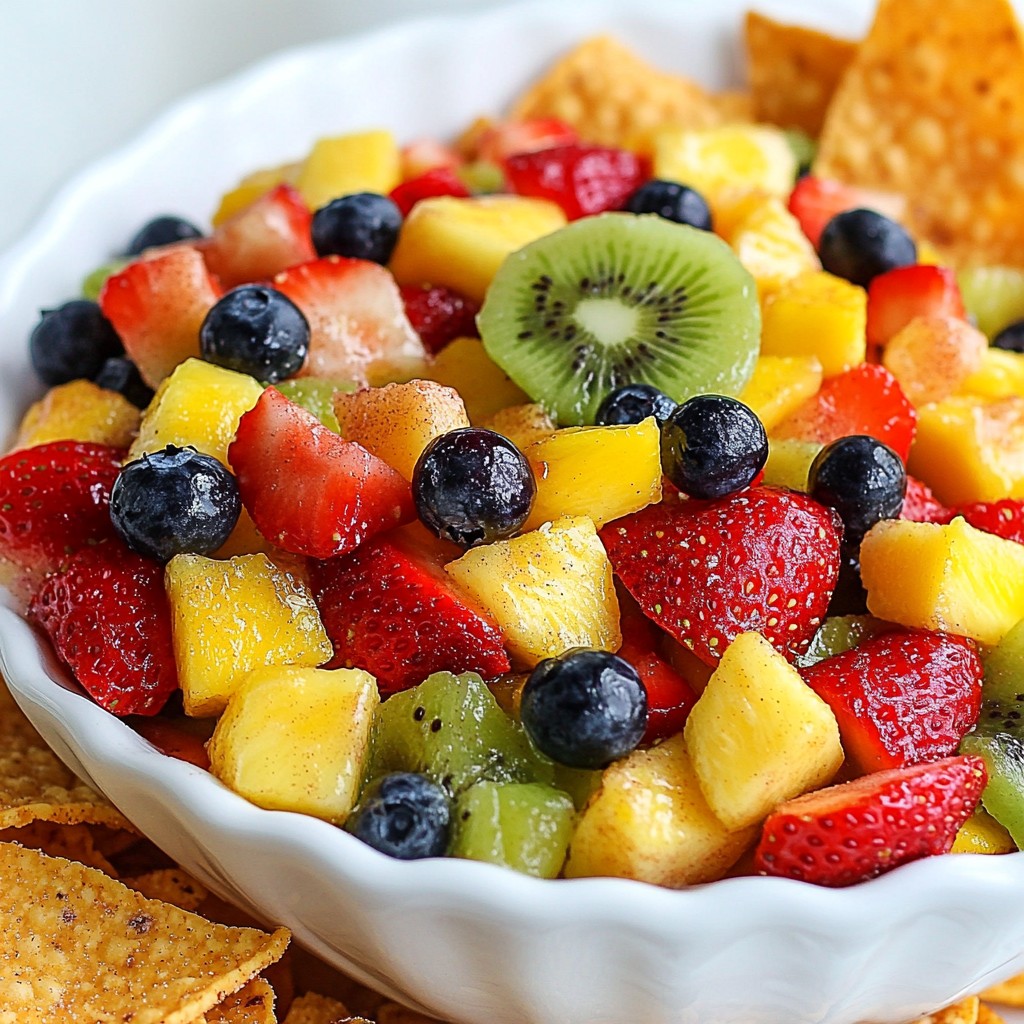
- Fresh berries (strawberries, blueberries, or raspberries)
- Whipped cream
- A sprinkle of cocoa powder
- Chocolate shavings
- A drizzle of caramel or chocolate sauce
- Mint leaves for garnish
These toppings add color and flavor, making your cheesecake look and taste amazing.
Substitutions for Dietary Preferences
If you have dietary needs, you can still enjoy this cheesecake. Here are some easy swaps:
- For a gluten-free crust, use gluten-free graham cracker crumbs or almond flour.
- Swap cream cheese for a dairy-free alternative like cashew cream.
- Use a sugar substitute like stevia for a lower-sugar version.
- Replace heavy cream with coconut cream for a lactose-free option.
These substitutions keep the essence of the cheesecake while fitting your diet. You can still enjoy a slice of this rich dessert!
Step-by-Step Instructions
Preparation of the Crust
Start by preheating your oven to 325°F (163°C). Grab a 9-inch springform pan and grease it with butter or non-stick spray. This helps the cheesecake come out easily. In a medium bowl, mix together 1 ½ cups of graham cracker crumbs, ⅓ cup of sugar, and ½ cup of melted butter. Stir until it looks like wet sand. Press this mixture into the bottom of the springform pan. Make it even and firm. Bake the crust for 10 minutes, then let it cool slightly.
Making the Cheesecake Batter
While the crust cools, take 4 packages of softened cream cheese and place them in a large bowl. Beat the cream cheese with an electric mixer until it’s smooth and creamy. This should take about 2-3 minutes. Gradually add 1 ¼ cups of sugar and mix until fluffy. Next, add 1 teaspoon of pure vanilla extract and the seeds from one vanilla bean. Mix briefly to combine. Add 4 large eggs one at a time, mixing slowly after each addition. Be careful not to overmix. Finally, fold in 1 cup of sour cream and ½ cup of heavy cream. Mix until everything is smooth and well blended.
Baking and Cooling the Cheesecake
Pour the cheesecake batter over the cooled crust. Gently tap the pan on the counter to remove air bubbles. Bake the cheesecake for 50-60 minutes. Check for doneness when the edges are set but the center jiggles a bit. Once done, turn off the oven and leave the cheesecake inside with the door slightly ajar for one hour. This step helps prevent cracks. After an hour, move the cheesecake to the fridge. Chill it for at least 4 hours, but overnight is best for taste and texture. Enjoy the rich and creamy delight of your vanilla bean cheesecake!
Tips & Tricks
Achieving the Perfect Cheesecake Texture
To get a smooth and creamy cheesecake, start with room temperature cream cheese. Cold cream cheese can lead to lumps. Beat it well until it is fluffy. Mix in the sugar slowly. This keeps the air in the mixture. Also, add eggs one at a time. This helps keep the texture nice and smooth. Finally, fold in the sour cream and heavy cream gently. Overmixing can make it dense.
Preventing Cracks in Your Cheesecake
Cracks can ruin the look of your cheesecake. To avoid them, bake your cheesecake in a water bath. This adds moisture and helps with even cooking. After baking, leave the cheesecake in the oven with the door ajar for an hour. This gradual cooling reduces shock and helps prevent cracks. If cracks do appear, don’t fret! A dollop of whipped cream or fresh fruit can cover them up.
Serving Suggestions for Maximum Enjoyment
When it’s time to serve, slice your cheesecake into even pieces. For a clean cut, dip a knife in hot water and wipe it dry. This gives you smooth slices. Top each piece with fresh berries and a sprig of mint for a pop of color. You can also serve it with a drizzle of chocolate or caramel sauce. Pair it with a cup of coffee or tea for a perfect treat.
Pro Tips
- Use Room Temperature Ingredients: Ensure that your cream cheese, eggs, and sour cream are at room temperature before mixing. This helps create a smoother batter and prevents lumps in your cheesecake.
- Don’t Overmix: When adding the eggs, mix just until combined. Overmixing can incorporate too much air into the batter, which may lead to cracking during baking.
- Water Bath Method: For an ultra-creamy texture, consider using a water bath while baking the cheesecake. Wrap the springform pan in aluminum foil and place it in a larger pan filled with hot water during baking.
- Perfect Cooling: Allow the cheesecake to cool gradually in the oven with the door ajar to prevent cracks. Follow this by chilling it in the refrigerator for the best texture and flavor development.
Variations
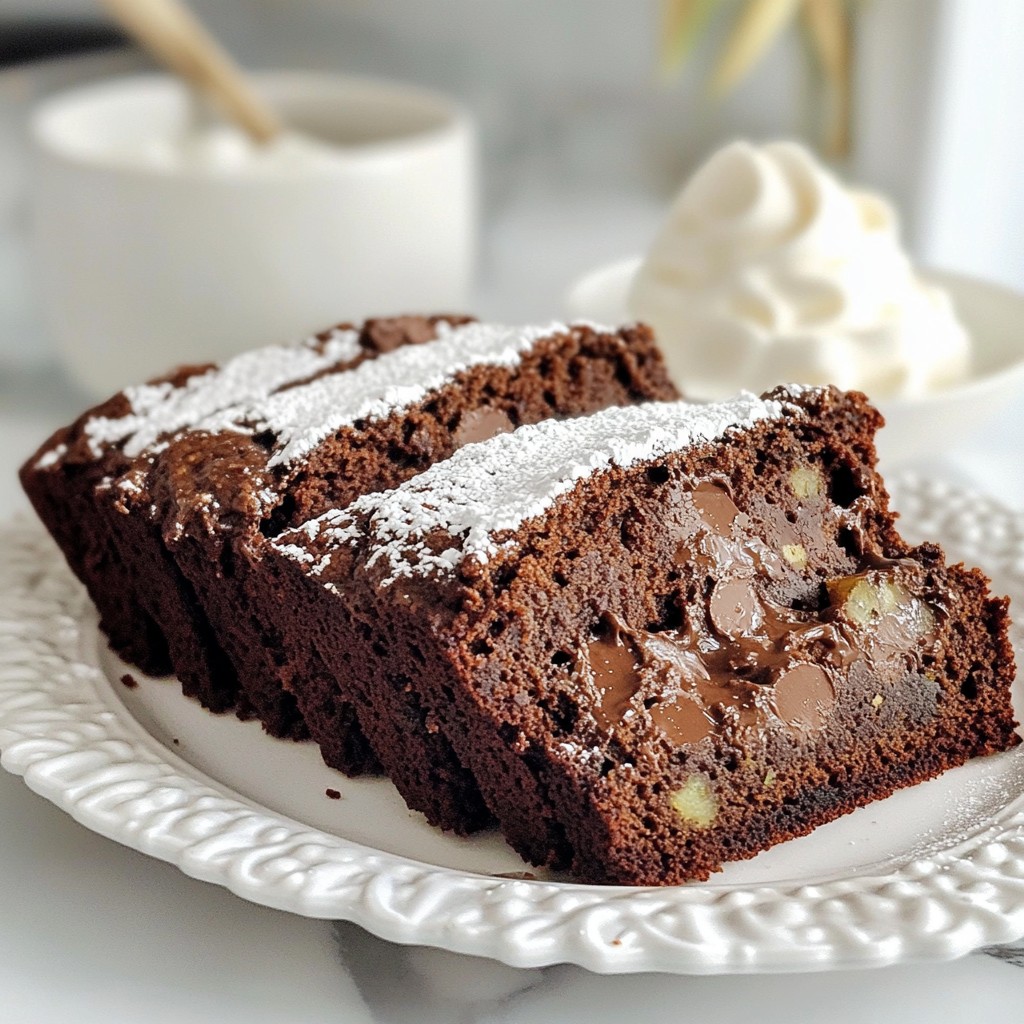
Flavored Cheesecake Options (Chocolate, Fruit, etc.)
You can make this cheesecake your own by adding flavors. For a chocolate twist, mix in melted dark chocolate. You can also fold in fruit puree, like raspberry or lemon, for a fresh taste. Using fruit gives a bright color and flavor. You might also try adding spices like cinnamon or nutmeg to change the flavor profile. Get creative with toppings too!
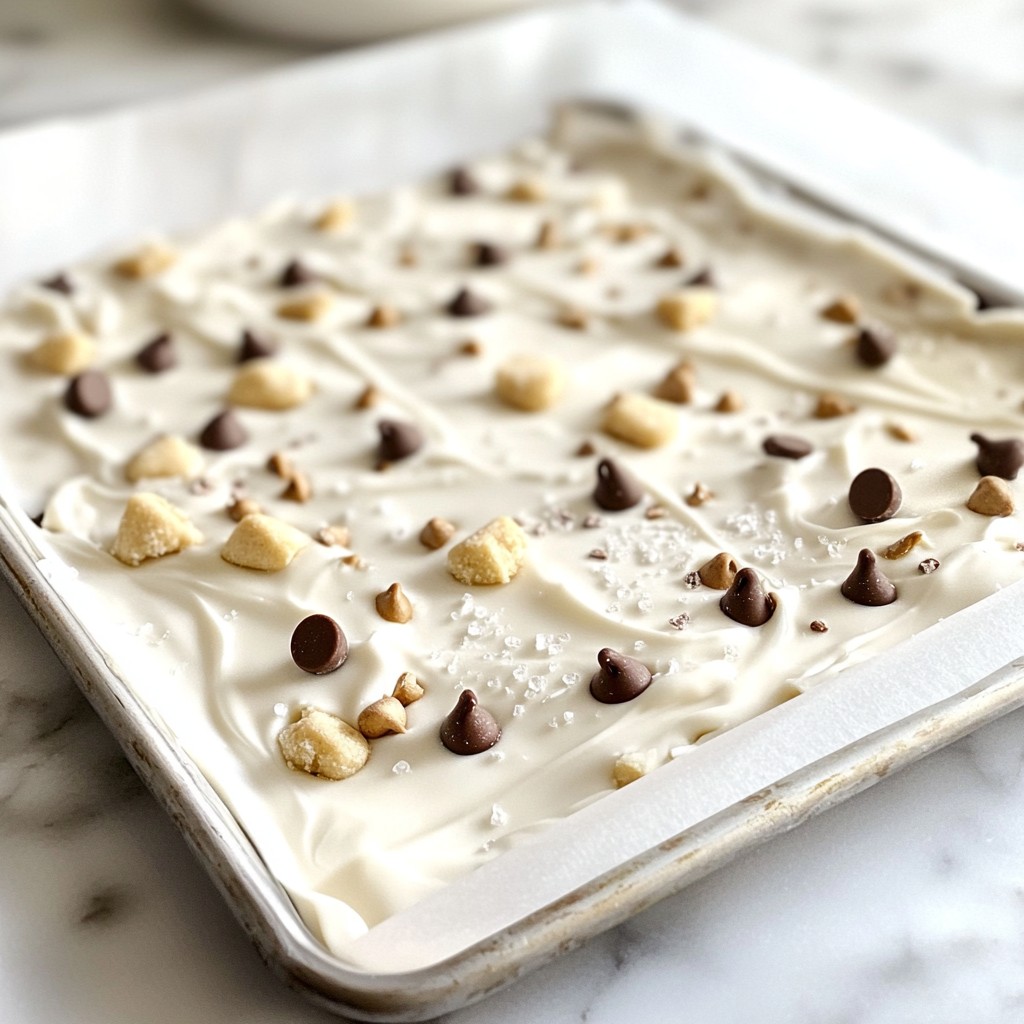
No-Bake Vanilla Bean Cheesecake
If you want an easier option, try a no-bake cheesecake. To make this, skip the oven steps. Use the same ingredients but replace the eggs with whipped cream. Just mix everything together and pour it into a crust. Chill it for several hours until it firms up. This method gives you a light and fluffy dessert that’s perfect for warm days.
Gluten-Free Adaptations
For a gluten-free cheesecake, swap the graham cracker crust. Use crushed gluten-free cookies or almond flour mixed with butter. This keeps the crust tasty while being safe for those who avoid gluten. Check labels on your ingredients to ensure they are gluten-free. Enjoy your classic vanilla bean cheesecake without worry!
Storage Info
How to Store Leftover Cheesecake
To keep your cheesecake fresh, wrap it tightly. Use plastic wrap or foil. Store it in the fridge for up to five days. Make sure the cheesecake is cool before wrapping. This helps prevent moisture loss. You can also place it in an airtight container. This method keeps it safe from other fridge odors.
Freezing Cheesecake for Future Enjoyment
You can freeze cheesecake for later. Slice it first for easy thawing. Wrap each slice in plastic wrap. Then, place the wrapped slices in a freezer bag. Remove as much air as possible to avoid freezer burn. You can freeze cheesecake for up to three months. When you're ready to enjoy it, move it to the fridge overnight to thaw.
Best Practices for Reheating
If you want to warm your cheesecake, do it gently. Place it in the oven at 250°F (121°C). Heat it for about 10-15 minutes. This method keeps the texture smooth. Avoid using the microwave, as it can make the cheesecake rubbery. Let it cool for a few minutes before serving. Enjoy your rich and creamy delight!
FAQs
Can I use a different type of crust?
Yes, you can! Instead of graham cracker crumbs, try using Oreo cookies or digestive biscuits. Both options give a deliciously different flavor. For a nutty twist, crush almonds or pecans as a base. Just make sure to mix them with melted butter for a good hold.
How do I know when the cheesecake is done?
Look for the edges to be set while the center still jiggles slightly. This will ensure a creamy texture. If the edges are firm and the center looks dry, it’s overbaked. Trust your eyes and the jiggle!
What is the best way to cut a cheesecake?
To cut the cheesecake cleanly, use a hot knife. Dip the knife in hot water and wipe it dry. This helps the knife glide through the cheesecake smoothly. Clean the knife between cuts for the best slices. Serve those slices with a smile!
Making a classic vanilla bean cheesecake is easy and fun. We covered essential ingredients, step-by-step instructions, and tips to ensure success. You learned about variations and how to store leftovers. Remember, each detail matters, from the crust to the baking time. Experiment with flavors or keep it simple. Enjoy your cheesecake journey, and don’t hesitate to share your tasty creations with friends!