Get ready to spread joy this holiday season with your very own Christmas cookie box! In this fun and simple baking guide, I'll show you how to create delicious cookies and package them beautifully for family and friends. From selecting key ingredients to clever decorating tips, I’ll provide everything you need for a festive baking adventure. Let’s make this Christmas memorable—one cookie at a time!
Why I Love This Recipe
- Festive Flavor Combination: This cookie recipe blends the rich taste of chocolate with the refreshing crunch of peppermint, perfectly capturing the essence of the holiday season.
- Customizable Add-Ins: With options for nuts, dried fruits, and icing, you can tailor these cookies to your personal taste or dietary preferences, making them versatile for everyone.
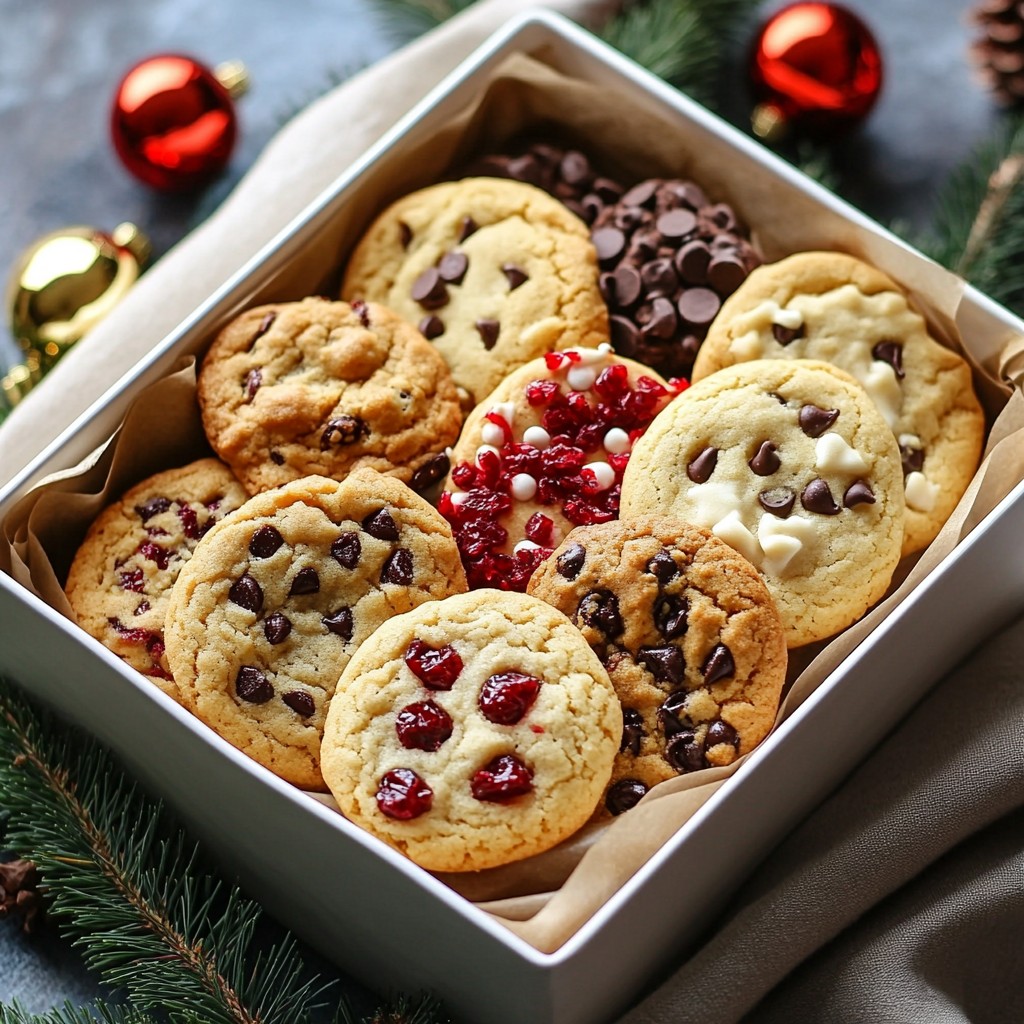
- Perfect for Gifting: These cookies make a beautiful presentation when packaged in a decorative box, making them an ideal gift for friends and family during the holidays.
- Quick and Easy: With a total time of just 30-40 minutes, you can whip up a batch of these delightful cookies without spending all day in the kitchen.
Ingredients for the Christmas Cookie Box
Essential Ingredients
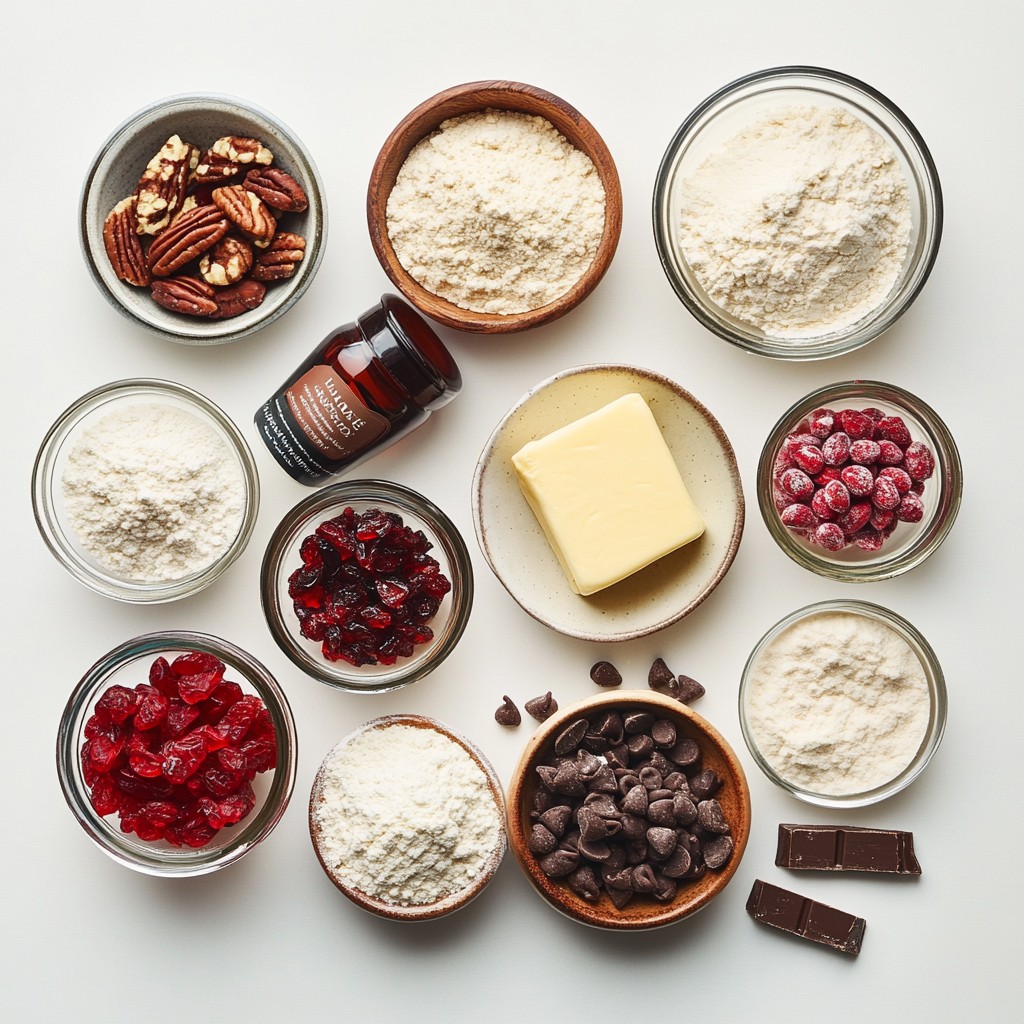
To get started on your Christmas cookie box, gather these key items:
- 2 ¾ cups all-purpose flour
- 1 teaspoon baking soda
- ½ teaspoon baking powder
- 1 cup unsalted butter, softened
- 1 ½ cups granulated white sugar
- 1 cup packed brown sugar (light or dark)
- 1 teaspoon salt
- 2 teaspoons pure vanilla extract
- 2 large eggs
- 1 cup semi-sweet chocolate chips
These ingredients form the base for rich and tasty cookies.
Optional Add-Ins
To make your cookies even more special, consider these fun extras:
- 1 cup crushed peppermint candies (about 10-12 candies)
- ½ cup dried cranberries
- ½ cup chopped nuts (such as walnuts or pecans)
These add-ins create unique flavors and textures that will impress your friends and family.
Suggested Decoration Supplies
To add a festive touch, gather these decoration supplies:
- Icing for decoration (optional)
- Colorful paper or tissue for lining your box
- Vibrant cupcake liners for cookie separation
- Small ornaments or sprigs of pine for decoration
These supplies help make your cookie box look beautiful and inviting.
Step-by-Step Instructions
Preparing for Baking
First, gather your ingredients. You will need:
- 2 ¾ cups all-purpose flour
- 1 teaspoon baking soda
- ½ teaspoon baking powder
- 1 cup unsalted butter, softened
- 1 ½ cups granulated sugar
- 1 cup packed brown sugar
- 1 teaspoon salt
- 2 teaspoons vanilla extract
- 2 large eggs
- 1 cup semi-sweet chocolate chips
- 1 cup crushed peppermint candies
- ½ cup dried cranberries
- ½ cup chopped nuts
- Icing for decoration (optional)
Preheat your oven to 350°F (175°C). Line baking sheets with parchment paper to stop cookies from sticking.
Mixing and Baking the Cookies
In a medium bowl, whisk together the flour, baking soda, and baking powder. Set this dry mix aside.
In a large bowl, cream the softened butter, granulated sugar, brown sugar, and salt using an electric mixer. Mix until light and fluffy, about 2 to 3 minutes.
Add the vanilla extract and then the eggs. Mix well after each egg to keep the batter smooth.
Gradually add the dry flour mixture to the wet ingredients. Mix until just combined. Avoid over-mixing to keep cookies soft.
Gently fold in the chocolate chips, crushed peppermint, dried cranberries, and chopped nuts. Make sure they are evenly mixed.
Use a tablespoon or cookie scoop to portion the dough. Place the dough on the prepared sheets, leaving about 2 inches between each scoop.
Bake in the oven for 10 to 12 minutes. Watch closely for light golden edges. The centers should stay soft.
Cooling and Decorating Tips
Once the cookies are baked, take them out and let them cool on the sheets for 5 minutes. Then, move them to wire racks to cool completely.
For a festive look, decorate with icing after the cookies are cool. You can also arrange them in a decorative box with colorful paper. Add sprigs of pine or small ornaments for extra charm!
Tips & Tricks for Perfect Cookies
Baking Tips for Soft Cookies
To bake soft cookies, use room temperature butter. This helps create a smooth batter. Always mix until the ingredients are just combined. Over-mixing can lead to tough cookies. Bake cookies until the edges are lightly golden. The centers should look soft and underbaked. They will firm up as they cool. Remember to space them two inches apart for even baking.
Storage Tips for Freshness
To keep your cookies fresh, store them in an airtight container. You can layer them with parchment paper to avoid sticking. For longer shelf life, keep them in the fridge. If you want to freeze cookies, place them in a freezer bag. Remove excess air before sealing. They can last up to three months in the freezer. When ready to eat, thaw at room temperature.
How to Decorate Effectively
Start decorating once your cookies are completely cool. Use icing for a fun and festive touch. You can drizzle it or spread it on top. Sprinkles or crushed candies add color and texture. For a simple design, use a toothpick to create patterns in the icing. Have fun with it! Let your creativity shine through your cookie designs.
Pro Tips
- Chill the Dough: For even thicker cookies that hold their shape, chill the dough for at least 30 minutes before baking.
- Use High-Quality Chocolate: Opt for high-quality semi-sweet chocolate chips for a richer flavor that enhances the overall cookie taste.
- Experiment with Add-Ins: Feel free to mix in different add-ins like toffee bits, dried fruits, or different nuts to customize your cookies.
- Store Properly: Keep your cookies in an airtight container at room temperature to maintain their softness and freshness for longer.
Variations to Consider
Alternative Flavor Combinations
You can switch up flavors to make your cookies unique. Here are some fun ideas:
- Orange Zest: Add a teaspoon of fresh orange zest for a citrus twist.
- Spices: Mix in cinnamon or nutmeg for warm, cozy flavors.
- Nut Butter: Use almond or peanut butter instead of some butter for richness.
- Different Chips: Swap out chocolate chips for white chocolate or butterscotch.
Feel free to mix and match flavors. This keeps your cookies exciting and fresh!
Gluten-Free and Vegan Options
Baking for everyone? Here’s how to make your cookies gluten-free and vegan:
- Gluten-Free Flour: Replace all-purpose flour with a gluten-free blend.
- Flax Eggs: For eggs, use flaxseed meal. Mix one tablespoon of flaxseed with three tablespoons of water. Let it sit for five minutes.
- Vegan Butter: Use plant-based butter instead of regular butter.
These swaps help you create tasty cookies for different diets without losing flavor.
Seasonal Themes and Additions
Make your cookie box special for the holidays! Here are some seasonal themes:
- Winter Wonderland: Use white chocolate and sprinkle with coconut flakes.
- Chocolate Peppermint: Stick with chocolate chips and crushed peppermint for a classic look.
- Festive Colors: Add red and green sprinkles to make your cookies pop.
These themes not only look great but also taste amazing, adding joy to your cookie box!
Storage Information
Best Practices for Cookie Storage
To keep your cookies fresh, store them in an airtight container. Use layers of parchment paper between cookies to prevent sticking. If you have different types of cookies, separate them with wax paper. This helps maintain their unique flavors and textures. Keep cookies in a cool, dry place, away from direct sunlight. For best results, enjoy them within a week.
How to Package for Gifting
When gifting cookies, presentation matters. Start with a decorative box or tin. Line the box with colorful tissue paper for a festive look. Place your cookies in layers, using cupcake liners to separate different flavors. This not only looks nice but also keeps cookies from breaking. Add a personal touch, like a handwritten note or a small ornament, to make it special.
Freezing Cookies for Later Use
Freezing cookies is a smart way to enjoy them later. First, let your cookies cool completely. Then, wrap each cookie in plastic wrap or foil. Place the wrapped cookies in a freezer-safe bag or container. Label the bag with the date and type of cookie. Most cookies freeze well for up to three months. When you’re ready to eat them, thaw them at room temperature for a few hours. Enjoy the taste of your Christmas cookies any time!
FAQs about Christmas Cookie Boxes
How can I make Christmas cookie boxes at home?
To make Christmas cookie boxes at home, start by baking your cookies. Use my Christmas cookie recipe for fun flavors. Once your cookies cool, gather boxes or containers. You can find small boxes at craft stores or reuse old ones. Line them with colorful paper or tissue for a festive look. Arrange the cookies neatly inside. You can also separate different types with cupcake liners. This makes it look pretty and organized.
What cookies are best for gift boxes?
The best cookies for gift boxes are those that stay fresh and look nice. I suggest using a mix of flavors and textures. Here are some great options:
- Chocolate chip cookies
- Peppermint cookies
- Cranberry cookies
- Nutty cookies
These cookies are not only tasty but also have a nice mix of colors. This adds to the visual appeal of your cookie box.
Where to buy pre-made cookie boxes?
You can buy pre-made cookie boxes at many stores. Craft stores often have a variety of options. You can also find them online at sites like Amazon. Look for boxes that are sturdy and festive. Some stores may offer decorative tins as well. These can add a special touch to your gift.
Creating a Christmas cookie box is fun and easy. You learned about essential ingredients, how to bake, and tips for perfect cookies. We explored variations like gluten-free and seasonal options too.
Now, you can make tasty cookies that impress friends and family. Remember to store them right for freshness. Enjoy baking and sharing your delicious creations this holiday!