FREE DINNER EBOOK!
Get your copy!
Cookie Policy
GDPR Policy
Disclaimer
Terms Of Use
Visit my other site:
Fun Cookie Recipes
Home
Dinner
Desserts
Drinks
Appetizers
Contact
About
Privacy Policy
Home
Dinner
Desserts
Drinks
Appetizers
Contact
About
Privacy Policy
Cookie Policy
GDPR Policy
Disclaimer
Terms Of Use
Visit my other site:
Fun Cookie Recipes
HOME / CATEGORIES /
Latest
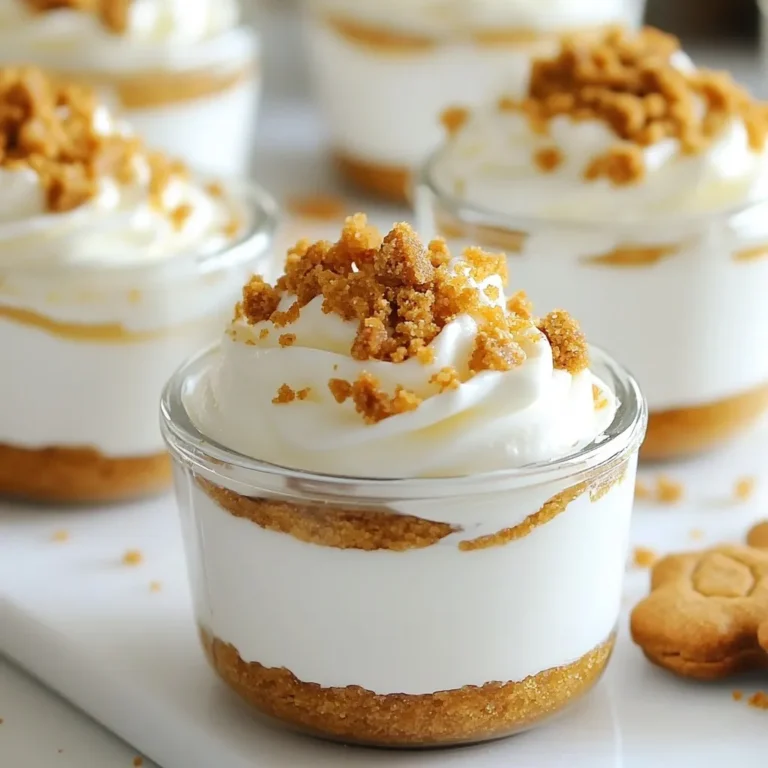
No-Bake Gingerbread Cheesecake Cups Creamy Delight
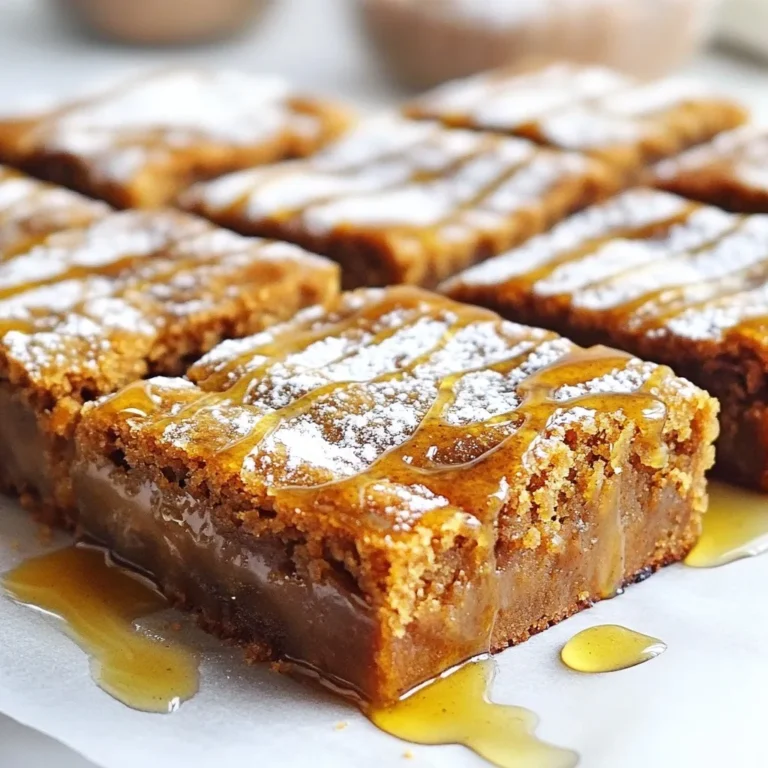
Gingerbread Cookie Bars Delightful Holiday Treat
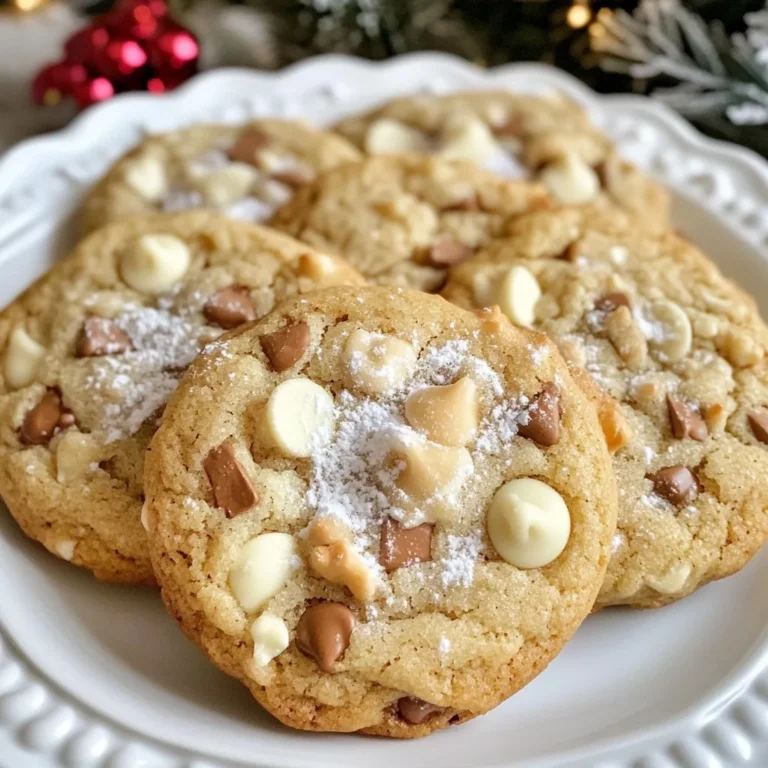
Winter Wonderland Chocolate Chip Cookies Delight
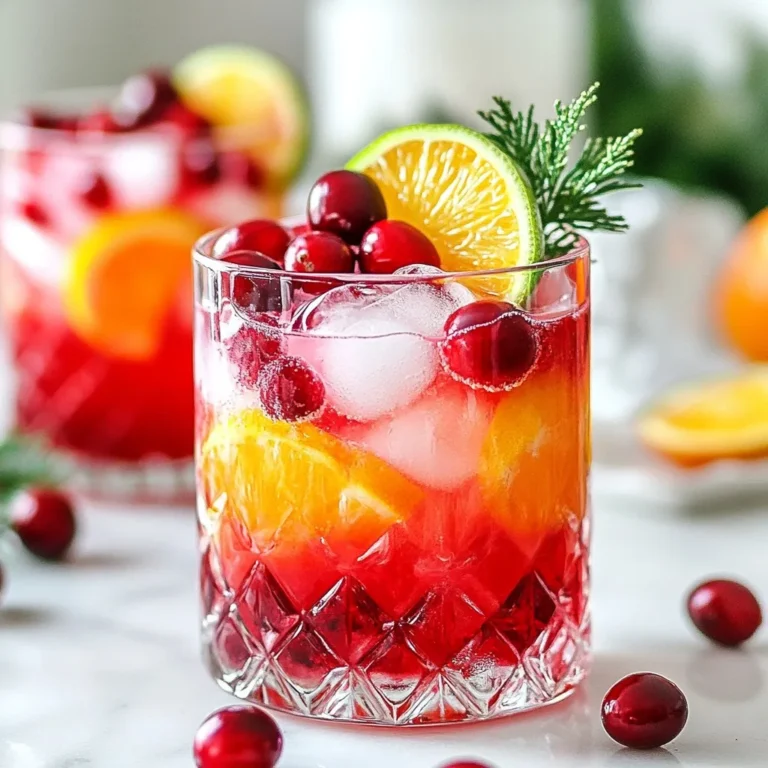
Sparkling Cranberry Christmas Mocktail Festive Delight
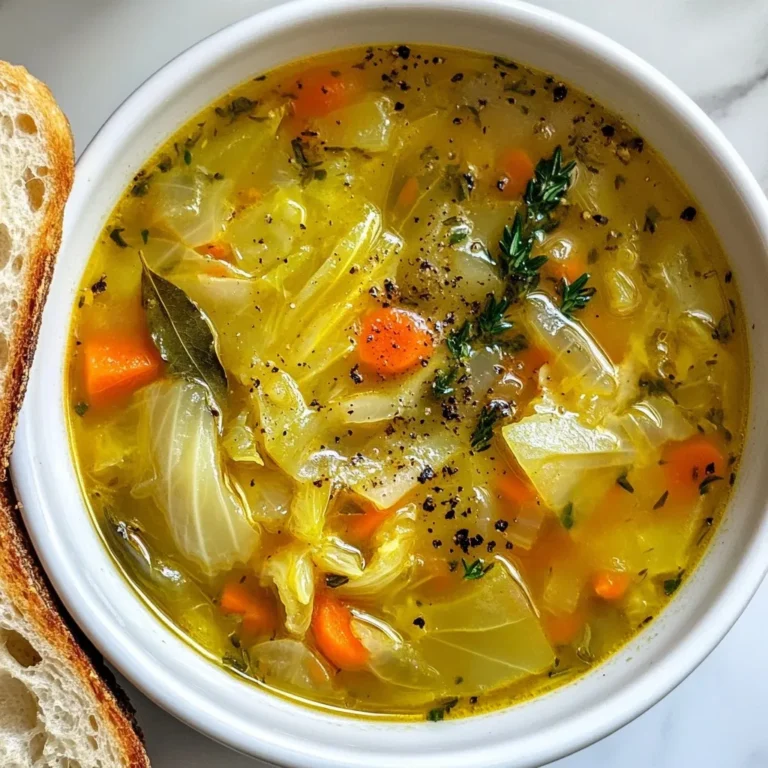
Classic Cabbage Soup Flavorful and Healthy Recipe
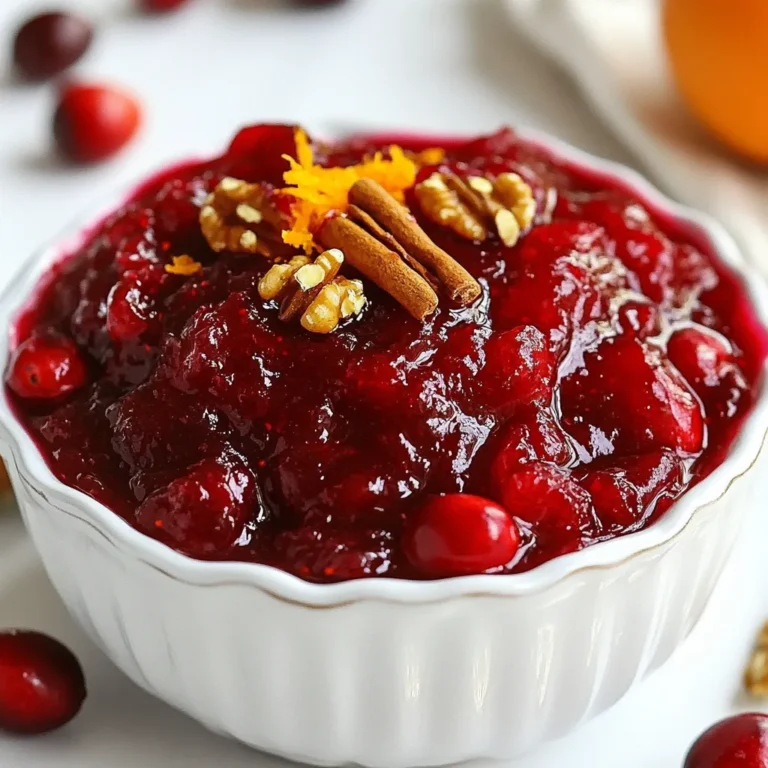
Spiced Cranberry Sauce Flavorful and Simple Recipe
Perfect Slow Cooker Chili Flavorful and Hearty Dish
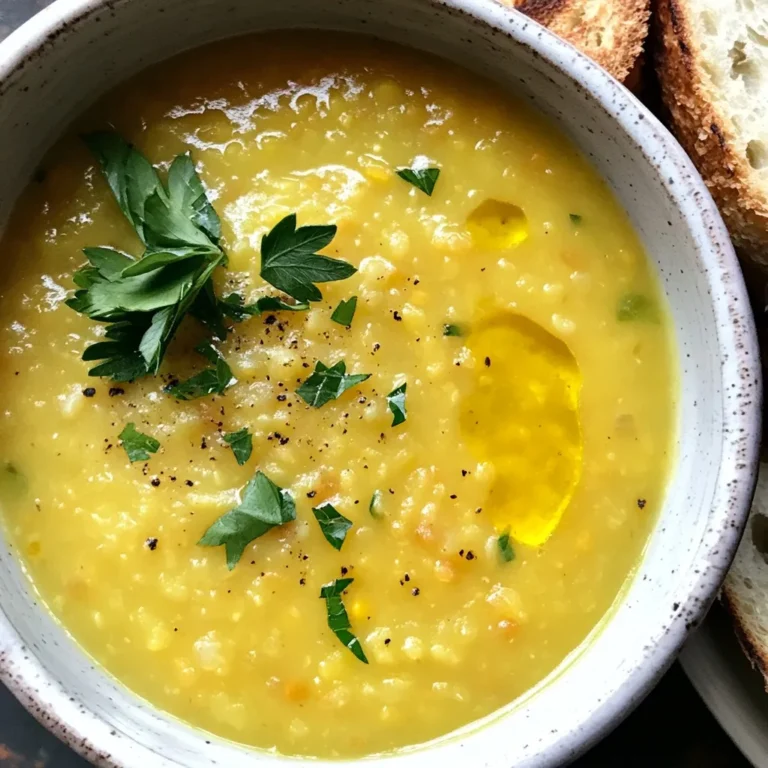
Caramelized Onion Red Lentil Soup Rich and Flavorful
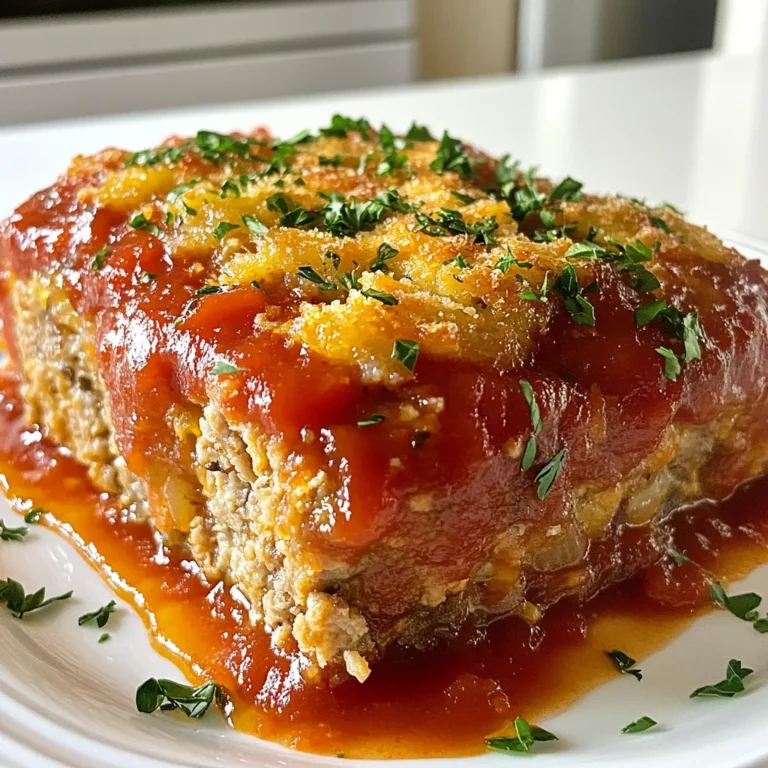
Garlic Parmesan Chicken Meatloaf Savory and Simple Recipe
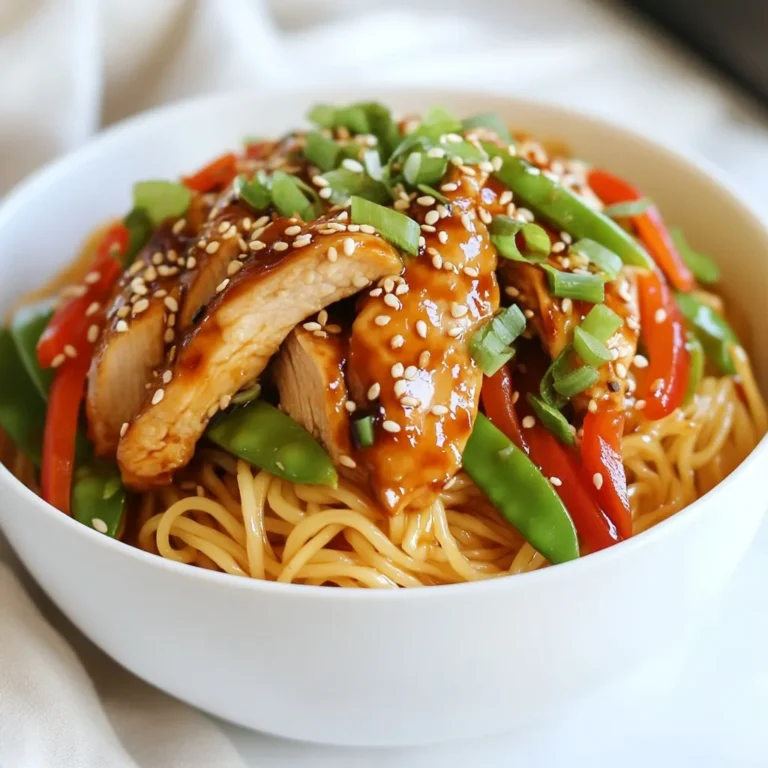
Chicken Teriyaki Noodles Quick and Flavorful Meal
PREV
1
2
3
4
…
44
NEXT