FREE DINNER EBOOK!
Get your copy!
Cookie Policy
GDPR Policy
Disclaimer
Terms Of Use
Visit my other site:
Fun Cookie Recipes
Home
Dinner
Desserts
Drinks
Appetizers
Contact
About
Privacy Policy
Home
Dinner
Desserts
Drinks
Appetizers
Contact
About
Privacy Policy
Cookie Policy
GDPR Policy
Disclaimer
Terms Of Use
Visit my other site:
Fun Cookie Recipes
HOME / CATEGORIES /
Latest
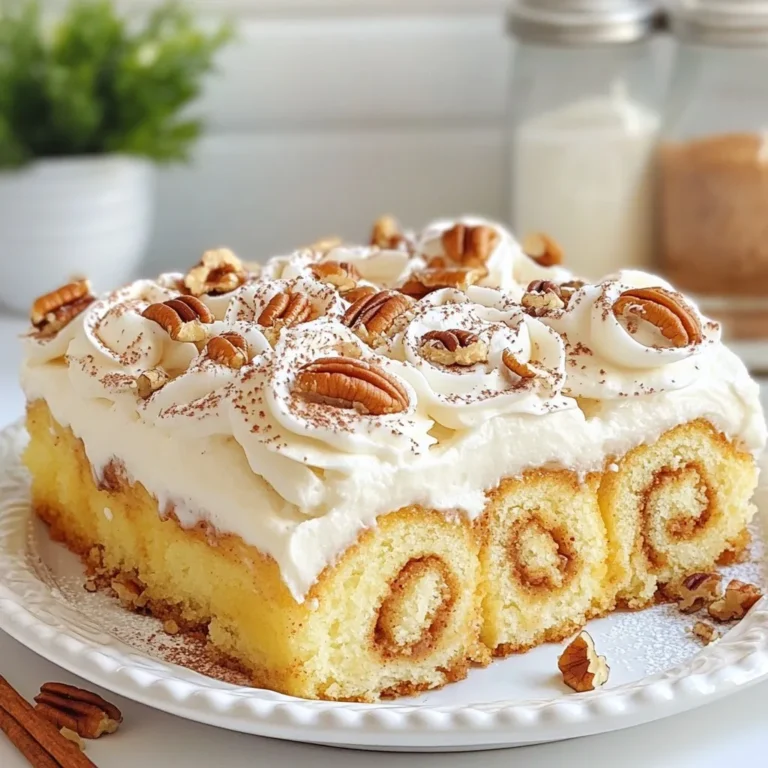
Cinnamon Roll Poke Cake Irresistible Dessert Recipe
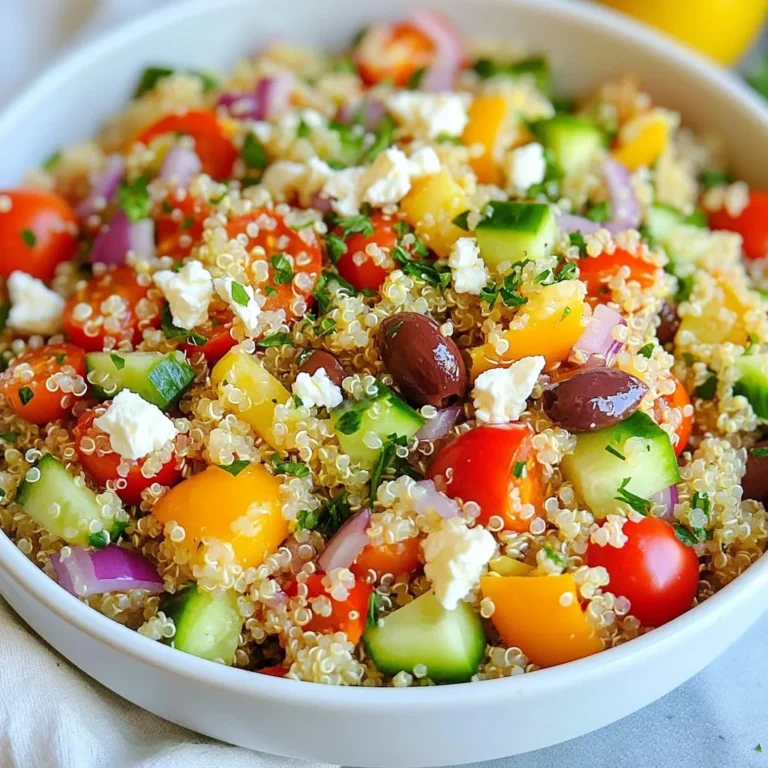
Healthy Greek Quinoa Salad Simple and Fresh Dish
Peppermint Hot Cocoa Chocolate Mousse Cups Delight
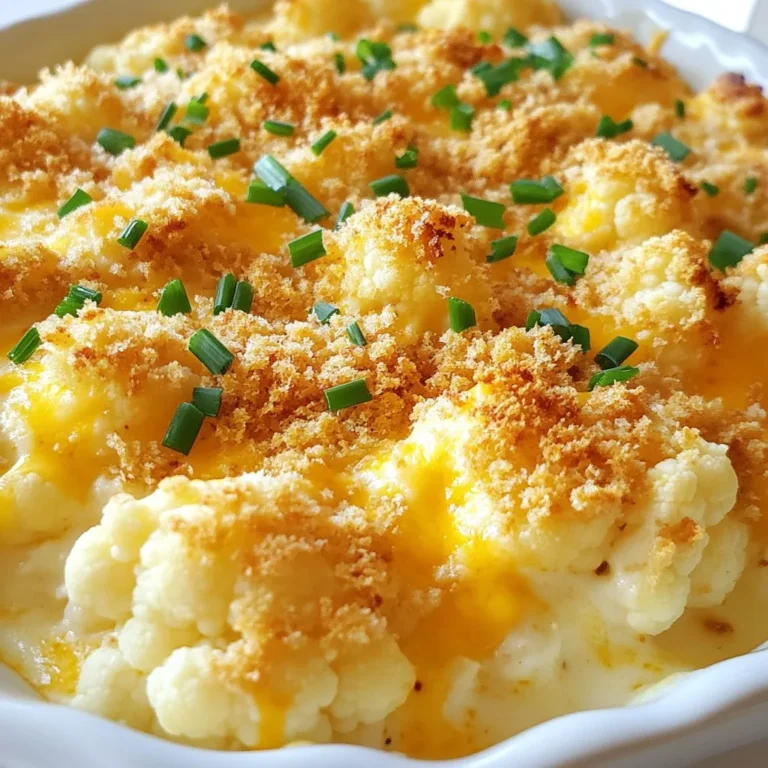
Cheesy Cauliflower Casserole Rich and Creamy Delight
Savory Slow Cooker Queso Chicken Tacos Recipe
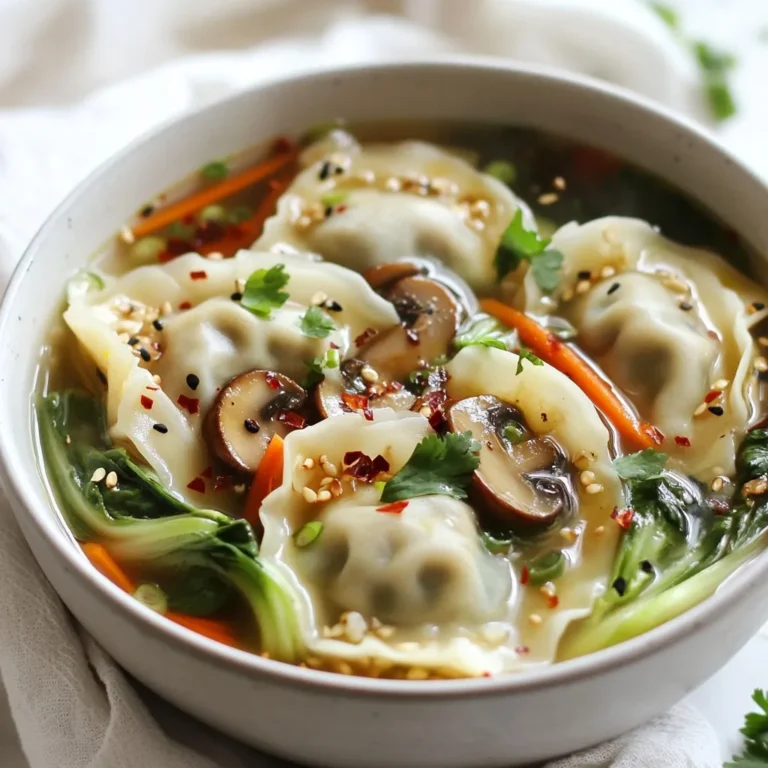
Umami Gyoza Soup Rich and Flavorful Comfort Dish
S’mores Cookie Bars Perfectly Chewy and Tasty Treat
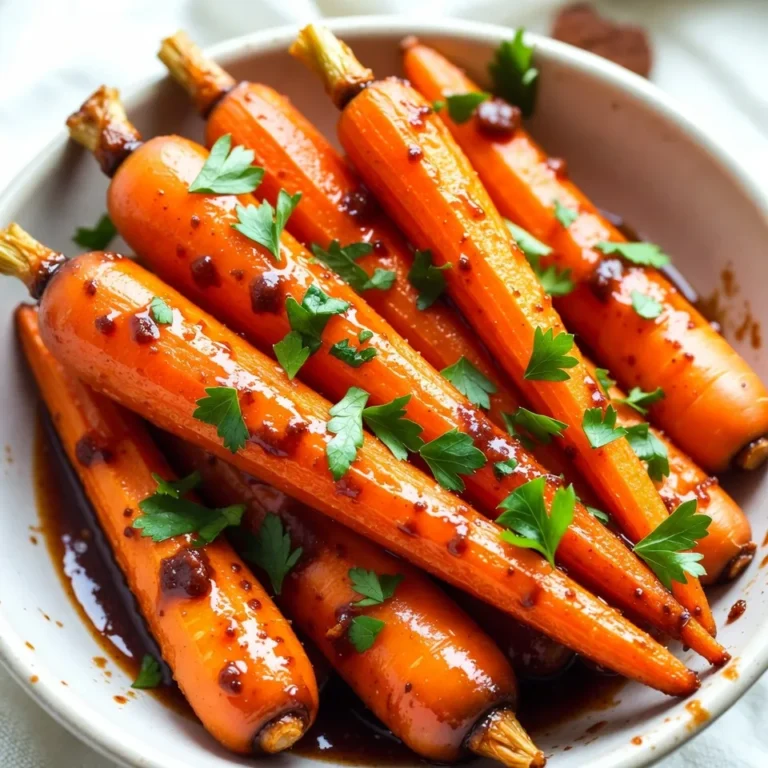
Brown Sugar Glazed Carrots Flavorful Side Dish Recipe
Winning Sugar Cookie Eggnog Cocktail Recipe Guide
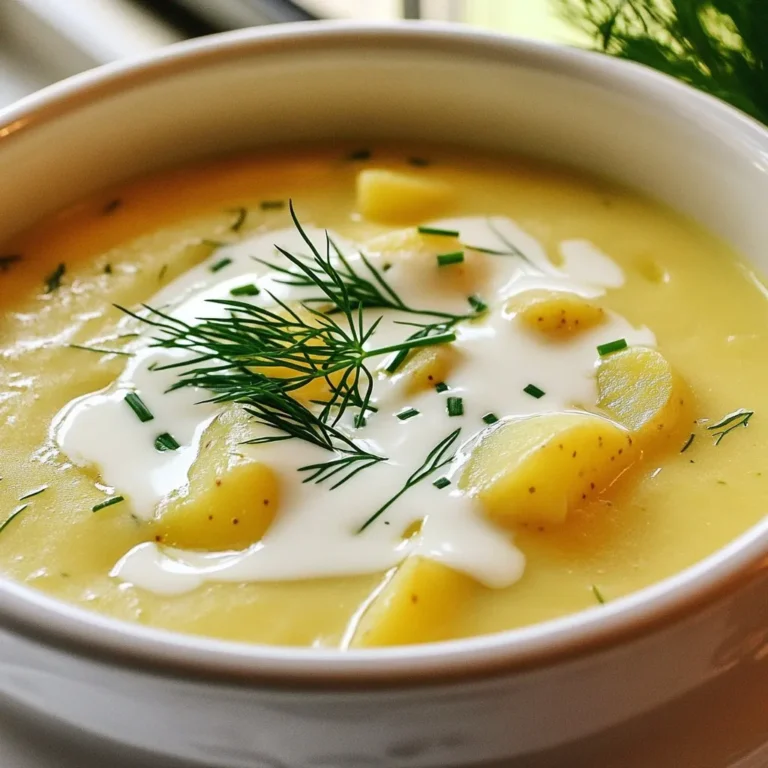
Polish Potato Soup Comforting and Creamy Recipe
PREV
1
2
3
…
43
NEXT