FREE DINNER EBOOK!
Get your copy!
Cookie Policy
GDPR Policy
Disclaimer
Terms Of Use
Visit my other site:
Fun Cookie Recipes
Home
Dinner
Desserts
Drinks
Appetizers
Contact
About
Privacy Policy
Home
Dinner
Desserts
Drinks
Appetizers
Contact
About
Privacy Policy
Cookie Policy
GDPR Policy
Disclaimer
Terms Of Use
Visit my other site:
Fun Cookie Recipes
HOME / CATEGORIES /
Latest
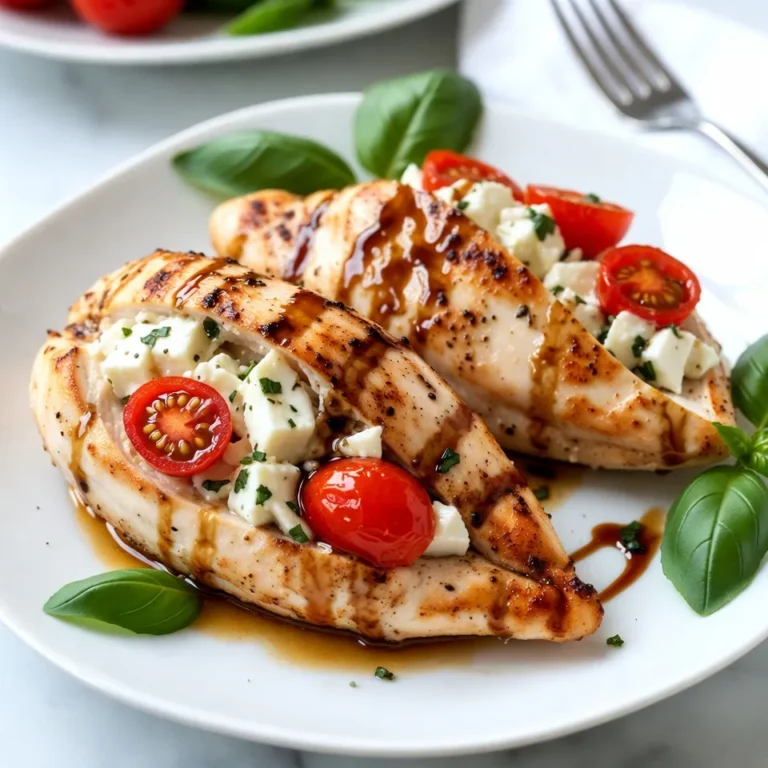
Caprese Stuffed Chicken Breast Flavorful and Easy Meal
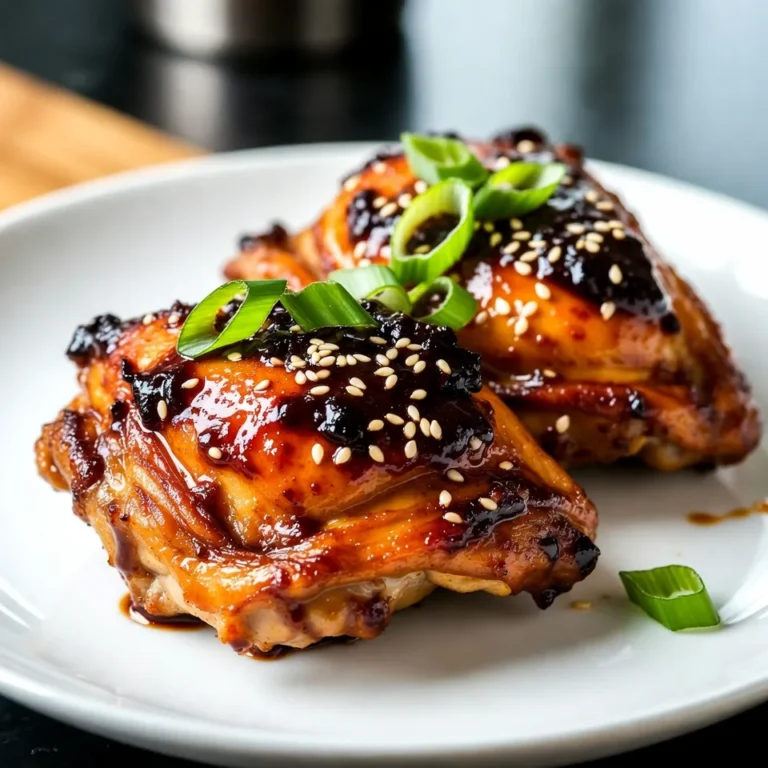
Baked Teriyaki Chicken Thighs Savory and Easy Recipe
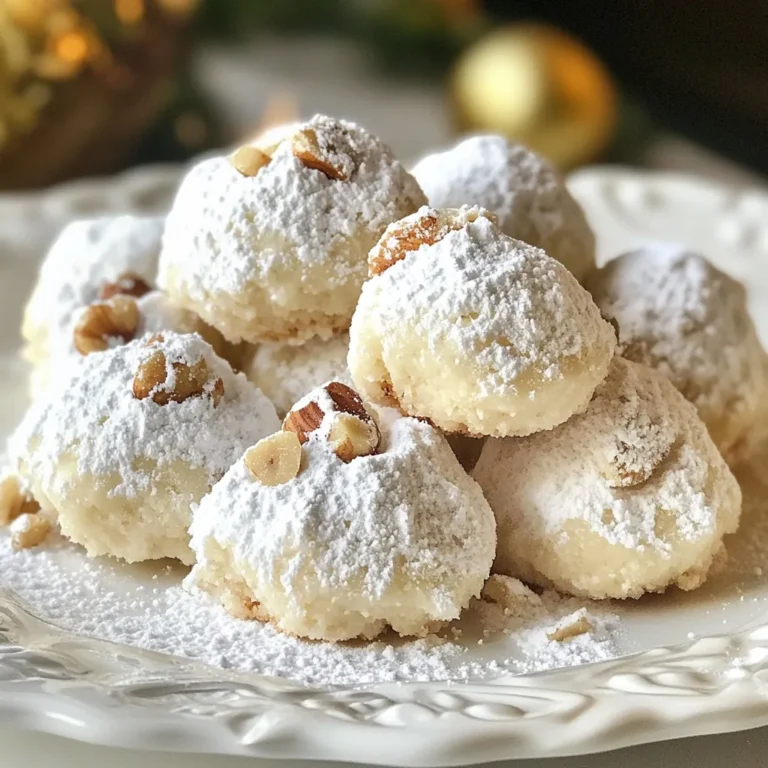
Snowball Russian Tea Cakes Delightful and Easy Recipe
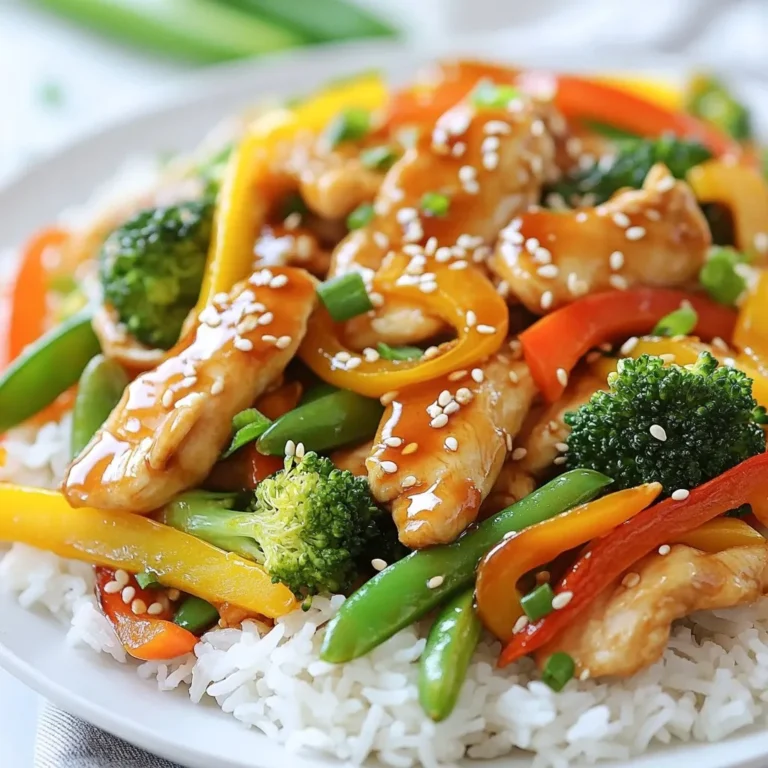
Minute Teriyaki Chicken Stir Fry Quick and Easy Meal
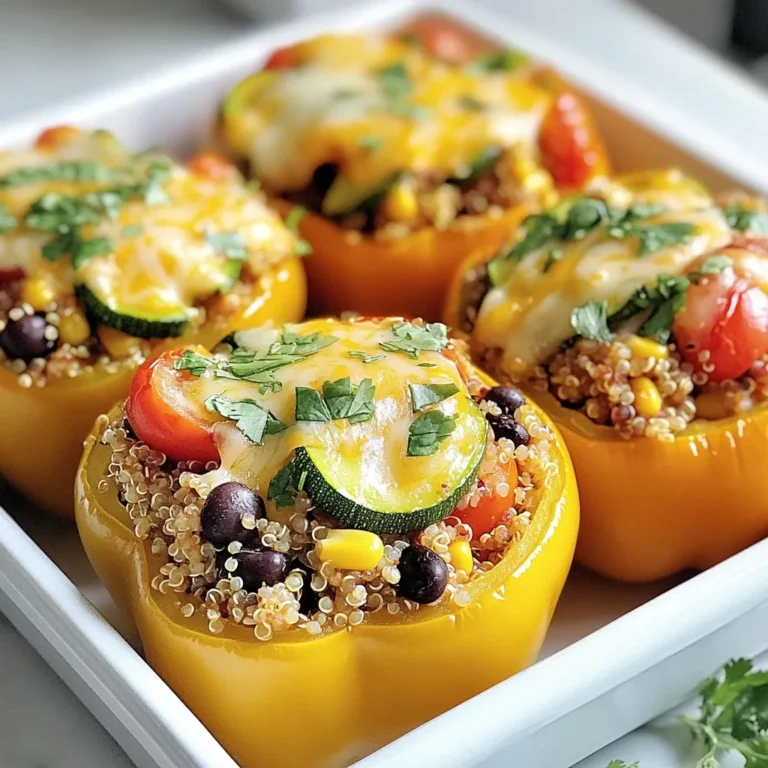
Veggie Stuffed Bell Peppers Flavorful and Healthy Meal
Festive Christmas Bread Delightful and Easy Recipe
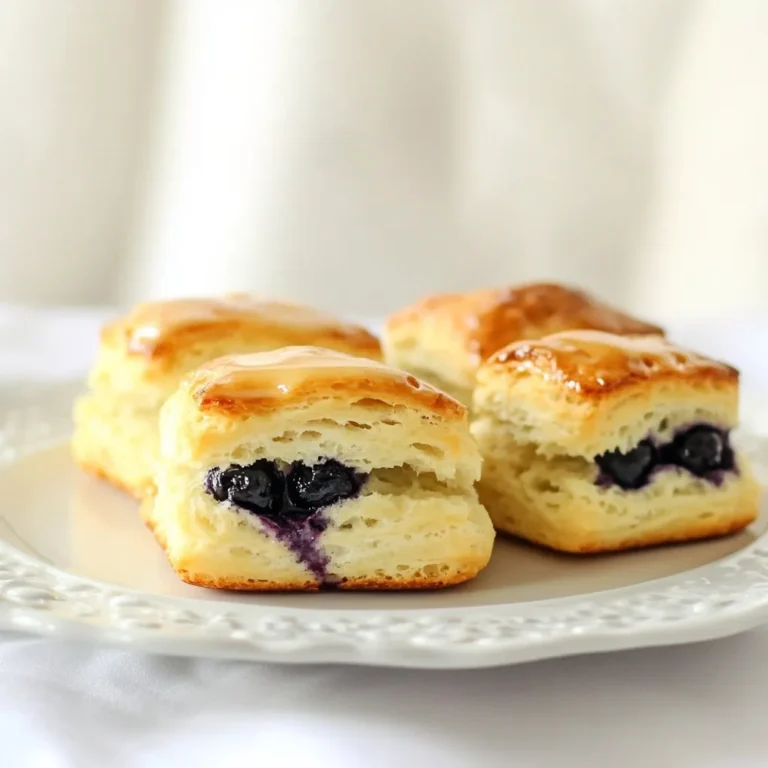
Melt-In-Your-Mouth Blueberry Biscuits Delightfully Soft
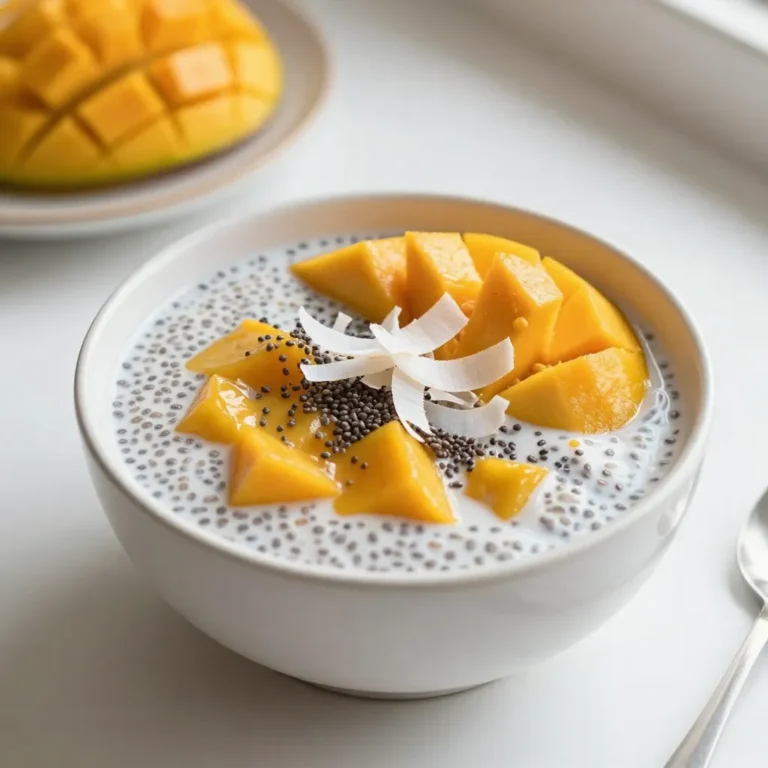
Mango Coconut Chia Pudding Delightful and Easy Recipe
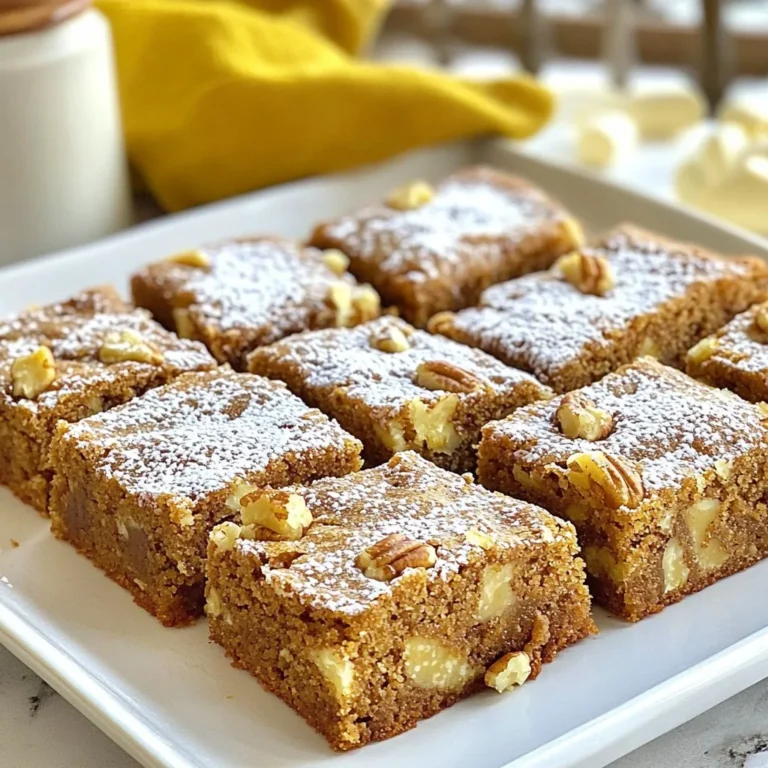
Spiced Gingerbread Blondies Irresistible Holiday Treat
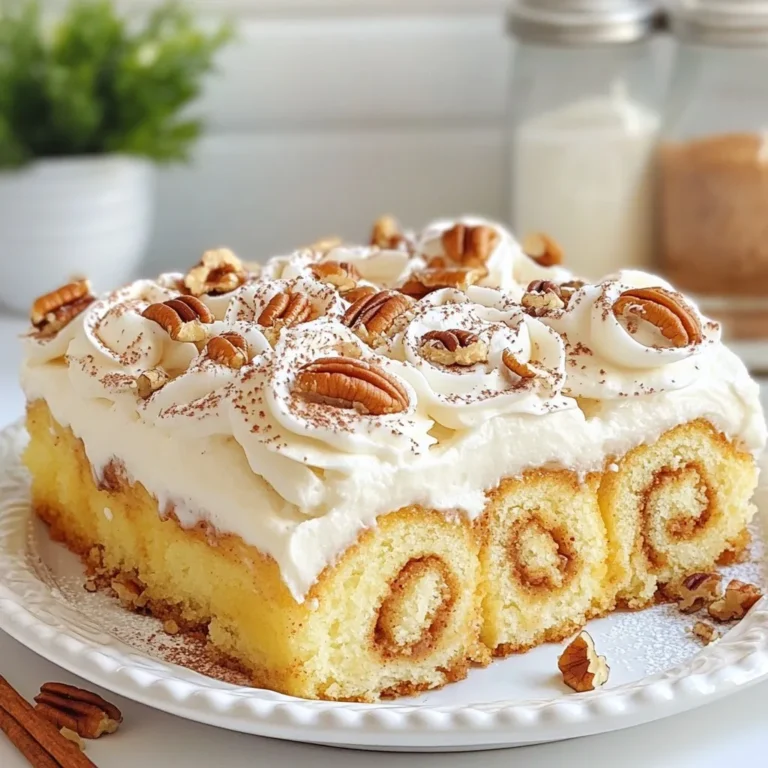
Cinnamon Roll Poke Cake Irresistible Dessert Recipe
1
2
…
42
NEXT