WANT TO SAVE THIS RECIPE?
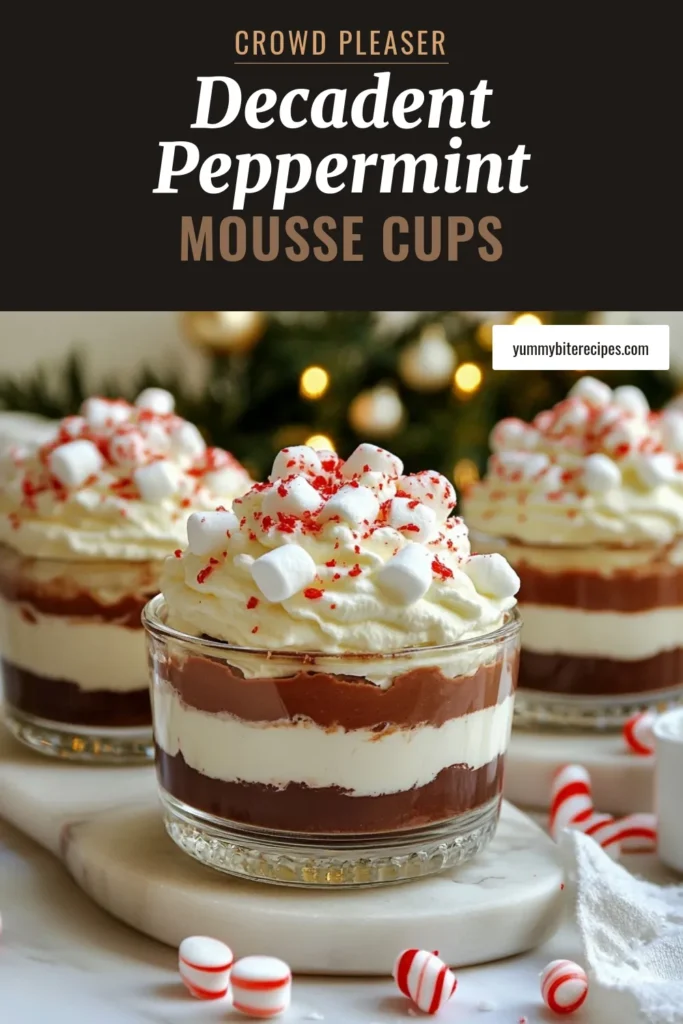
Craving something sweet and festive this season? Dive into the luscious world of Peppermint Hot Cocoa Chocolate Mousse Cups! These delightful treats mix rich chocolate with a hint of peppermint, making them perfect for holiday gatherings. In this post, I’ll walk you through easy steps to create these irresistible cups, plus share tips for presentation and storage. Get ready to impress your friends and family with a dessert they won’t forget!

Why I Love This Recipe
- Decadent Flavor: This mousse combines rich chocolate with refreshing peppermint, creating a delightful balance that is perfect for the holiday season.
- Easy to Make: With simple ingredients and straightforward steps, this recipe is accessible for both novice and experienced cooks alike.
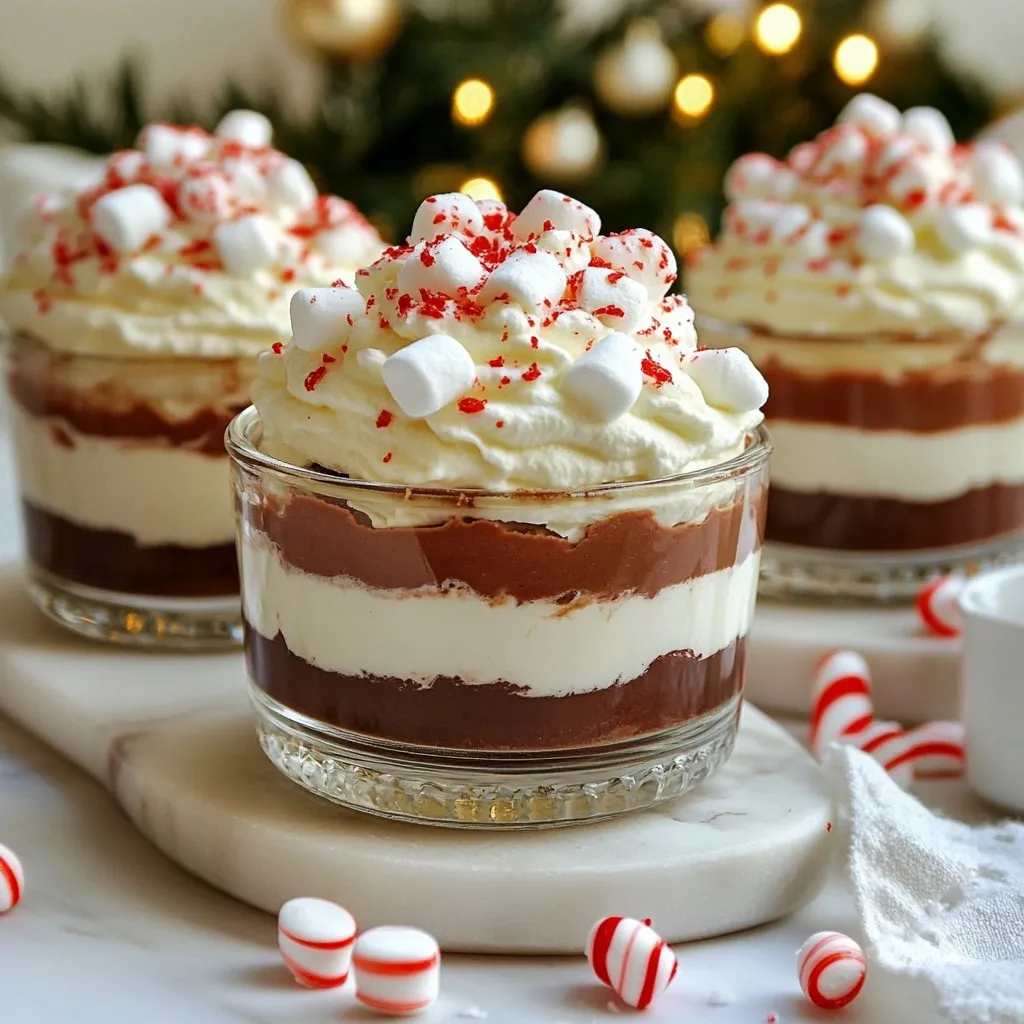
- Impressive Presentation: The layers of mousse and toppings make for a stunning dessert that is sure to impress guests at any gathering.
- Customizable: You can easily modify the recipe by adding your favorite toppings or adjusting the sweetness to suit your taste.
Ingredients
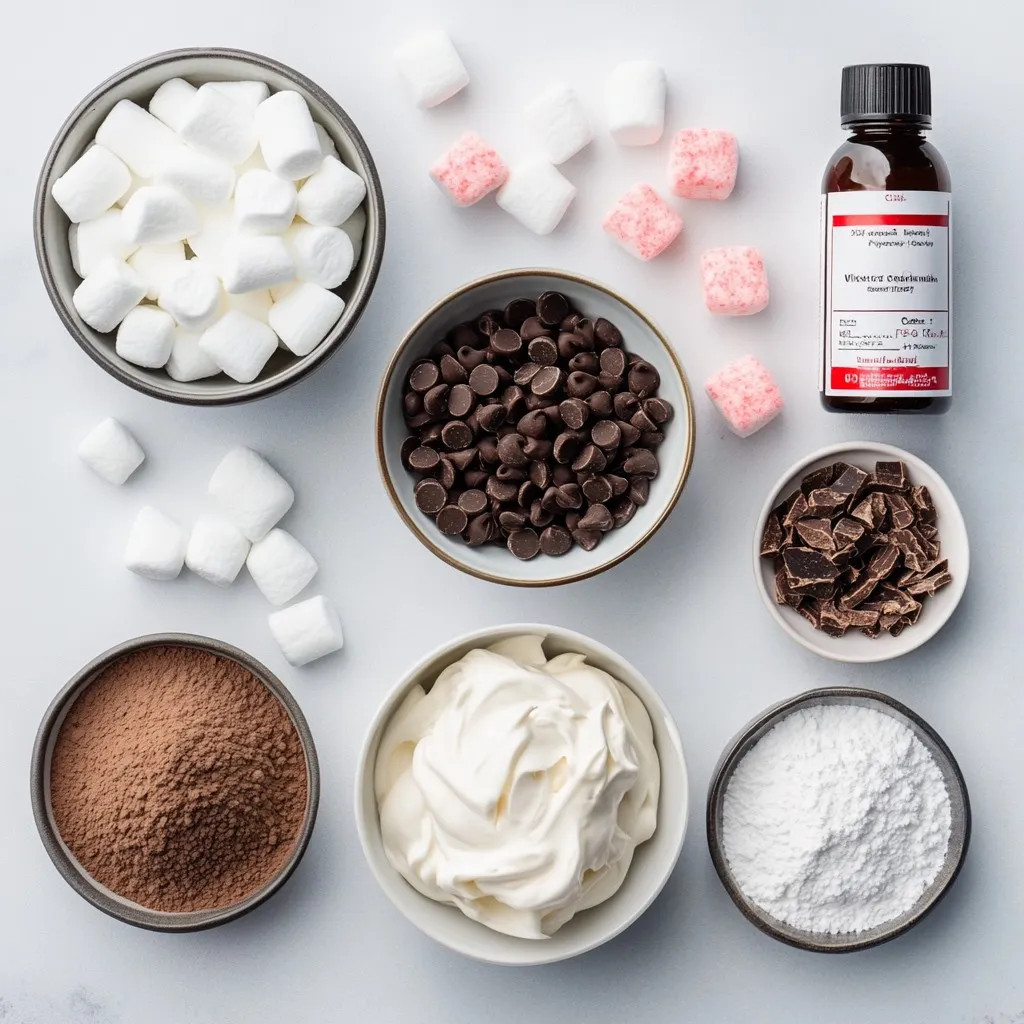
To make Peppermint Hot Cocoa Chocolate Mousse Cups, you need the following ingredients:
– 1 cup heavy whipping cream
– 1/2 cup semi-sweet chocolate chips
– 1/4 cup unsweetened cocoa powder
– 1/4 cup powdered sugar
– 1/2 teaspoon peppermint extract
– 1/4 teaspoon vanilla extract
– 1/2 cup mini marshmallows
– Crushed peppermint candies for garnish
– Whipped cream for topping
Each ingredient plays a key role in creating the rich flavors and smooth texture of the mousse.
The heavy whipping cream adds creaminess and volume. The semi-sweet chocolate chips bring a deep chocolate flavor. Unsweetened cocoa powder enhances the chocolate taste and gives a rich color. Powdered sugar sweetens the mousse while keeping it light.
Peppermint extract gives that festive touch, making this dessert perfect for the season. Vanilla extract adds warmth and depth to the flavor. Mini marshmallows on top provide a fun texture contrast, while crushed peppermint candies add a festive crunch.
Lastly, whipped cream is a must for that airy topping. Each ingredient works together to create a delightful experience. Enjoy gathering these simple yet essential ingredients for your mousse cups!
Step-by-Step Instructions
Melting the Chocolate
To melt the chocolate, use the double boiler method. Place semi-sweet chocolate chips in a heatproof bowl. Set the bowl over a pot of simmering water. Stir continuously until the chocolate is smooth and glossy. This method helps prevent burning. Once melted, remove the bowl from heat and let it cool slightly.
Whipping the Cream
In a separate bowl, pour in the heavy whipping cream. Beat the cream at medium speed with a hand mixer or stand mixer. Keep whipping until it starts to thicken and forms soft peaks. This means the cream holds its shape but still looks smooth. To achieve stiff peaks, continue whipping until the cream is thick and holds firm peaks. This will give your mousse the right texture.
Combining Ingredients
Gradually add the powdered sugar, unsweetened cocoa powder, peppermint extract, and vanilla extract to the whipped cream. Mix well to combine everything smoothly. Next, gently fold in the melted chocolate. Use a rubber spatula to keep the mixture airy. Be careful not to deflate the whipped cream as you combine.
Assembling the Mousse Cups
Now it’s time to fill your cups. Using a spoon or piping bag, fill each cup with the mousse mixture. Aim to fill each cup about three-quarters full. This leaves space for tasty toppings later. If using a piping bag, you can create fun designs.
Adding Toppings and Garnish
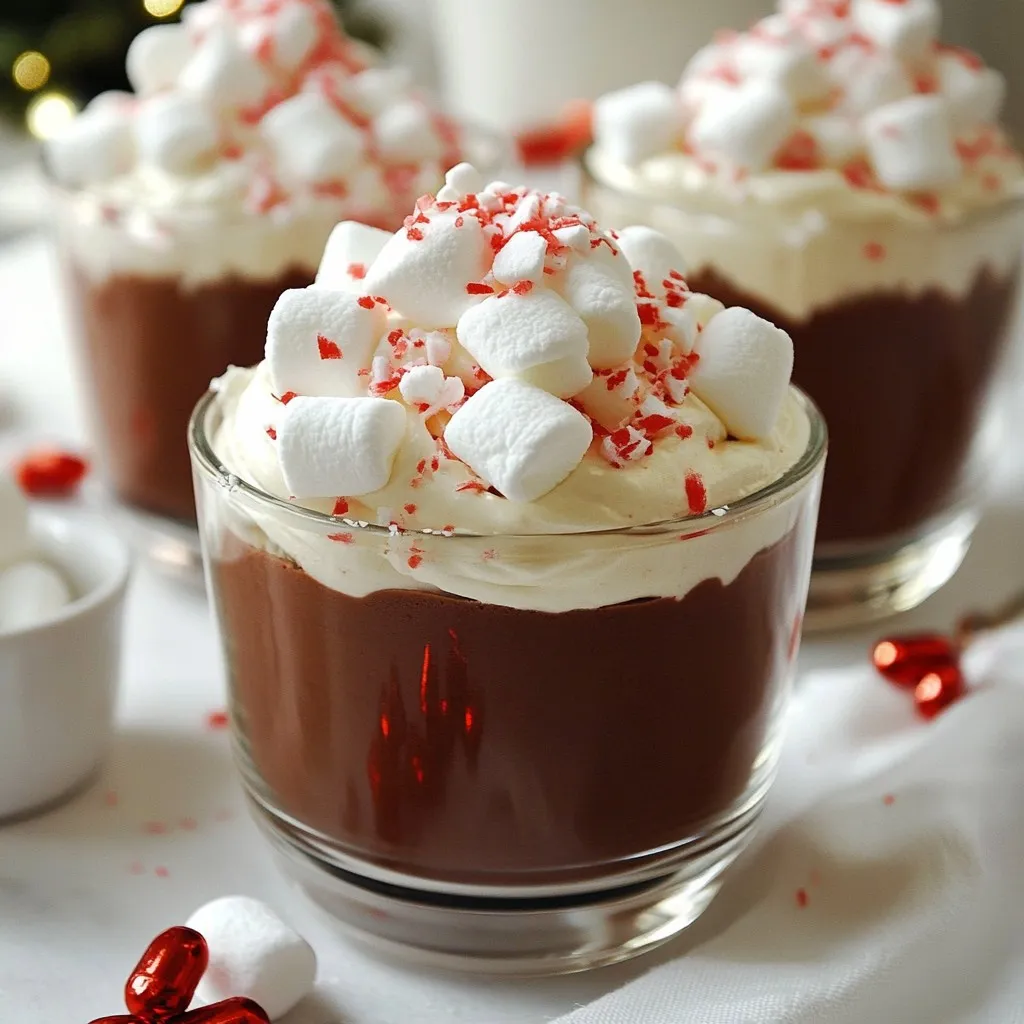
Top each mousse cup with mini marshmallows. Add a generous dollop of whipped cream on top. This adds creaminess and a lovely look. Finally, sprinkle crushed peppermint candies over the whipped cream. This gives a festive touch and a nice crunch.
Chilling the Mousse Cups
Place the filled mousse cups in the refrigerator. Chill them for at least 30 minutes. This cooling time allows the flavors to mix well and helps the mousse set. The mousse will be ready to enjoy after chilling.
Tips & Tricks
Essential Equipment
– Mixing Tools: Use a hand mixer or a stand mixer to whip the cream. A rubber spatula helps fold in the chocolate gently.
– Bowls: Choose a large mixing bowl for whipping cream. A heatproof bowl works best for melting chocolate.
– Serving Cups: Clear cups show off the beautiful layers. Consider using decorative cups for a festive touch.
Perfecting the Mousse Texture
– Whipping the Cream: Stop whipping as soon as you see soft peaks. Over-whipping makes the mousse grainy.
– Cooling Chocolate: Allow the melted chocolate to cool slightly before mixing. If too hot, it can melt the whipped cream.
Presentation Tips
– Serving Ideas: Stack the mousse cups on a bright platter. This adds color and draws attention.
– Garnishes: Use crushed peppermint candies for a festive crunch. Add a sprig of mint for a fresh look.
Pro Tips
- Use High-Quality Chocolate: Opt for premium semi-sweet chocolate chips for a richer flavor and smoother texture in your mousse.
- Chill Your Mixing Bowls: For better whipped cream results, chill your mixing bowl and beaters in the refrigerator before whipping the cream.
- Experiment with Flavors: Feel free to try different extracts, like almond or orange, to customize the flavor profile of your mousse.
- Presentation Matters: Serve the mousse cups in clear glass dishes to showcase the beautiful layers and add a festive touch with garnishes.
Variations
Dairy-Free Option
You can make this dessert dairy-free. Use coconut cream instead of heavy cream. Look for dairy-free chocolate chips as a good swap. Coconut cream gives a rich texture and adds a light coconut flavor. This change keeps the mousse creamy and delicious.
Flavor Variations
Want to add a twist? Try mixing in a little coffee or caramel. Just a tablespoon of brewed coffee can enhance the chocolate taste. Caramel adds a rich, sweet layer that pairs well with peppermint. You can also explore different extracts. Almond or orange extracts can give a fun flavor boost. Experiment and find your favorite mix!
Serving Suggestions
Serve the mousse cups with other sweet treats. Brownies or cookies make great pairings. You can also offer a warm drink, like hot cocoa or coffee, on the side. For a festive touch, arrange the mousse cups on a colorful platter. Add a sprig of fresh mint next to each cup for a bright look. Using clear cups shows off the layers and garnishes, making it even more tempting!
Storage Info
Proper Storage Techniques
To keep your peppermint hot cocoa chocolate mousse cups fresh, store them in the fridge. Use airtight containers to prevent moisture loss and keep flavors intact. If you use plastic wrap, press it directly onto the mousse surface to avoid air exposure.
Shelf Life
These mousse cups can last up to three days in the fridge. After that, the texture may change. Signs of spoilage include a sour smell, changes in color, or separation of layers. If you notice any of these, it’s best to toss them. Always trust your senses when it comes to food safety!
FAQs
Can I make the mousse cups in advance?
Yes, you can make these mousse cups ahead of time. Just prepare the mousse and fill your cups. Then, cover them with plastic wrap and chill in the fridge. They will taste great for up to two days. This makes it easy for parties or gatherings. Just add toppings right before serving to keep them fresh.
What is the best way to re-whip the mousse if it deflates?
If your mousse deflates, re-whipping can help. Use a clean bowl and fresh cream. Beat the cream until it forms soft peaks. Then, gently fold it into the deflated mousse. This restores the lightness without losing flavor. Be careful not to over-mix.
Can I use other types of chocolate?
Yes, you can use different chocolates. Dark chocolate gives a rich, deep flavor. Milk chocolate is sweeter and creamier. Each type changes the taste. You can even try white chocolate for a fun twist. Just remember to adjust sugar levels if needed.
How can I ensure my mousse is light and airy?
To keep your mousse light, avoid over-whipping the cream. Stop whipping once you see soft peaks. When adding chocolate, fold gently. This helps keep air in the mixture. If you mix too hard, the mousse will be dense. Always use fresh ingredients for the best results.
This blog post shared a simple recipe for delicious mousse cups. We covered all the key steps, from melting chocolate to adding tasty toppings. Remember, the texture is important, so don’t over-whip the cream. Variations like dairy-free options can add fun twists. With good storage, your mousse can last for days. Follow these tips for sweet success. Enjoy making and sharing this delightful trea
Peppermint Hot Cocoa Chocolate Mousse Cups
Indulge in the festive spirit with these delightful Peppermint Hot Cocoa Mousse Cups! This easy chocolate mousse cups recipe features a whipped chocolate mousse recipe that's velvety smooth and bursting with minty flavor. Perfect for holiday gatherings, these easy holiday desserts will impress your guests. Treat yourself to a layer of bliss topped with mini marshmallows and crushed peppermint. Try this festive dessert recipe today! #PeppermintMousse #ChocolateMousse #HolidayDesserts #EasyRecipes
1 cup heavy whipping cream
1/2 cup semi-sweet chocolate chips
1/4 cup unsweetened cocoa powder
1/4 cup powdered sugar
1/2 teaspoon peppermint extract
1/4 teaspoon vanilla extract
1/2 cup mini marshmallows
Crushed peppermint candies for garnish
Whipped cream for topping
Melt the Chocolate: Start by placing the semi-sweet chocolate chips in a heatproof bowl. Set the bowl over a pot of simmering water (using the double boiler method) and melt the chocolate, stirring continuously until it's smooth and glossy. Once melted, remove the bowl from heat and allow it to cool slightly.
Whip the Cream: In a separate bowl, pour in the heavy whipping cream. Using either a hand mixer or a stand mixer, beat the cream at medium speed. Continue whipping until it begins to thicken, forming soft peaks.
Incorporate Flavors and Sweeteners: Gradually add the powdered sugar, unsweetened cocoa powder, peppermint extract, and vanilla extract to the whipped cream. Keep whipping until the mixture forms stiff peaks, ensuring it is well-combined and light.
Fold in Chocolate: With a gentle hand, fold the slightly cooled melted chocolate into the whipped cream mixture. Use a rubber spatula to incorporate the chocolate, being careful to maintain the airy texture of the whipped cream.
Assemble the Mousse Cups: Using a spoon or a piping bag, fill individual serving cups with the mousse mixture. Aim to fill each cup approximately three-quarters full, allowing room for toppings.
Add Toppings: Carefully place a handful of mini marshmallows on top of each cup of mousse. Follow this with a generous dollop of whipped cream, creating a delightful layer of creaminess.
Garnish: Complete the presentation by sprinkling crushed peppermint candies over the whipped cream, adding a festive crunch and refreshing flavor.
Chill and Serve: Place the finished mousse cups in the refrigerator and let them chill for at least 30 minutes. This resting period allows the flavors to meld beautifully and ensures the mousse sets up perfectly.
Prep Time: 20 mins | Total Time: 50 mins | Servings: 4-6
- Presentation Tips: Consider serving your mousse cups on a brightly colored decorative platter. Add a sprig of fresh mint next to each cup for a vibrant pop of color. Using clear cups will showcase the enticing layers of mousse and toppings, making your dessert not just delicious but also visually appealing!
WANT TO SAVE THIS RECIPE?