WANT TO SAVE THIS RECIPE?
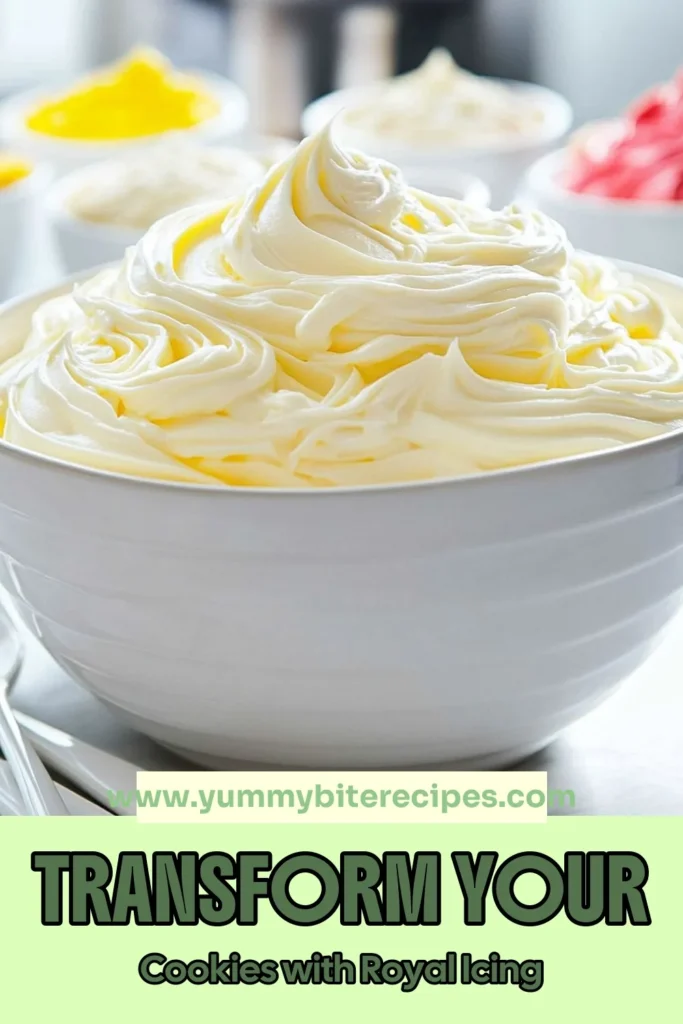
Are you ready to take your sugar cookie decorating to the next level? Royal icing can transform plain cookies into stunning treats! In this guide, I’ll share easy decorating tips that will make your cookies stand out. From the right ingredients to simple techniques, you’ll learn everything you need to create beautiful designs. Let’s dive into the world of royal icing and make your cookies the highlight of any event!

Why I Love This Recipe
- Perfect Consistency: This royal icing recipe yields a smooth and glossy finish that hardens beautifully, making it ideal for intricate designs on sugar cookies.
- Easy to Customize: With the option to add food coloring, you can create vibrant designs that match any occasion or theme effortlessly.
- Quick Preparation: In just 15 minutes, you can whip up enough icing for 24 cookies, making it a time-saving choice for busy bakers.
- Versatile Use: Whether you’re flooding or outlining, this icing adapts to different techniques, allowing for endless creative possibilities in cookie decoration.
Ingredients
List of Required Ingredients
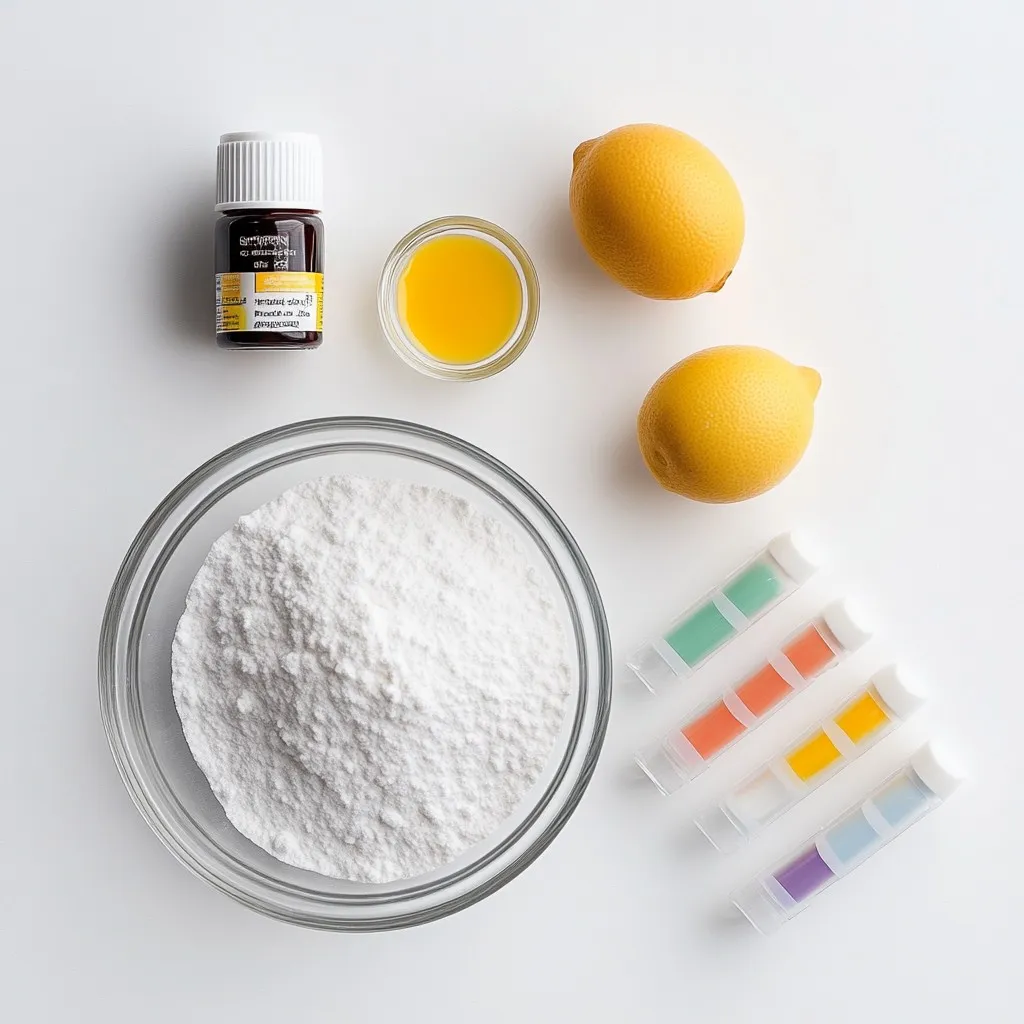
– 4 cups powdered sugar
– 3 large egg whites (or 1/4 cup meringue powder + 1/2 cup water)
– 1 teaspoon vanilla extract (optional)
– 1/2 teaspoon fresh lemon juice
– Food coloring (optional)
To make royal icing, you need just a few simple ingredients. First, you must use powdered sugar, which gives the icing its sweet taste and smooth texture. Three large egg whites are next. They help the icing hold its shape. If you prefer, use meringue powder mixed with water instead. This option works well too.
Adding vanilla extract adds a lovely flavor, but it’s not necessary. A bit of fresh lemon juice helps balance the sweetness. You can also use food coloring for fun designs. It adds color and makes your cookies pop!
Gather these ingredients before you start. This way, you have everything ready to go. Enjoy the process of making your icing. It’s a fun way to express your creativity through food!
Step-by-Step Instructions
Preparation of Ingredients
– Start by sifting 4 cups of powdered sugar. This step is key. Sifting removes lumps and makes smooth icing. If you use meringue powder, mix it with 1/2 cup of water until dissolved. This creates a good base for your icing.
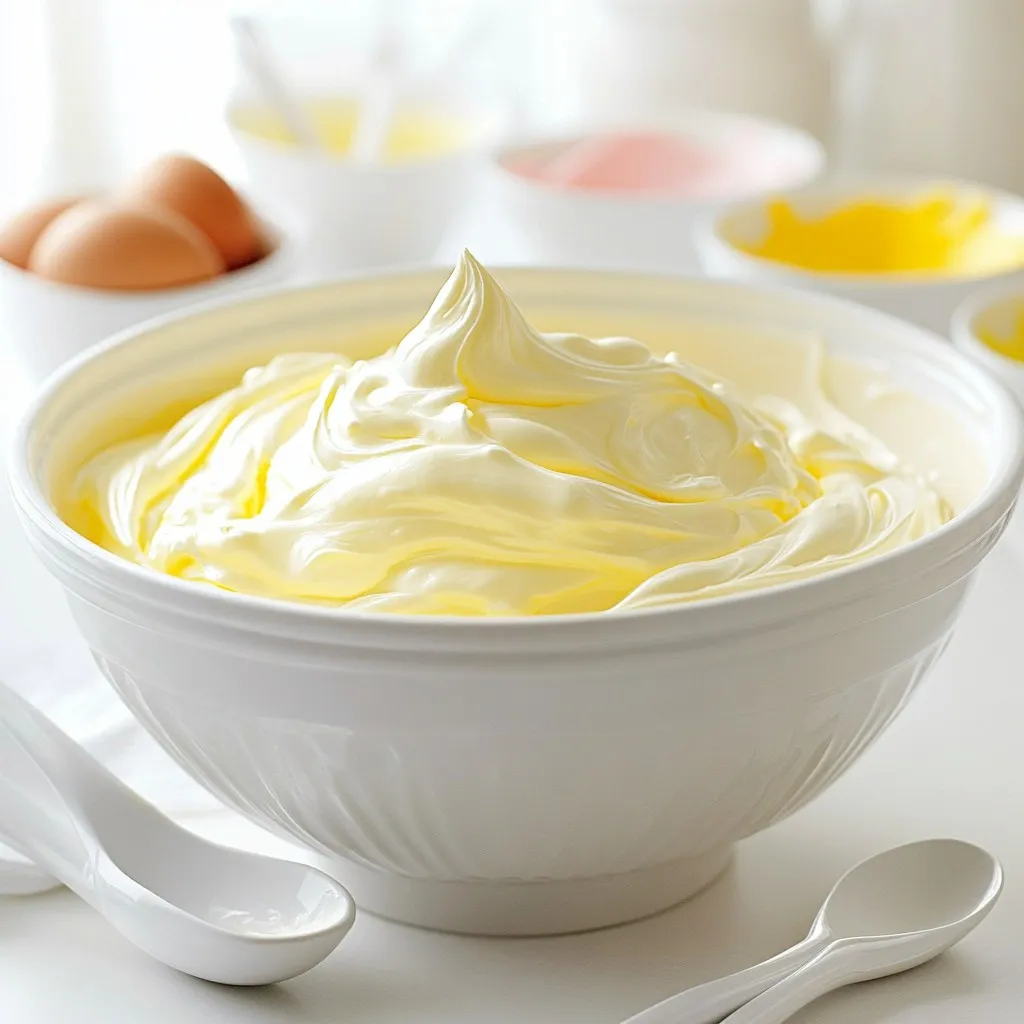
Mixing the Royal Icing
– In a large mixing bowl, add the sifted powdered sugar and 3 large egg whites (or the meringue mix). Begin blending on low speed. This prevents a sugar cloud from forming.
– After a minute, raise the mixer speed to medium-high. Beat for about 5 to 7 minutes. Look for stiff peaks. To test, dip a spatula into the icing. It should hold its shape and stand tall without drooping.
Adding Flavor and Color
– Now, gently fold in 1/2 teaspoon of fresh lemon juice and 1 teaspoon of vanilla extract. Mix for another minute. This adds a lovely flavor to your icing.
– If you want color, divide the icing into small bowls. Add food coloring to each bowl. Mix until you reach your desired shade. Remember, you can always add more color. If the icing is too thick, add a few drops of water. If too thin, mix in more powdered sugar.
Tips & Tricks
Achieving the Right Consistency
To make perfect royal icing, you must get the right thickness. Start by testing the icing with a spatula. Dip it in and lift it out. The icing should hold its shape but still fall back into the bowl. If it does not hold, keep mixing. If it’s too thick, add a tiny bit of water. If it’s too thin, mix in more powdered sugar. This step is crucial for great decorating.
Decorating Techniques
There are two main ways to decorate with royal icing: flooding and outlining. Outlining uses thicker icing to create a border. This holds the flooding icing inside. Flooding fills the space inside the outline. Each method adds depth to your design. Allow drying time between each layer. Let the outline dry before flooding. This will help keep the colors separate and clean. Enjoy the process and have fun experimenting!
Pro Tips
- Use Room Temperature Ingredients: Ensure your egg whites are at room temperature for better volume and stability in your icing.
- Test Icing Consistency: When adjusting the icing, remember the 10-second rule: it should take about 10 seconds for a line drawn through the icing to disappear.
- Color Mixing Tips: Start with a small amount of food coloring and gradually add more until you achieve your desired shade to avoid over-saturation.
- Use Piping Bags for Precision: For intricate designs, use piping bags with different sized tips to control the flow of icing accurately.
Variations
Egg-Free Royal Icing
You can make royal icing without eggs. Use meringue powder instead. To do this, mix 1/4 cup of meringue powder with 1/2 cup of water. Stir until the powder dissolves. Then, combine this mix with 4 cups of powdered sugar as you would with egg whites. This option works great and lasts longer.
Flavored Icing Options
You can add flavor by using extracts. Vanilla is a classic choice, but you can try others too. Almond, lemon, or even peppermint extracts can give your icing a unique taste. Just add about 1 teaspoon of your chosen extract into the icing. Mix it well to ensure the flavor spreads evenly.
Color Techniques
Color your royal icing for fun designs. You can try ombre effects by mixing different shades of the same color. To create a marbled look, add two colors on top of each other and swirl gently. Use a toothpick to create patterns. Experiment with color to make your cookies look amazing!
Storage Info
Storing Royal Icing
To keep your royal icing fresh, store it in an airtight container. Press plastic wrap directly onto the icing surface to avoid air exposure. This helps prevent crusting. Royal icing can last for about two weeks if stored properly.
To maintain its consistency, give it a good stir before using. If it has thickened, add a few drops of water. Mix it in slowly until you reach the right texture again.
Freezing Icing for Future Use
You can freeze royal icing for later use. First, place it in a freezer-safe container. Make sure to seal it tightly. It can stay fresh for up to three months in the freezer.
When you are ready to use it, take it out and let it thaw in the fridge overnight. After thawing, stir it well. If it seems too thick, add water a little at a time. Mix until it’s smooth and ready to decorate those sugar cookies!
FAQs
How do you know when royal icing is ready?
You can tell royal icing is ready when it forms stiff peaks. After mixing, dip a spatula into the icing. If it holds its shape and stands upright without drooping, you have the right consistency. It takes about 5-7 minutes of mixing to achieve this. Remember, if you see soft peaks, keep mixing. Stiff peaks are key for decorating.
Can I color royal icing?
Yes, you can color royal icing easily! Start by dividing the icing into small bowls. Add a few drops of food coloring to each bowl. Mix until you reach your desired shade. Keep in mind that you can always add more color. Just be careful not to add too much at once. This can change the icing’s texture.
What should I do if my icing is too thick or too thin?
If your icing is too thick, add a few drops of water. Mix it in slowly until you reach the right consistency. If it’s too thin, add more powdered sugar bit by bit. Keep mixing until it thickens. Testing with a spatula can help you find the perfect texture for your cookies.
Making royal icing is easy with the right steps and ingredients. You need powdered sugar, egg whites, and lemon juice. Mixing them at the right speed creates stiff peaks for perfect decorating. You can add flavors and colors to suit your taste.
Remember to store your icing well to keep it fresh. You can even freeze it for later use. With practice and these tips, you will master royal icing. Enjoy decorating cookies and cakes, and get creative with your design
Magical Royal Icing for Sugar Cookies
A delightful icing perfect for decorating sugar cookies with a glossy finish.
Prep Time 15 minutes mins
Total Time 15 minutes mins
Course Dessert
Cuisine American
- 4 cups powdered sugar
- 3 large egg whites
- 0.25 cups meringue powder
- 0.5 cups water
- 1 teaspoon vanilla extract
- 0.5 teaspoon fresh lemon juice
- as needed food coloring
In a large mixing bowl, start by sifting the powdered sugar to ensure there are no lumps. If you're using meringue powder instead of egg whites, mix the meringue powder with the water in a separate bowl until dissolved before adding it to the powdered sugar.
Using a hand mixer or a stand mixer fitted with a whisk attachment, begin to mix the powdered sugar and egg whites (or meringue mix) on low speed. This initial blending is crucial to avoiding a powdered sugar cloud!
Once well combined, gradually increase the mixer speed to medium-high. Continue beating for approximately 5-7 minutes until the icing reaches stiff peaks. To test for the right consistency, dip a spatula into the icing; it should hold its shape and stand upright without drooping.
Now, gently fold in the lemon juice and vanilla extract (if using) and mix for an additional minute, ensuring these flavors are fully incorporated into the icing.
If you're adding color, pour the icing into small bowls and add food coloring. Mix in the color until you achieve your desired shade; remember, you can always add more color if needed!
Adjust the icing consistency if necessary. If it's too thick, add a few drops of water to thin it down. Conversely, if it's too thin, gradually mix in more powdered sugar until it reaches the optimal consistency for either flooding or outlining your cookies.
Decorate your sugar cookies with the royal icing, taking care to allow sufficient drying time between flooding and outlining if utilizing both techniques for more intricate designs.
Consider letting the decorated cookies sit for a few hours to allow the icing to set, creating a beautifully glossy finish. Arrange them on a decorative platter for a stunning display!
Keyword decorating, royal icing, sugar cookies
WANT TO SAVE THIS RECIPE?