WANT TO SAVE THIS RECIPE?
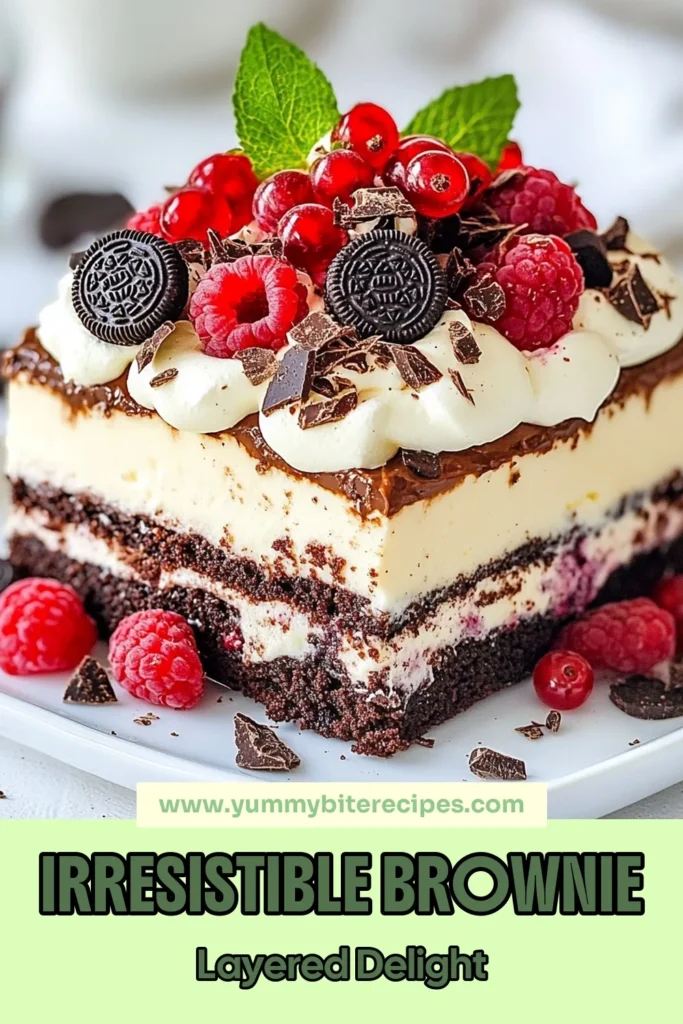
Looking for a sweet way to cool off? This Brownie Refrigerator Cake is a delightful no-bake treat that’s perfect for any occasion! With layers of fudgy brownies, whipped cream, and fresh berries, it will impress everyone. I’ll share simple steps and tips to make this showstopper. Plus, I’ll show you how to customize it for your taste. Ready to dive in? Let’s get baking!

Why I Love This Recipe
- Decadent Layers: This cake combines rich brownie, creamy whipped cream, and luscious ganache, creating an indulgent treat that is hard to resist.
- Versatile Ingredients: With a mix of brownie and fresh berries, you can customize this dessert to suit your taste or whatever you have on hand.
- Easy Preparation: This no-bake cake is simple to assemble, making it perfect for a quick dessert option that still impresses.
- Perfect for Any Occasion: Whether it’s a birthday, holiday, or just a family gathering, this cake is sure to be a crowd-pleaser.
Ingredients
Main Ingredients
– 1 box brownie mix
– 2 cups freshly whipped cream
– 1 cup chocolate ganache (1 cup chocolate chips, ½ cup heavy cream)
– 1 cup crushed Oreo cookies
– 1 cup assorted mixed berries (strawberries, raspberries, blueberries)
– ¼ cup chocolate shavings
Additional Ingredients as per Brownie Mix Instructions
– Eggs
– Oil
– Water
Gather these ingredients to create your Brownie Refrigerator Cake. The brownie mix serves as the base, while the whipped cream adds lightness. The chocolate ganache brings richness, and the Oreo cookies give a fun crunch. The assorted berries offer freshness, and the chocolate shavings serve as a lovely garnish.
Using a box mix is a time saver, but you can always opt for homemade brownies if you prefer. Just remember to follow the package instructions for the eggs, oil, and water required. This recipe is flexible, making it easy to adapt to your taste.
With these simple ingredients, you can make a show-stopping dessert that everyone will love! Feel free to explore options like using different cookie types or berries for a twist.
Step-by-Step Instructions
Preparing the Brownies
To start, preheat your oven as shown on your brownie mix box. While the oven heats, grease a 9×13 inch pan. This helps the brownies come out easily. Next, mix the brownie ingredients as directed on the package. Pour the mix into the pan and bake until done. Once baked, let the brownies cool completely on a wire rack. This cooling step is key for layering later.
Making the Chocolate Ganache
Now, let’s create the chocolate ganache. Pour half a cup of heavy cream into a small saucepan. Heat it over medium heat until it simmers, but don’t let it boil. When it simmers, remove it from the heat. Add one cup of chocolate chips and stir. Keep stirring until the mix is smooth and shiny. Let the ganache cool for a few minutes. This helps it thicken slightly for layering.
Assembling the Brownie Refrigerator Cake
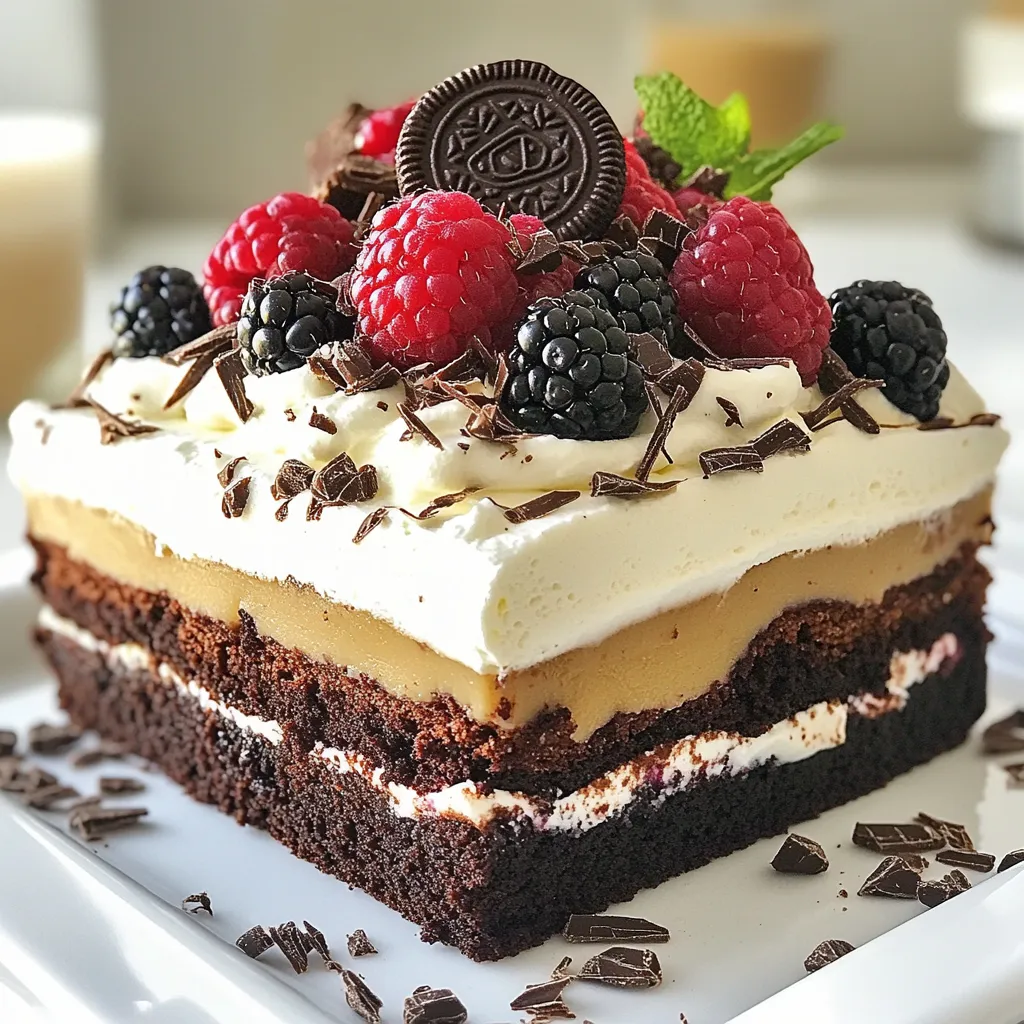
Once your brownies are cool, cut them into small, bite-sized squares. Grab a rectangular serving dish and start layering. First, place a layer of brownie squares at the bottom. Next, add a generous layer of whipped cream on top. Drizzle some chocolate ganache over the cream, and then sprinkle on crushed Oreo cookies.
Now, it’s time for the berries! Spread the assorted mixed berries evenly over the Oreo layer. This adds a nice burst of flavor. Repeat the layering process. Add another layer of brownie squares, more whipped cream, more ganache, and more crushed Oreos. Then, add another layer of berries. Keep going until you use up all your ingredients. Finish with a layer of whipped cream on top.
Finally, tightly cover the dish with plastic wrap. Place it in the refrigerator and let it chill for at least four hours, or even overnight. This time helps all the flavors blend together and makes it easier to slice.
Tips & Tricks
Perfecting the Whipped Cream
– To achieve stiff peaks, start with cold cream. Whip it in a chilled bowl. Use a hand mixer for the best results. Stop when you see peaks that hold their shape.
– If you have leftover whipped cream, store it in an airtight container. It keeps well in the fridge for up to two days. You can also use it for other desserts.
Ganache Consistency
– To get the right thickness for ganache, use equal parts chocolate and cream. For a thicker ganache, use less cream. If it’s too thin, refrigerate it for a bit.
– You can customize ganache flavors by adding extracts. Try vanilla, almond, or even peppermint for a fun twist. Mix in a pinch of salt for depth.
Serving Suggestions
– This cake pairs well with vanilla ice cream or a drizzle of chocolate sauce. Fresh whipped cream on the side adds a nice touch, too.
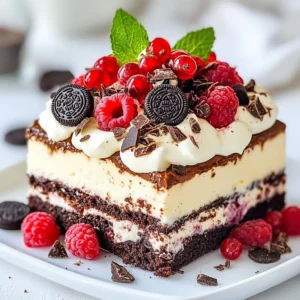
– For a stunning presentation, top each slice with chocolate shavings. It makes the cake look fancy and adds a rich flavor. Enjoy each layer’s beauty as you serve it!
Pro Tips
- Use Quality Chocolate: For the ganache, choose high-quality chocolate chips for a richer flavor. The better the chocolate, the more decadent your cake will taste.
- Chill Whipped Cream: Ensure your whipping bowl and beaters are chilled before whipping the cream. This helps achieve a stable and fluffy texture.
- Layering Technique: Be generous with your layers for a more visually appealing cake. Aim for an even distribution of brownies, cream, and toppings to enhance the flavor in every bite.
- Make Ahead: This cake tastes even better the next day! Prepare it a day in advance to allow the flavors to meld beautifully in the refrigerator.
Variations
Flavor Alternatives
You can switch up the brownie flavor for fun. Instead of classic brownies, try blonde brownies. They have a sweet, buttery taste. You can also use different creams. Mascarpone cheese gives a rich flavor, while cream cheese adds a tangy twist. Both options work great in this cake.
Topping Options
Adding toppings can take this cake to the next level. Sliced fruits like bananas or peaches add freshness. Nuts provide a nice crunch, and caramel sauce brings extra sweetness. You can even swap Oreos for other cookies. Graham crackers work well for a new flavor.
Dietary Considerations
If you need gluten-free options, look for gluten-free brownie mixes. They taste just as good! For a vegan twist, use coconut cream instead of whipped cream. You can make ganache with dairy-free chocolate. These swaps keep everyone happy and enjoying dessert!
Storage Info
Refrigerator Storage
To store your brownie refrigerator cake, cover it tightly with plastic wrap. This keeps it fresh and moist. You can also use an airtight container for extra protection. The cake stays good in the fridge for up to 5 days. After that, the layers may start to lose their texture and flavor.
Freezing the Brownie Refrigerator Cake
If you want to store it longer, freezing is a great option. First, cut the cake into slices for easy serving. Wrap each slice in plastic wrap, then place them in a freezer-safe bag. This helps keep the cake fresh for up to 3 months. When you’re ready to enjoy, simply take a slice out and let it thaw in the fridge for a few hours. For best results, avoid thawing at room temperature, as this can make the cake soggy.
Signs of Spoilage
Check for any changes in smell or appearance. If the cake starts to smell sour or looks moldy, it’s time to throw it away. Also, if the whipped cream layer starts to separate, it may not taste good. Always trust your senses; if it seems off, don’t eat it. Enjoy your brownie refrigerator cake safely!
FAQs
Can I make the brownies from scratch instead of using a mix?
Yes, you can follow your favorite homemade brownie recipe. Making brownies from scratch adds a personal touch. I love using rich chocolate and fresh ingredients. It boosts the flavor and texture. Just ensure your brownies are cool before layering. This way, they won’t melt the whipped cream.
How long should the cake chill before serving?
It’s best to chill for at least 4 hours or overnight. Chilling helps the layers set well. This time allows the flavors to blend together. When you serve it cold, every bite is refreshing and delicious. I often make it the night before for the best results.
Can I use frozen berries?
Yes, frozen berries can be used, but be sure to thaw and drain them before layering. Thawing is key, as it prevents excess water. This keeps your cake from becoming soggy. I love the taste of mixed berries in this cake. They add a sweet and tart burst of flavor!
This blog post shared a simple recipe for a delicious brownie refrigerator cake. You learned about the key ingredients, including brownie mix, whipped cream, and berries. We walked through step-by-step instructions to prepare, assemble, and chill the cake. Plus, we explored tips for perfecting texture and storage tips for keeping your dessert fresh.
In the end, this treat is not only easy to make but also allows for creativity. Enjoy your baking journe
Brownie Refrigerator Cake
A delicious layered dessert combining brownies, whipped cream, chocolate ganache, and fresh berries, chilled for a refreshing treat.
Prep Time 30 minutes mins
Cook Time 30 minutes mins
Total Time 4 hours hrs 30 minutes mins
Course Dessert
Cuisine American
Servings 12
Calories 350 kcal
- 1 box brownie mix (plus any additional ingredients required as per package instructions)
- 2 cups freshly whipped cream
- 1 cup chocolate ganache (made from 1 cup chocolate chips and ½ cup heavy cream)
- 1 cup crushed Oreo cookies
- 1 cup assorted mixed berries (such as strawberries, raspberries, and blueberries)
- 0.25 cup chocolate shavings (for an elegant garnish)
Prepare the Brownies: Begin by preheating your oven according to the instructions on the brownie mix box. Grease a 9x13 inch pan and prepare the brownie mix as directed. Once baked, allow the brownies to cool completely in the pan on a wire rack.
Make the Ganache: In a small saucepan, pour in the heavy cream and heat over medium heat until it starts to simmer, but do not let it boil. Once simmering, remove the saucepan from the heat and add the chocolate chips. Stir continuously until the mixture becomes smooth and glossy. Let the ganache cool for a few minutes to thicken slightly.
Layer the Cake: Once the brownies have cooled, cut them into small, bite-sized squares. In a rectangular serving dish, begin assembling the cake. Start with a base layer of brownie squares. Follow this with a generous layer of whipped cream, then drizzle a portion of the chocolate ganache on top. Finish this layer by sprinkling on the crushed Oreo cookies.
Add the Berries: Next, evenly distribute the assorted mixed berries over the Oreo layer, ensuring they are scattered throughout for a burst of flavor in every bite.
Repeat Layers: Continue building your cake by repeating the layering process: add another layer of brownie squares, followed by whipped cream, more ganache, crushed Oreos, and then a final layer of berries. Keep layering until you’ve used all your ingredients, ending with a layer of whipped cream on top for a visually appealing finish.
Chill the Cake: Tightly cover the dish with plastic wrap and place it in the refrigerator. Let it chill for at least 4 hours, or preferably overnight, to allow the flavors to meld and the layers to set beautifully.
Serve: When you’re ready to indulge, remove the cake from the fridge. Just before serving, sprinkle the top with chocolate shavings for an added touch of sophistication. Each slice will reveal the delightful layers within!
Chill overnight for best flavor.
Keyword brownies, cake, chocolate, dessert, no-bake
WANT TO SAVE THIS RECIPE?