
LATEST RECIPES


LET'S GET COOKING!
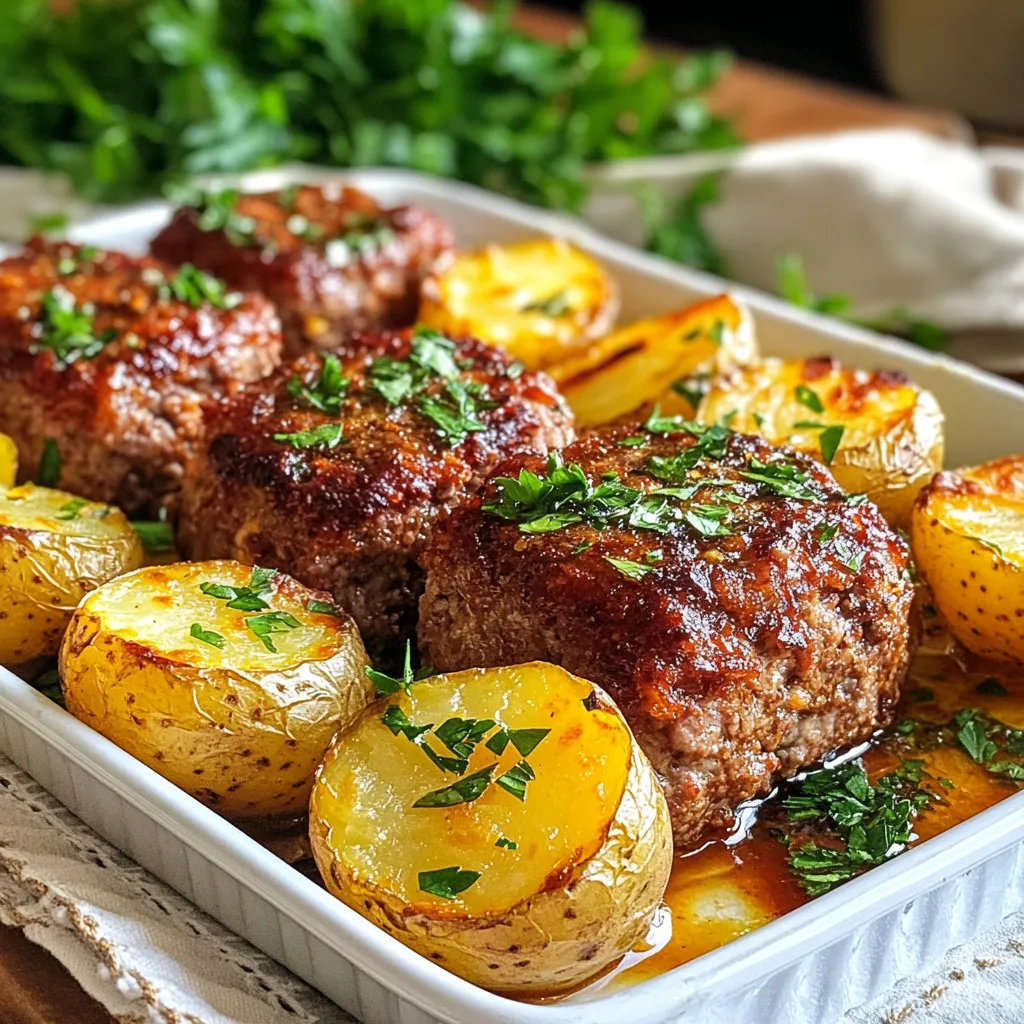
Sheet Pan Mini Meatloaf & Potatoes Easy Dinner Fix
Looking for a quick and tasty dinner idea? Try my Sheet Pan Mini Meatloaf & Potatoes! This easy recipe packs flavor and fun into one...
Read Full Recipe →
I’m so happy youre here!
I hope you find all kinds of recipes that appeal to fdgyou while you're here. Whether it's family friendly meals, healthy recipe ideas, or sinful desserts you're looking for, I've got a few that you might like!
MORE ABOUT ME
Looking for a quick and tasty dinner idea? Try my Sheet Pan Mini Meatloaf & Potatoes! This easy recipe packs flavor and fun into one...
Read Full Recipe →